
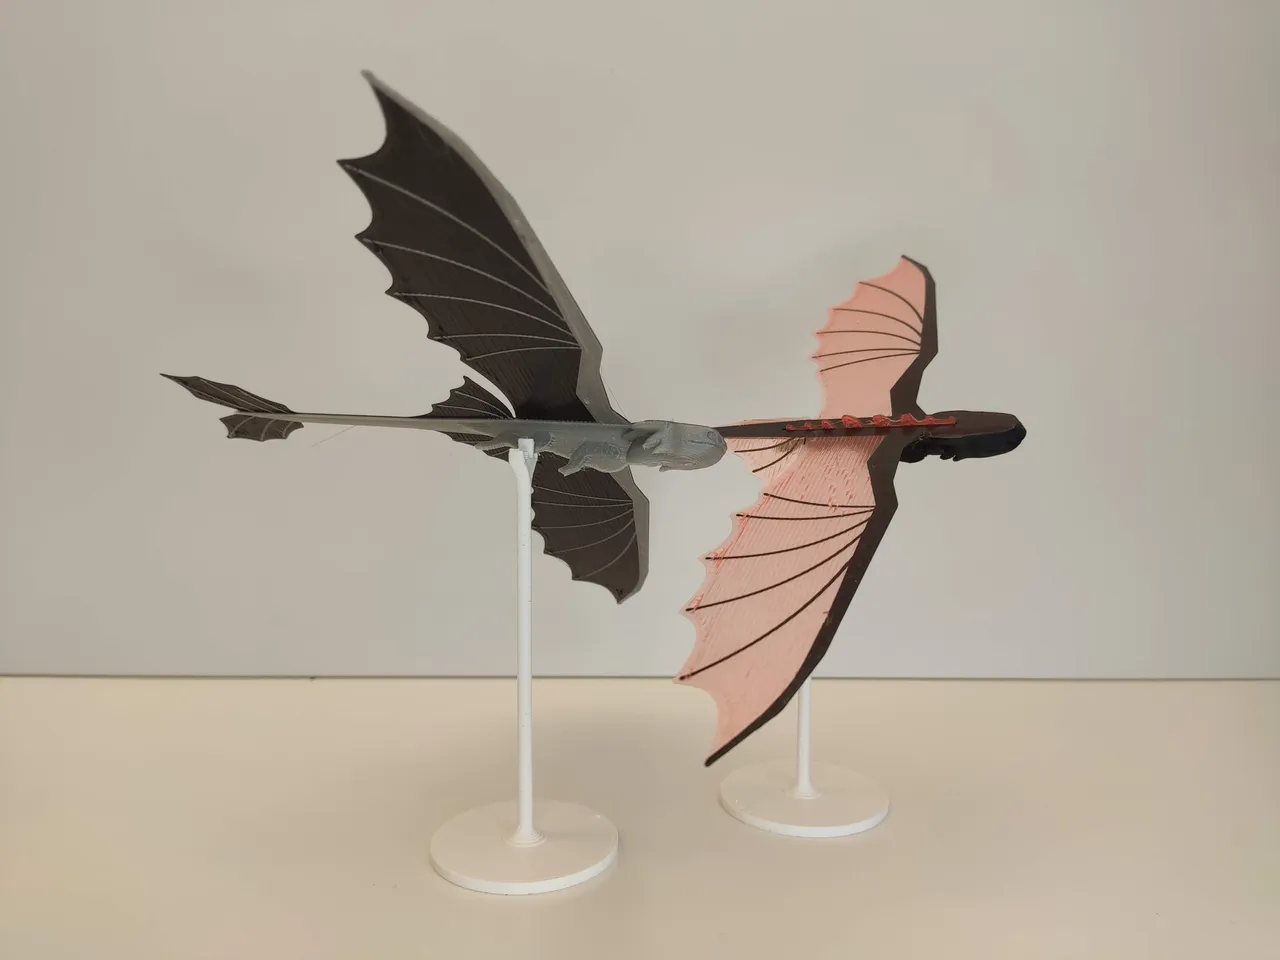
Instruction how to train your dragon.
After printing, you have to make some bends.
The most important is bending of the tail a little up.
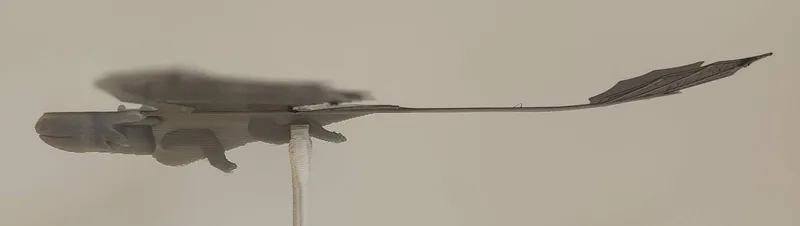
You can also bend it a little into V shape
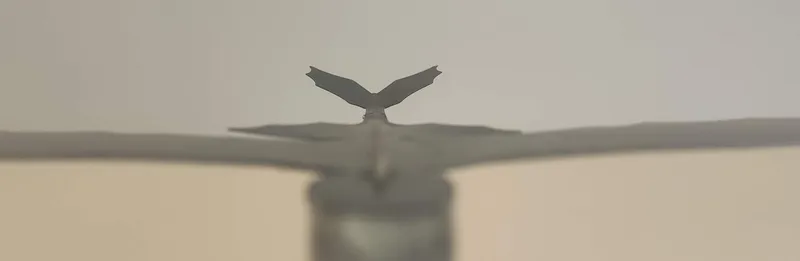
Next important thing is bending of wings a little bit up.

Beyond that you can play with middle small wings and bend it up or down or just leave them as they are.
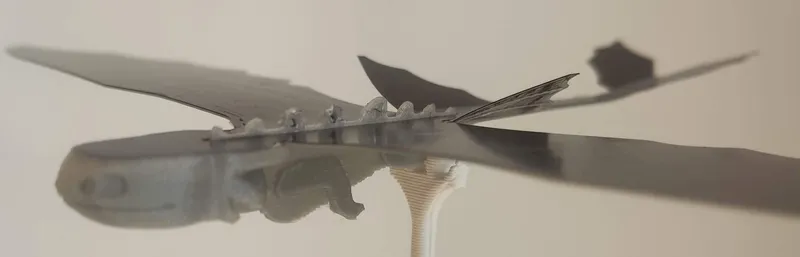

With version 2.1 you don’t have to add ballast to the head. With 100% infill and PLA, dragon should be good balanced.
If you accidentaly printed dragon with lower infill than 100%, add play-doh or plasticine to the head and it will be flying too.
Sometimes the model is demand a little refresh shape after hard landing. Good throw technique is also important. Throws it like paper airplane.
Prepare that not every flight will be good. But if you train the dragon a little then smooth flight is very satisfactory 🙂
Printing
Print in place with PLA, with 100% infill (for proper head ballast) and 0.2 mm layer height. You have to have good bed leveling, because wings and tail have only one layer height.
With my prusa mk2 with 0.6 nozzle it takes about 30 minutes.
Files
The model has two versions
One without horns to quickly print and fly.
Second one with horns on the back to fix it to the ceiling and for a better look 🙂 Horns fix with superglue.
Besides, there is a desk stand, wall sticker and ceiling hanger. To stick it to the surface, use double side tape. Print it with layer height whatever you want.
Credits:
Sevro
Download 3D models
| File | File size |
|---|---|
 flying-night-dragon-model_files
|
14 MB |