
This project contains non-3D printable pieces. Anything heavy (plastic is not heavy enough) can be used as the weight, and I found that using screws was the easiest.
Lesson Plan/Activity:
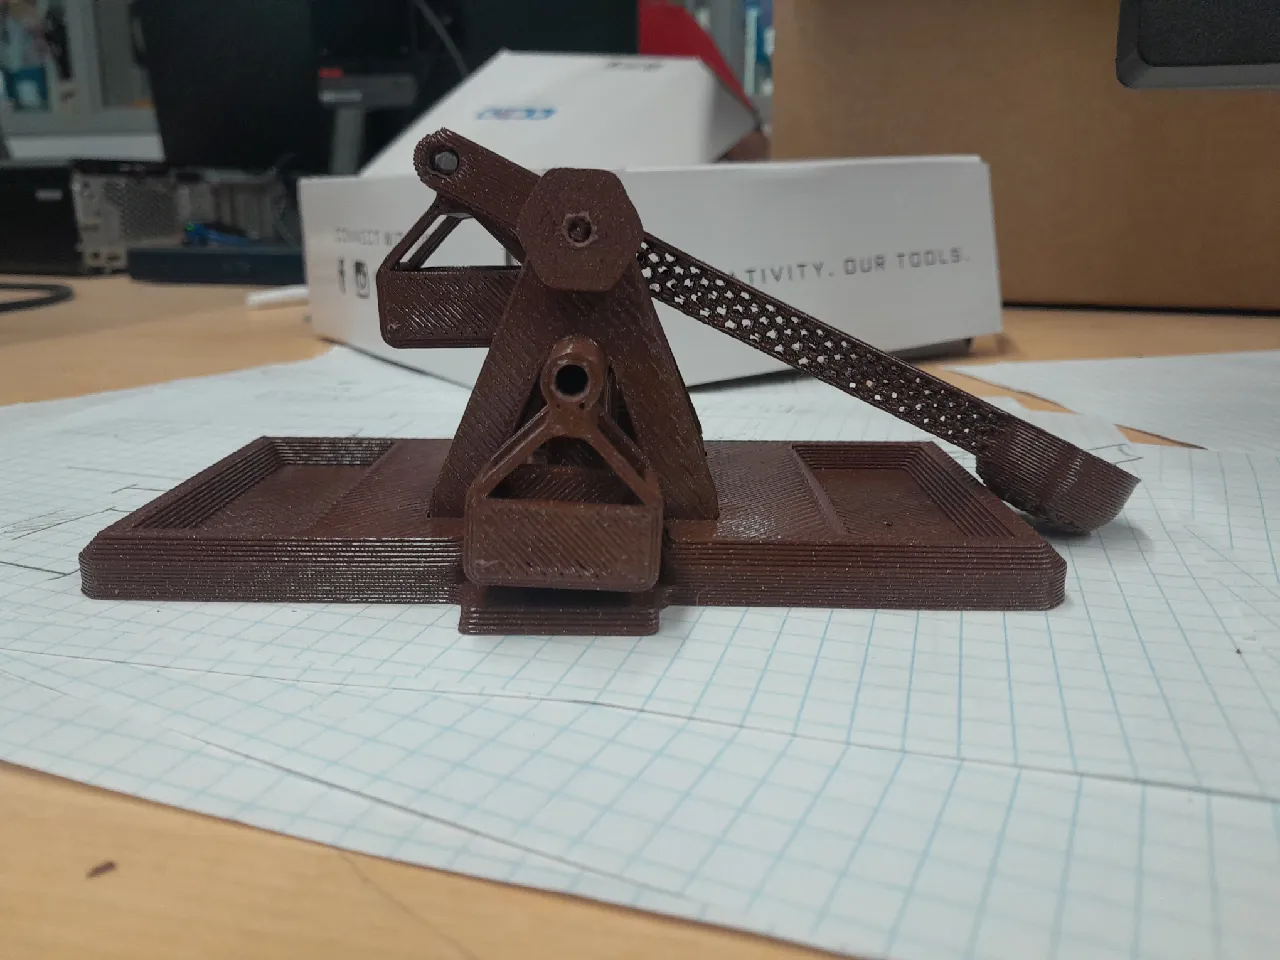
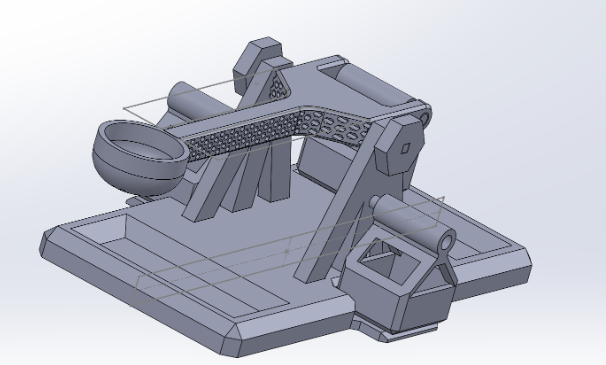
This project was a final for an introductory engineering course, and thus, there were no restraints as long as the project showcases our skills that we learned this year. I was only able to build a catapult because of how open ended the project was.
Assembly:
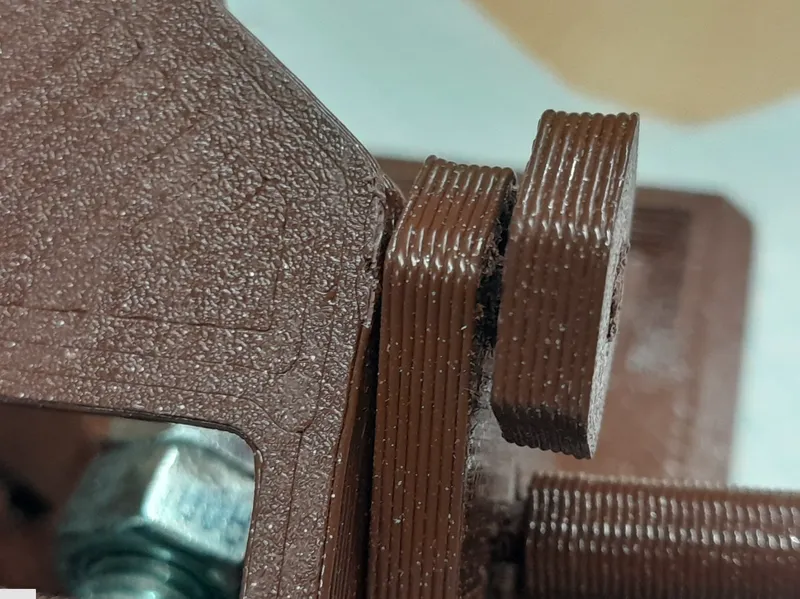
First, remove all supports with thin nose pliers. Put the support triangle pieces onto each side of the arm, their holes fitting around the rod sticking out of the arm (Face the extra shafts outward). Then, put the hexagonal nobs on each side of this rod, locking in the triangular supports.
Next, put everything previously assembled into its corresponding slots in the base, and make sure to press firmly.
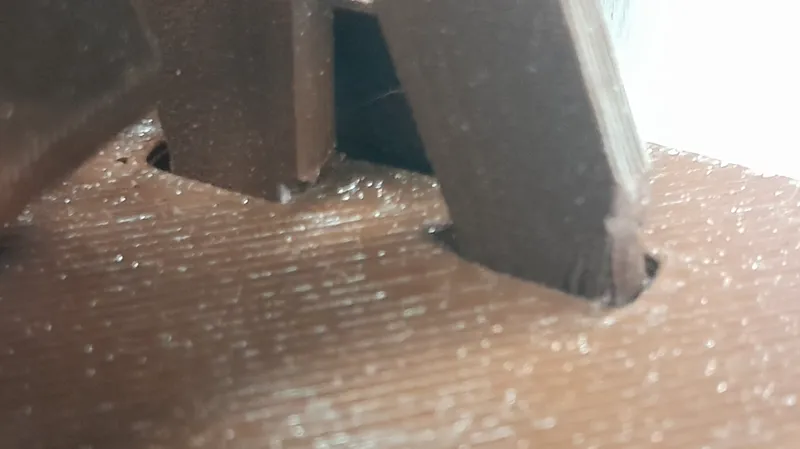
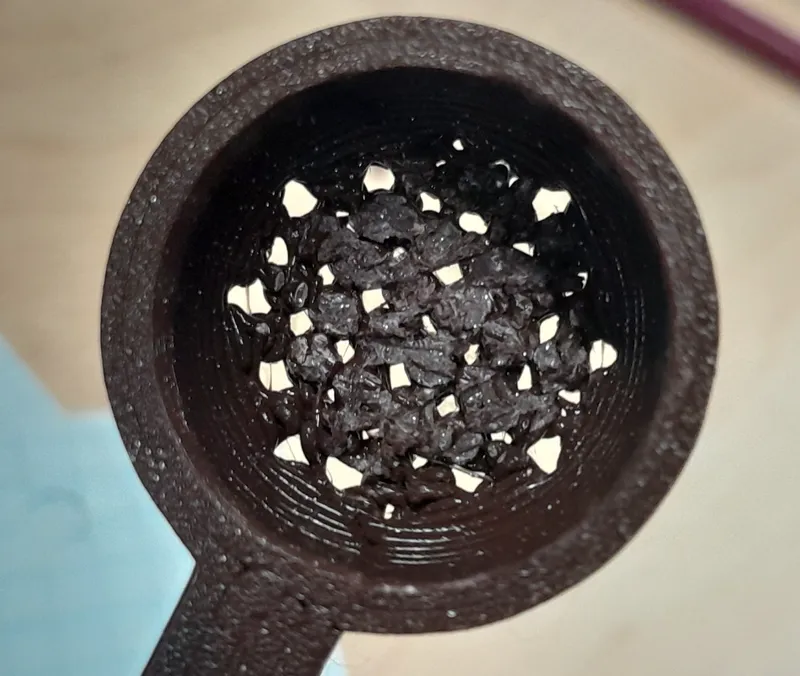
Align the basket with the holes in the front of the arm, then put the grey rod through there. Finally, load up the basket with weights and put extra weights in the cups in the base to hold it down. To use the catapult, load the projectile into the cup, twist the hexagonal nob back, then release. NOTE: while building the catapult, some parts may not fit in their holes. If this is the case, please sand down the parts or remove excess material until they do.
Design Choices:
Initially, I sketched the catapult to use a gear ratio and a ratchet and pawl system. This would have made priming the catapult significantly easier and it could have allowed the catapult to stay in a loaded state. However, I decided against using any gears because they would have significantly complicated the build.
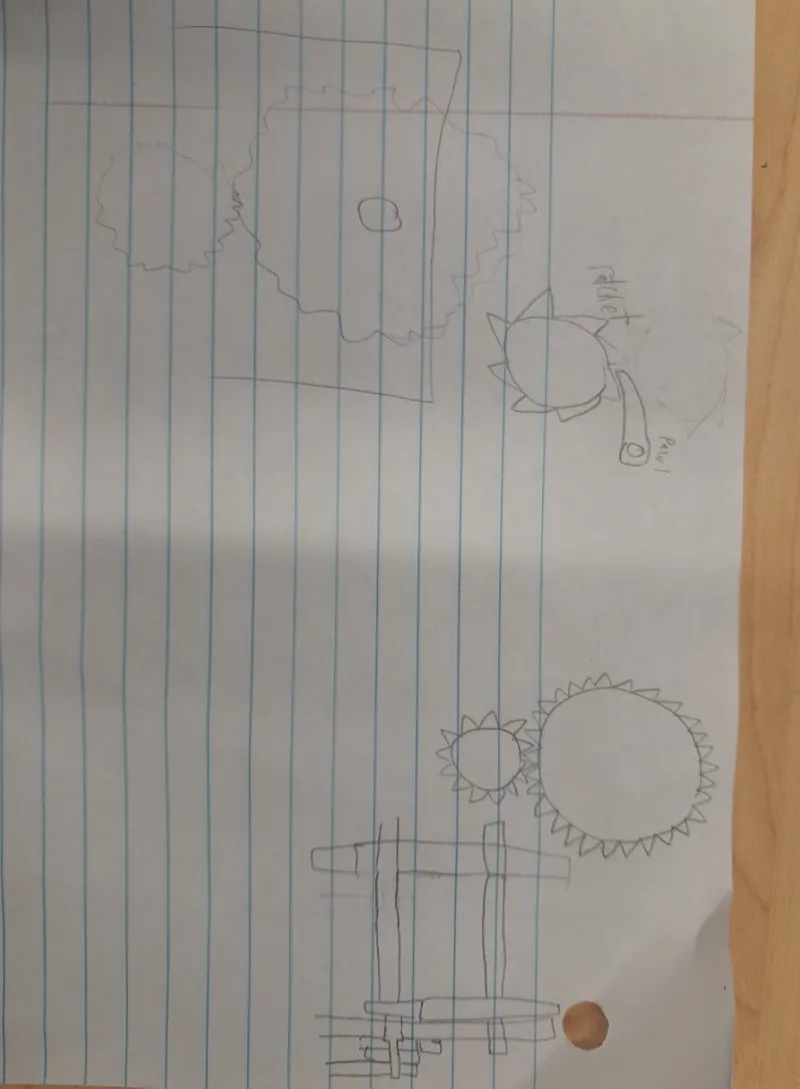
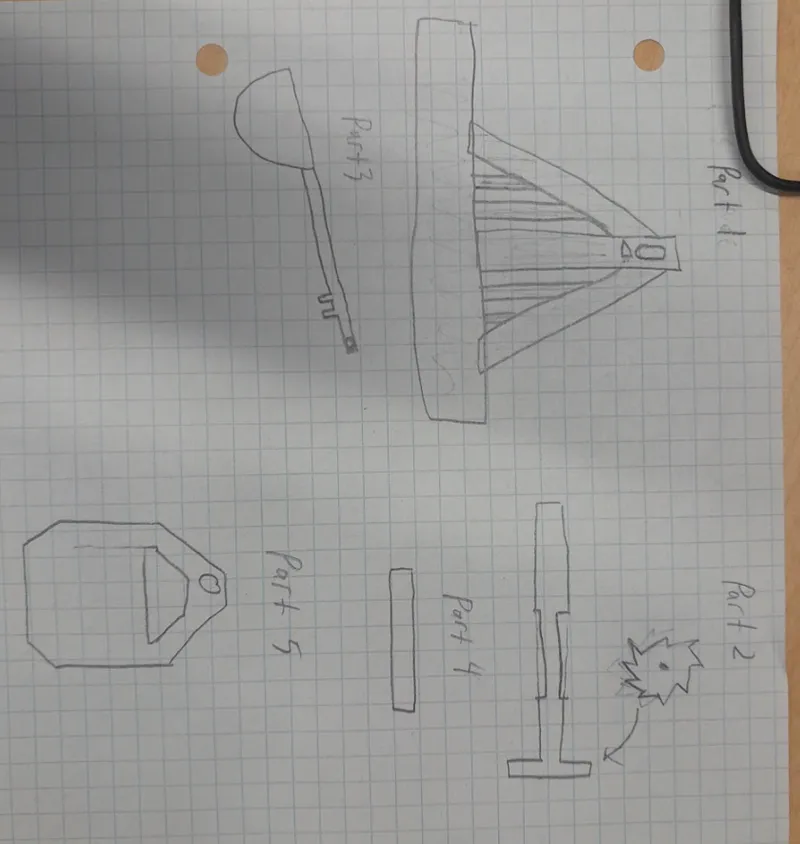
Eventually, I settled on a simple gearless design. In my paper plans, I had many supports that were supposed to look like wood beams. However, I decided that they would be too thin to look realistic so I decided to only use the essential beams.
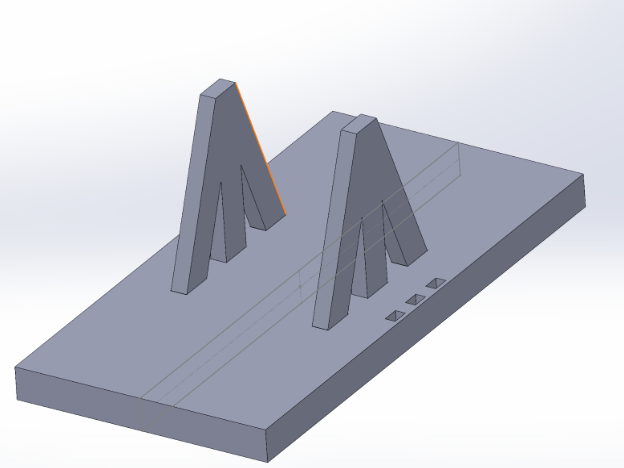
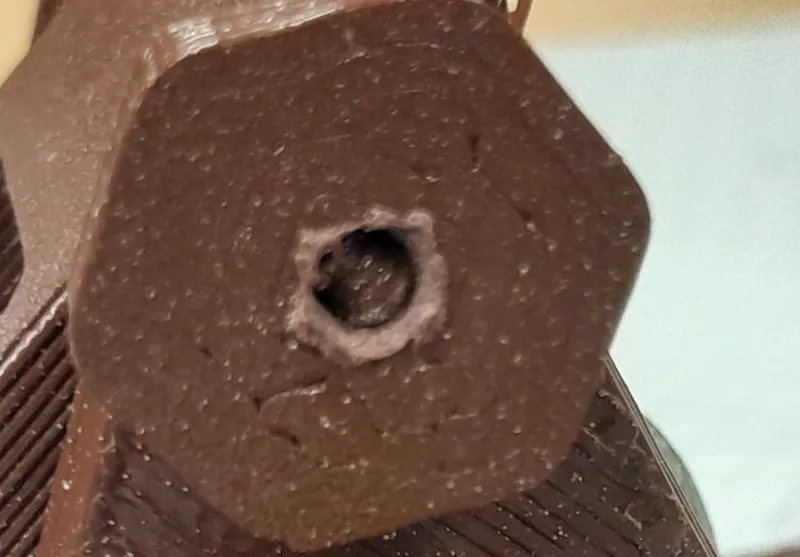
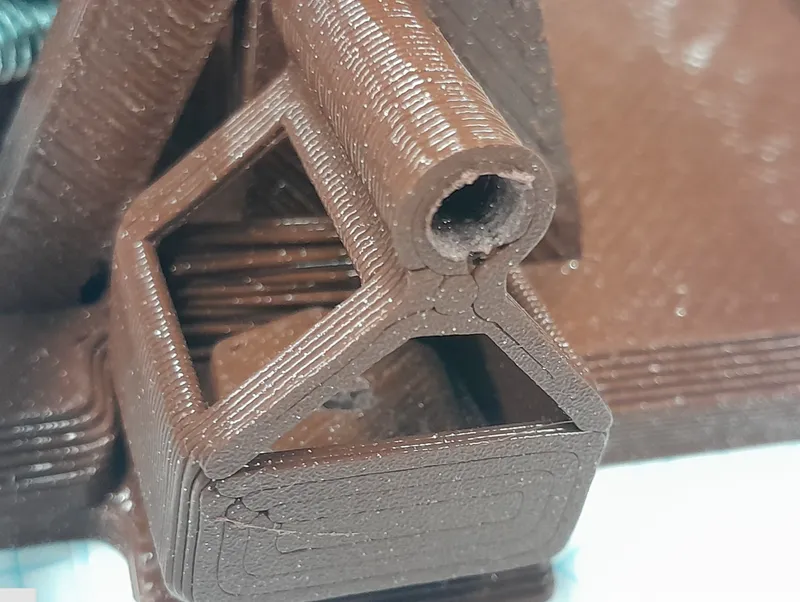
(the three holes are remnants of the smaller supports that I decided to scrap)
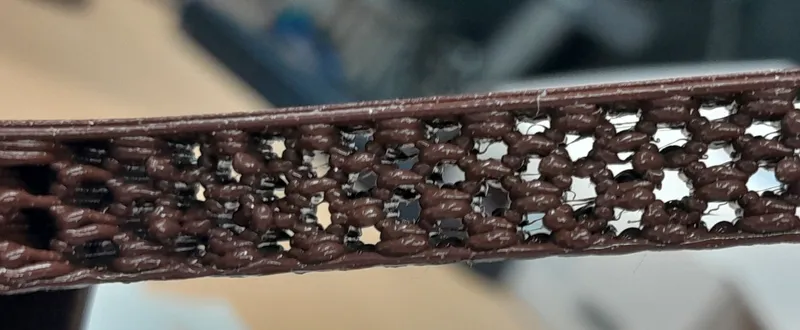
My next decision was to save some weight in the catapult arm and cup by using the Fill Pattern tool in Solidworks. I started with a hexagonal cut extrude and copied them throughout the arm. In the cup, they went vertically instead of sideways.

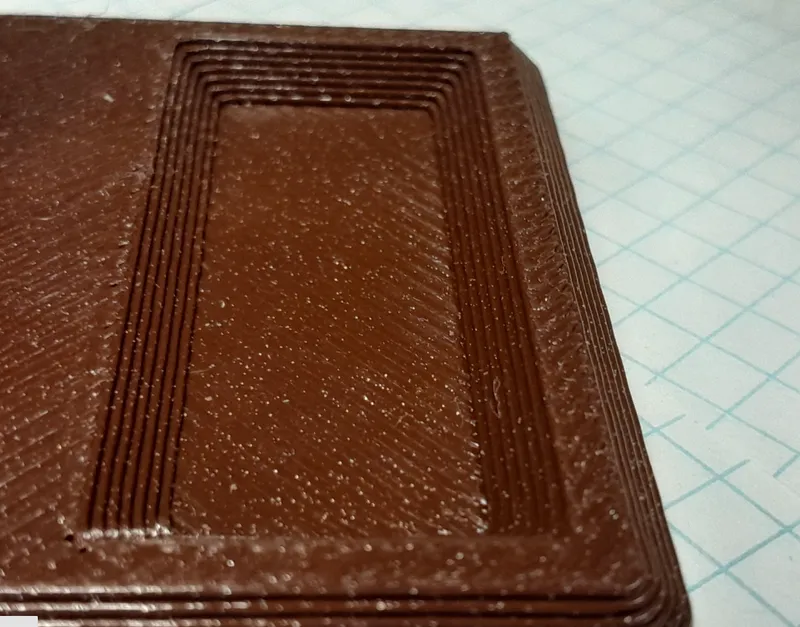
In the actual print; however, the hexagons were hard to make out because I used a 1.0 mm nozzle, making some of the details lost.
The next decision I made was to use chamfers in many of the parts. I chose chamfers (over filliting or doing nothing) because the geometric look really went with the rest of the wood and metal aesthetic of the catapult.
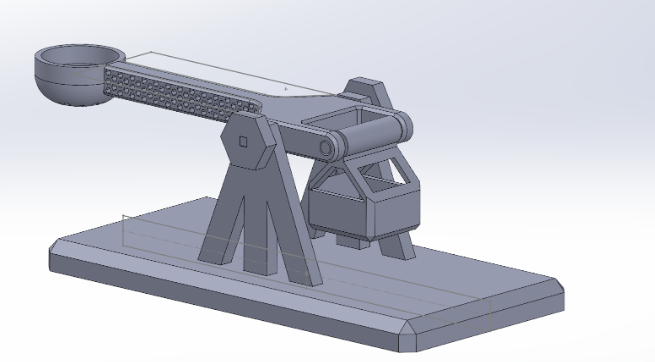
I also heard from my fellow engineers that 3D printed catapults have historically had a sliding problem when they launch. So, I decided to add weight to the base by introducing a cup in the front and back to put weights in as well as two spare baskets on the side.
That’s all there was to it!
Credits:
bradenG
Download 3D models
| File | File size |
|---|---|
 wooden-catapult-model_files
|
15 MB |