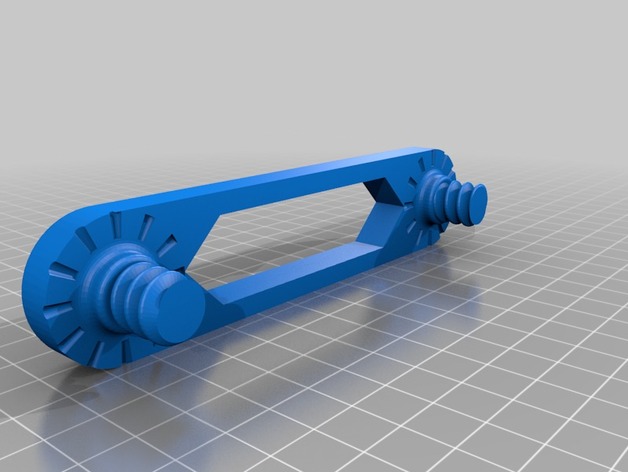
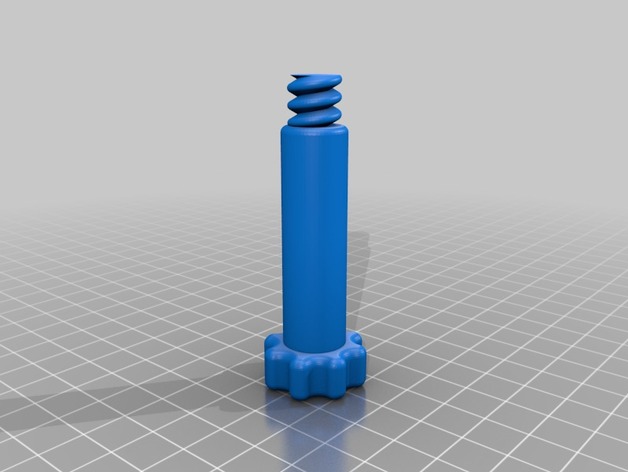
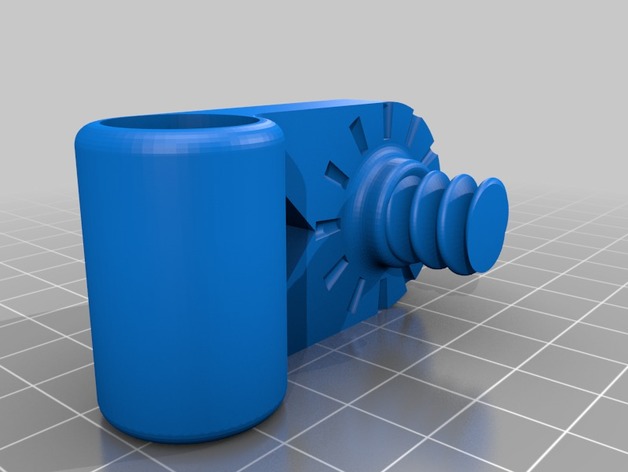
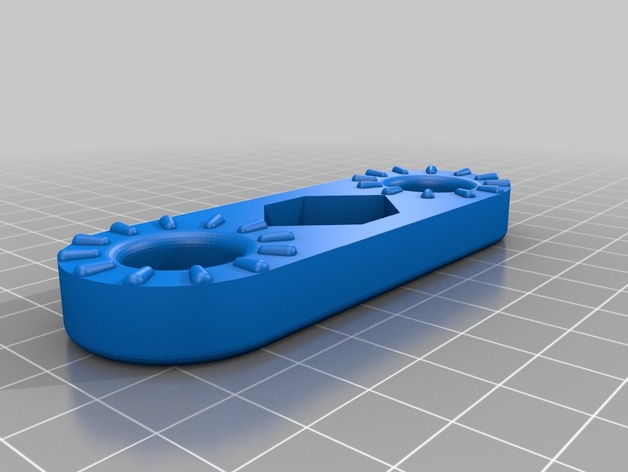
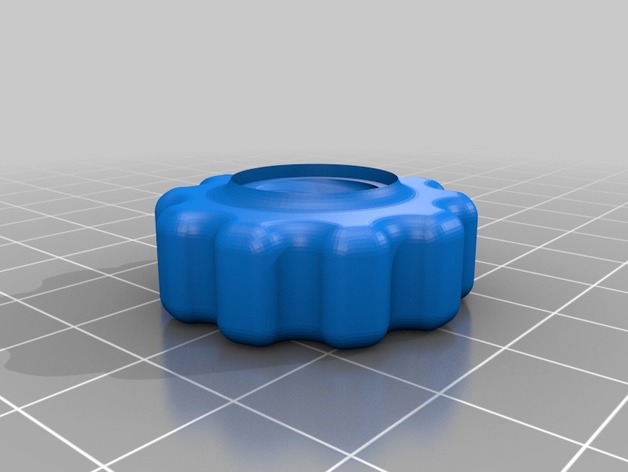
**Update (7/24/2017): Important notes in the print settings.
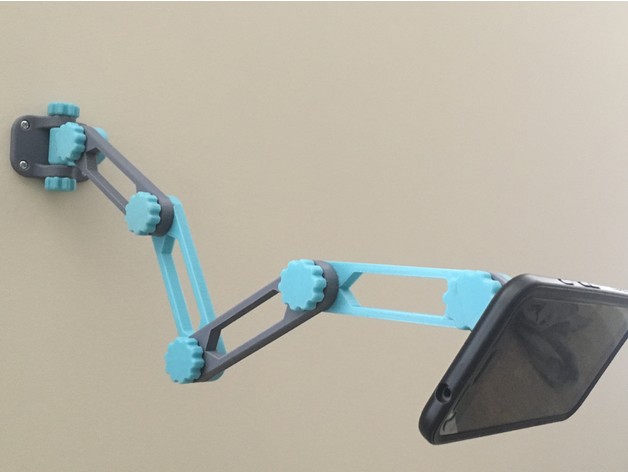
I’ve been debating mounting a TV on the ceiling above my bed. The only reason I haven’t done it is because of a fear of being crushed by a falling TV while I’m sleeping.
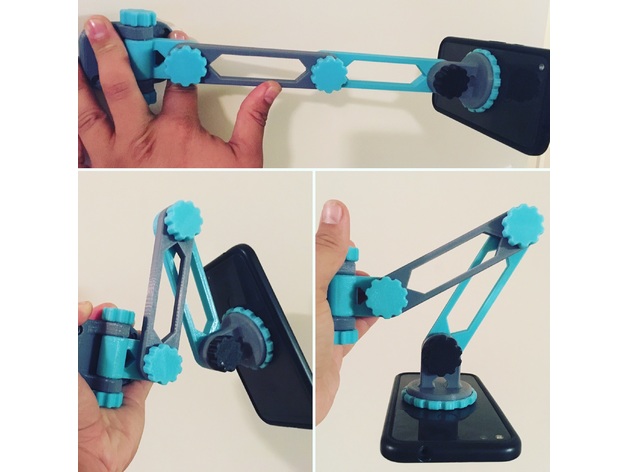
This design allows me to watch Youtube, Netflix, or other streaming video while I’m falling asleep.
Non-Printed Parts:
Adhesive Metal Plate for Magnetic Phone Mounts
4-Pack Enkay 4480-C Magnets
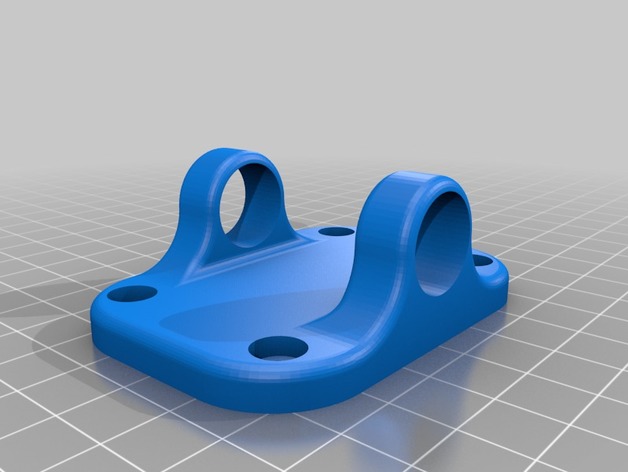
4x Screws that fit in a 5 mm hole with a head diameter no larger than 7.9 mm
4x Wall Anchors for those screws
Electrical Tape
If I had to guess on the screw size based on the charts I found online, I would say it’s a #10 screw, but I designed the wall mount around some unlabeled screws and anchors I had lying around.
Print Settings
Printer Brand:
Wanhao
Printer:
Wanhao Duplicator i3 Plus
Rafts:
No
Supports:
No
Resolution:
0.2 mm
Infill:
20%
Notes:
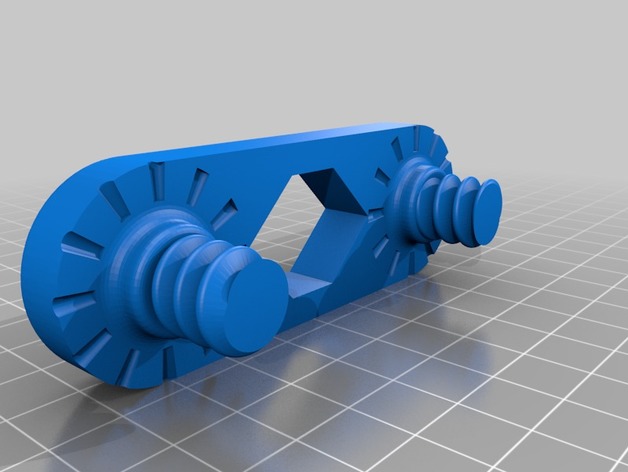
Highly Recommended Settings: Keep parts oriented as I’ve set them. Some parts will require support. The reasoning is that, when printed on my printer at 20%, there was a consistent weak spot at the base of the threading. If you want to print without supports, you can reorient those parts in your slicer and print at a higher infill, maybe 50%.
Infill: 20%
Wall Width: 1.2 mm
Top Thickness: 1.2 mm
Also, for parts that have to fit together, I highly recommend using one printer to print all the parts. I have found that one of my printers prints marginally larger (0.1-0.2 mm/20 mm), and on larger pieces, the tolerances will be off enough that the pieces will not fit right.
Post-Printing
Magnets
The bottom layers on both of my printers tend to screw with the tolerances. I had to scrape the rims of the holes for the magnets before they would pop in, essentially widening the diameters for the first couple of layers.
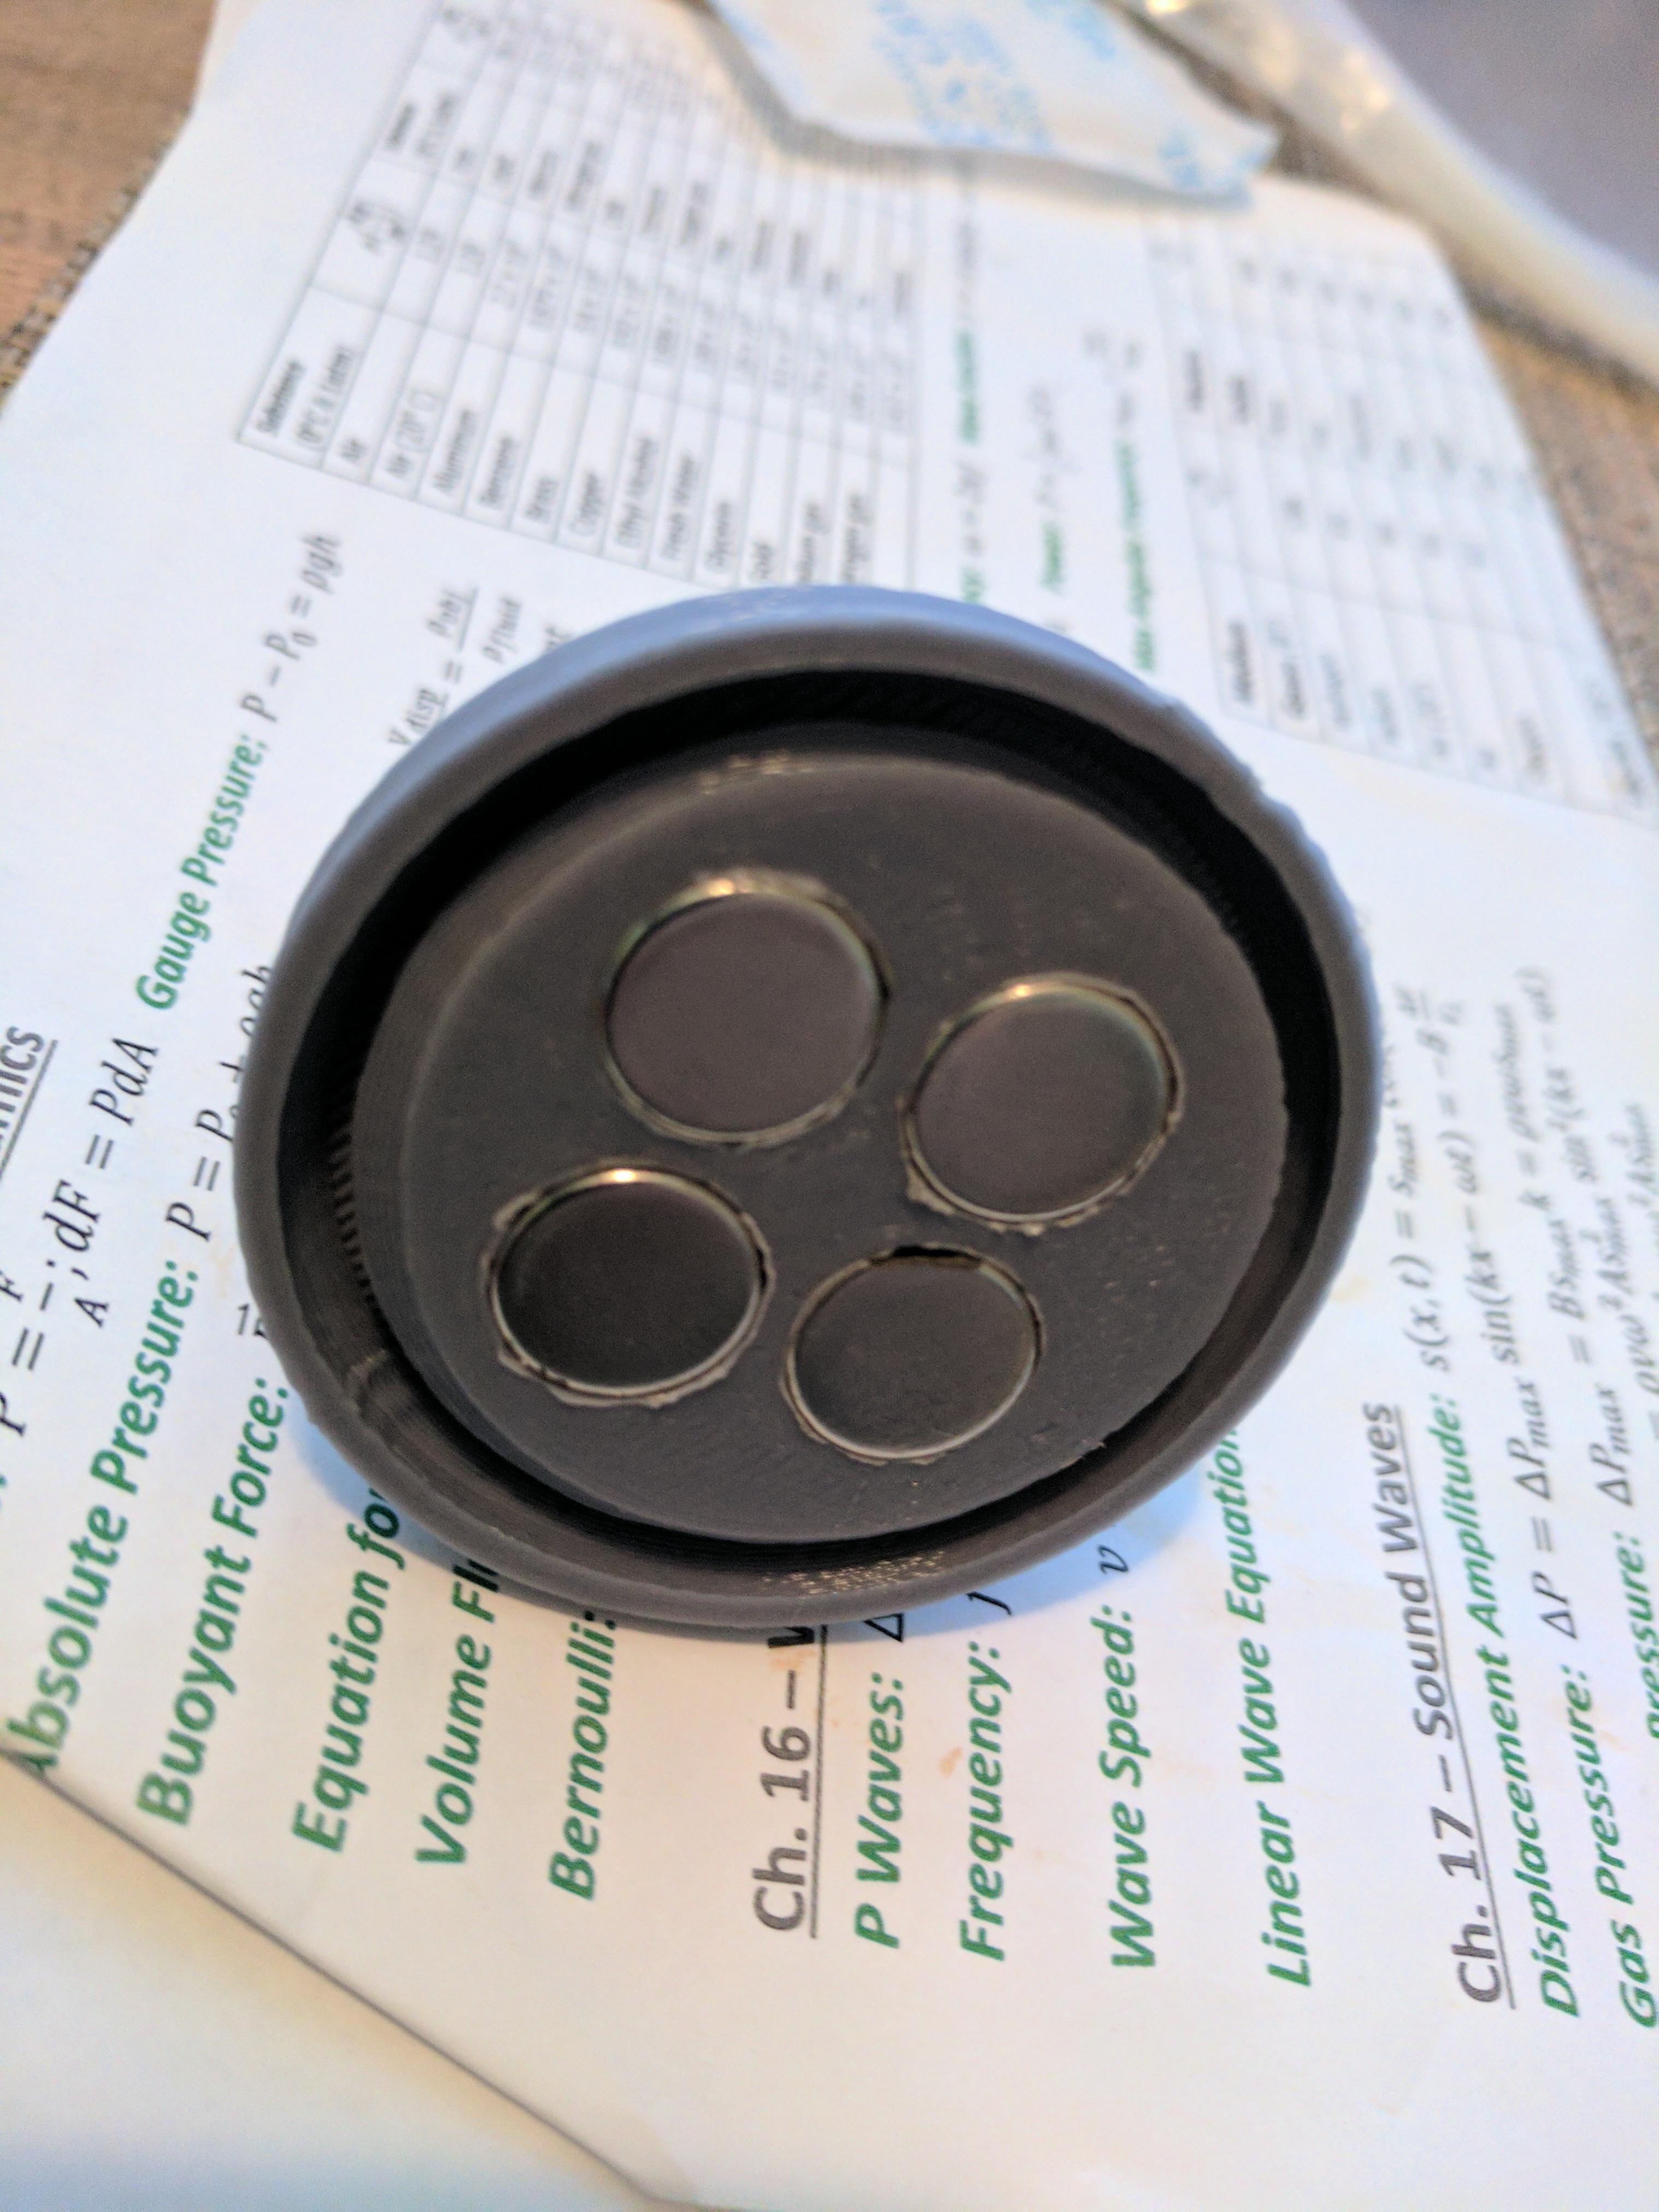
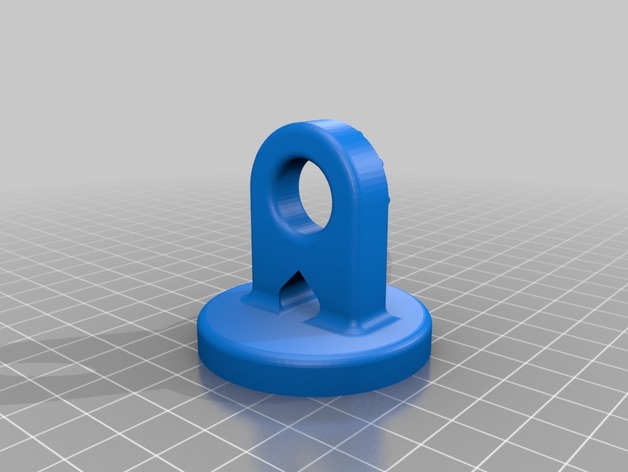
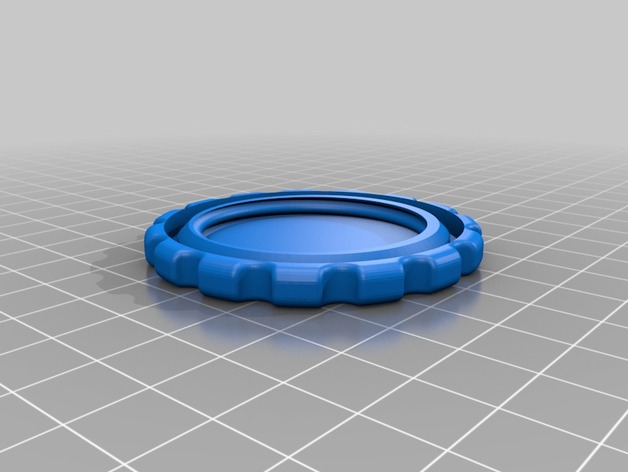
Magnetic Mount Cap
The electrical tape provides a higher-friction surface than the plastic provides. Place a few strips across the surface of the cap that the phone will sit on, and this helps to prevent the phone from sliding.
Make sure the cap is screwed down firmly to minimize the distance from the adhesive metal plate on the back of your phone and the magnets.


Credits:
doctriam

