
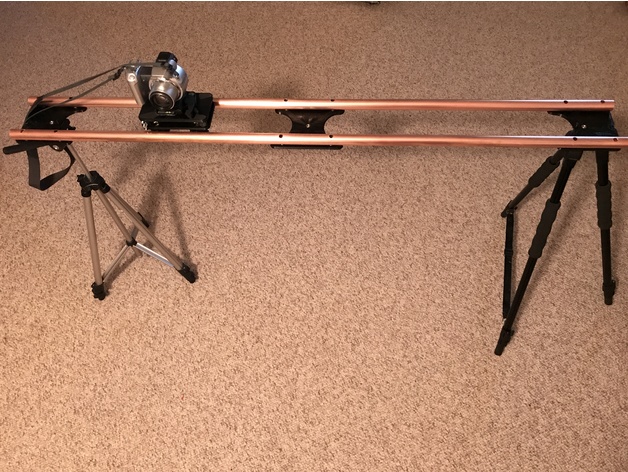

Project concept and assembly instructions: “How to Make a Professional Camera Slider (100% DIY!)” by DIY Perks
Remixed to include:
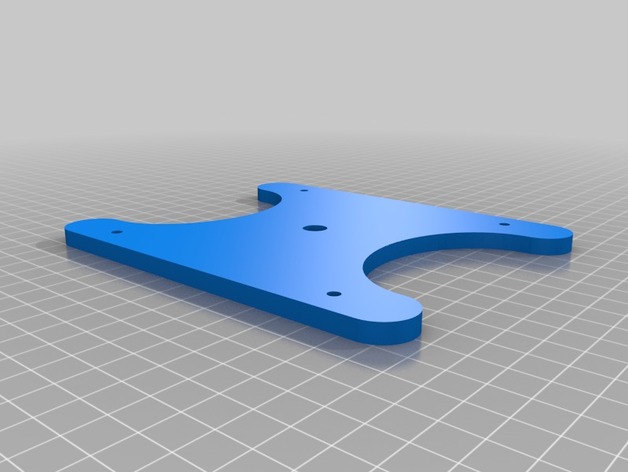
1) Limit stop pegs integrated into end plates (instead of drilling holes and inserting screws)
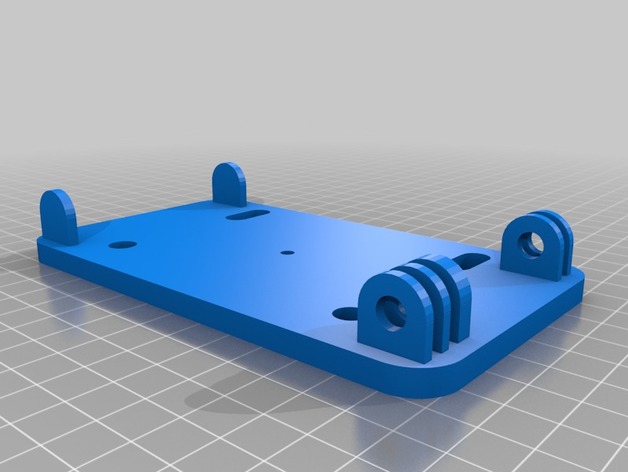
2) Action-camera-style hinges integrated into top and bottom camera mount plates (instead of installing angle brackets)
3) Pivot stops integrated into top and bottom camera mount plates
4) Holes for threaded inserts centered in end plates for more appealing surface finish
5) Recesses for threaded insert holes (instead of countersinking)
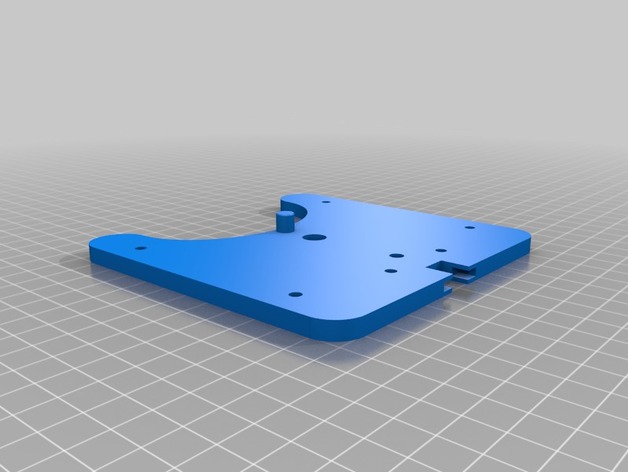
6) Redesigned center plate to fit on 150×150 build area (original was 180mm)
7) Added hole for eye bolt rope guide to end plates
8) Redesigned larger axle space for end plate rope pulley
9) Added caps for pipe ends and screw access holes
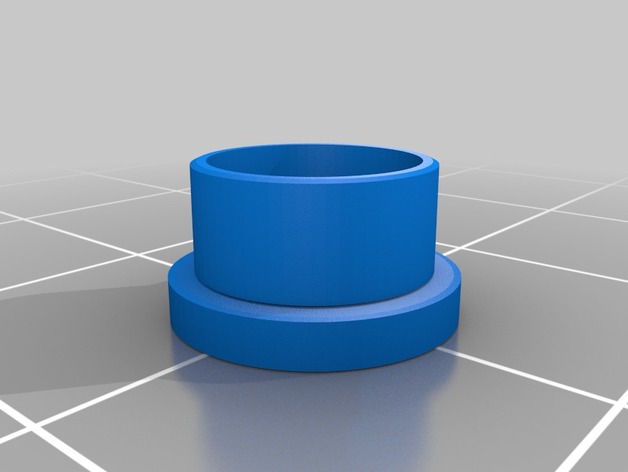
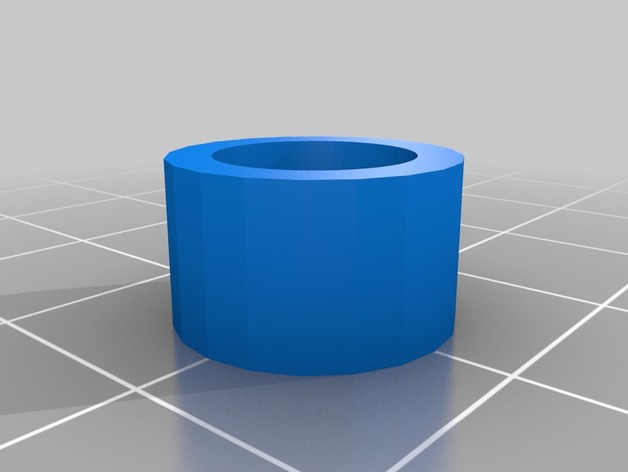
10) Added end rope pulley and slider wheel parts (wheels accept 608 skate bearings)
11) Added slider wheel spacers (instead of stacks of washers)
Print Settings
Printer Brand:
Printrbot
Printer:
Printrbot Simple Metal
Rafts:
Doesn’t Matter
Supports:
Doesn’t Matter
Resolution:
0.3mm
Infill:
20%
Notes:
Printed in Black PLA.
Sliced with Slic3r, g-code handled by Repetier Host
I used Archimedes Coordinates for top and bottom surface layers, looks nice!
Honeycomb infill pattern.
Post-Printing
I substituted SAE equivalents for the fasteners in my build (as opposed to metric sized components explained in the video). The 3/4 inch copper pipes are attached to the plates with #6-32 x 1/2 inch button head screws (uses 5/64 inch Allen wrench) with #6-32 acorn nuts (instead of M4). Slider wheels attach using 5/16 x 1 inch socket cap screws (uses 1/4 inch Allen wrench) with 5/16 inch acorn nuts (instead of M8).
I clipped short pieces of a coat hanger for the end pulley axles. Glued in place with super glue.
Integrated hinges in top and bottom camera mount plates uses (2) 1/4-20 x 1 inch hex head bolts. These bolts are captured by the hex recesses in the hinges.
Depending on the wing nuts used to tighten the hinges, you may need to heat the plates with a lighter and reshape/relieve some material to allow clearance for the nuts.
I chose to use the commercially available slider wheels instead of the 3D modeled parts. I prefer the hard rubber/nylon material for these parts. (And I wasn’t thrilled with how TinkerCAD shaped the convex interior of the slider wheels (not smooth enough))
How I Designed This
Modeled in TinkerCAD
https://www.tinkercad.com
Credits:
Muhalo
Download 3D models
| File | File size |
|---|---|
 Camera_Slider_remix
|
613 KB |