
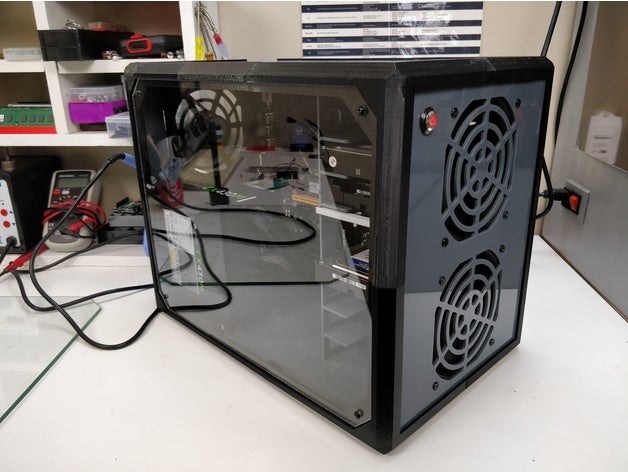
his is my 3D printed and laser cut custom NAS server case !
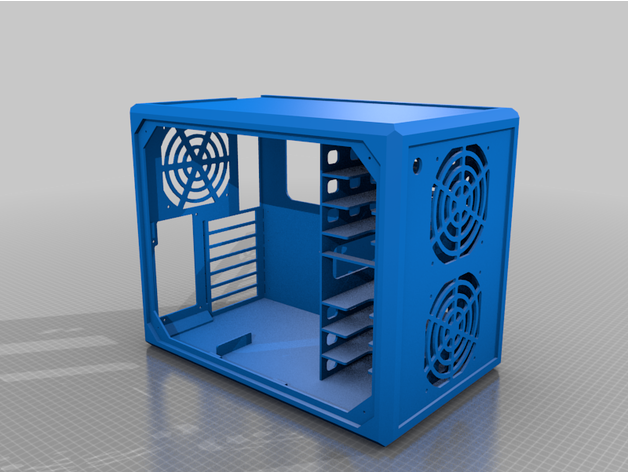
The case is composed of a 3D printed structure that hold the laser cut parts made with acrylic.
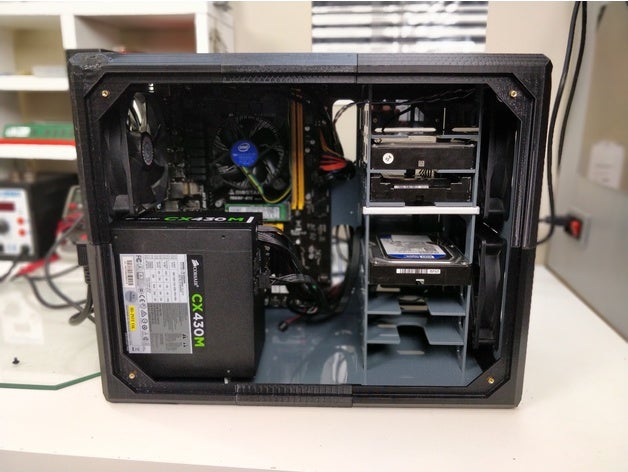
It can fit up to an ATX motherboard (compatible w/ mATX and ITX), an ATX power supply and up to 6 3,5″ HDDs.
Plus 2 120mm fan openings on the front and 1 on the rear.
I’ve also designed a SATA backplane to facilitate cable routing (not finished yet).
To assemble the case you need:
14 M3 x19mm screws
8 6mm spacers for the side panels
some 6mm spacers for the motherboard
some M3 nuts (to maintain the spacers)
1 16mm momentary switch
Print Settings
Printer: Alfawise U30
Rafts: No
Supports: Yes
Resolution: 0.2
Infill: 20%
Filament: Dailyfil PETG Black
Notes:
All the parts of the frame are 3D printed in PETG with 20% infill and assembled using 14 M3 x19mm scwews.
Make sure to remove all the support material and properly clean the grooves on these parts to facilitate the fitment of the panels.
List of the parts to print and quantity:
angle alim bas x1
angle alim haut x1
angle arriere bas x1
angle arriere haut x1
angle central x4
angle avant x4
pci support x1
Laser cutting
All the panels are made from 3mm acrylic sheets, I’ve used 4 50cm x 40cm sheets to cut all the parts.
The 2 side panels are made from 2.5mm plexiglass.
All the parts are available as .DXF files, they should be compatible with most laser cutting machines.
List of the parts to cut and quantity:
back x1
front x1
bottom x1
top x1
motherboard tray x1
hdd cage x2
hdd support x6
hdd crossing x1
support psu x1
side x2
Credits:
GOODWIN_YT
Download 3D models
| File | File size |
|---|---|
 DIY+NAS+SERVER+CASE
|
6 MB |