
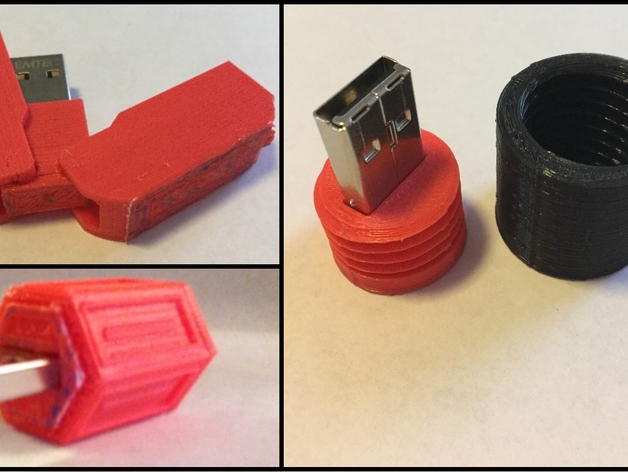


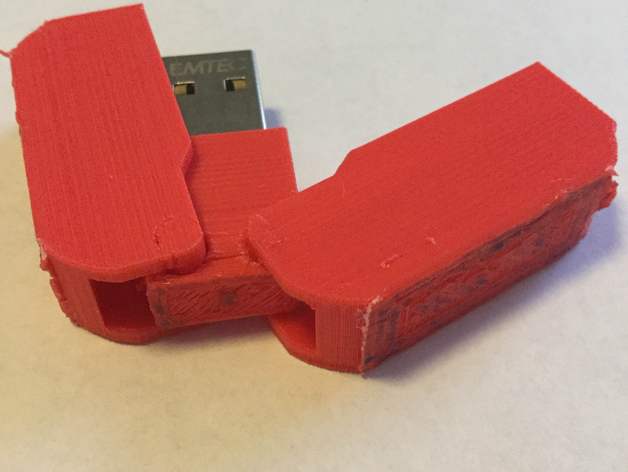
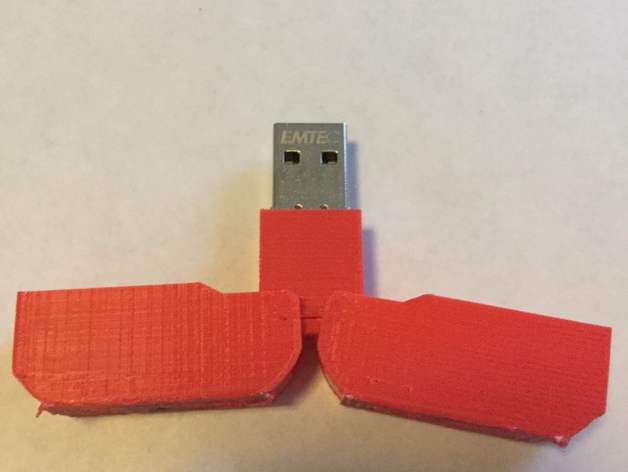
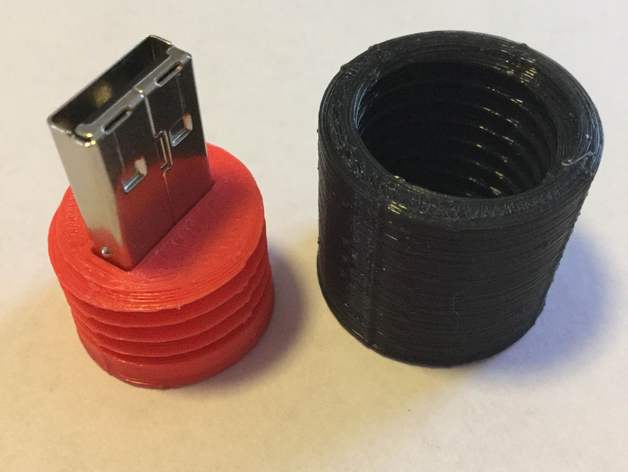
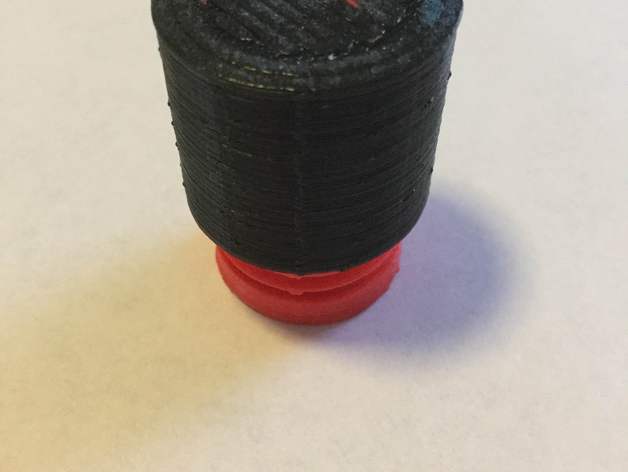
In this project, students will be given a flash drive and asked to design a custom case for it. Each student’s design should incorporate some mechanism or component to protect the flash drive. The more creative the better. The finished designs should be in such a shape so that the flash drive can still be inserted into usb ports. I included three different examples for this project. The first one makes use of a sliding mechanism to allow the user to extend and retract the flash drive. The second one is protected by a cover that splits down the middle and swings outwards to expose the flash drive. The third one uses a corkscrew design to allow the user to screw a cap onto the flash drive to protect it. Each student should be challenged to make use of a mechanism not used by anyone else in that class. It is also possible for students to work together to make a design that incorporates more than one flash drive.
How I Designed This
Retractable Design
In this guide, I will show you how I designed the retractable flash drive case.
Step 1
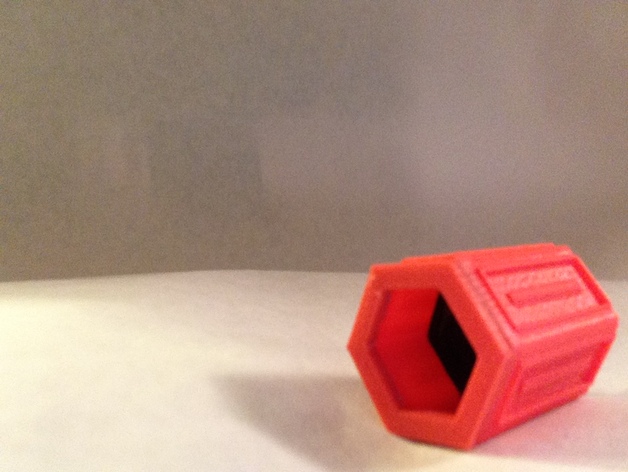
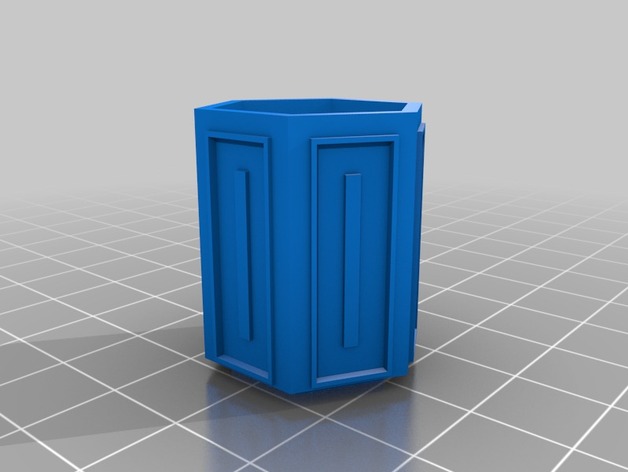
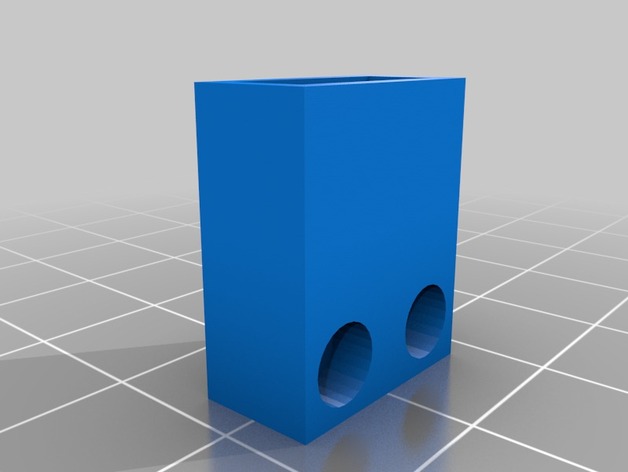
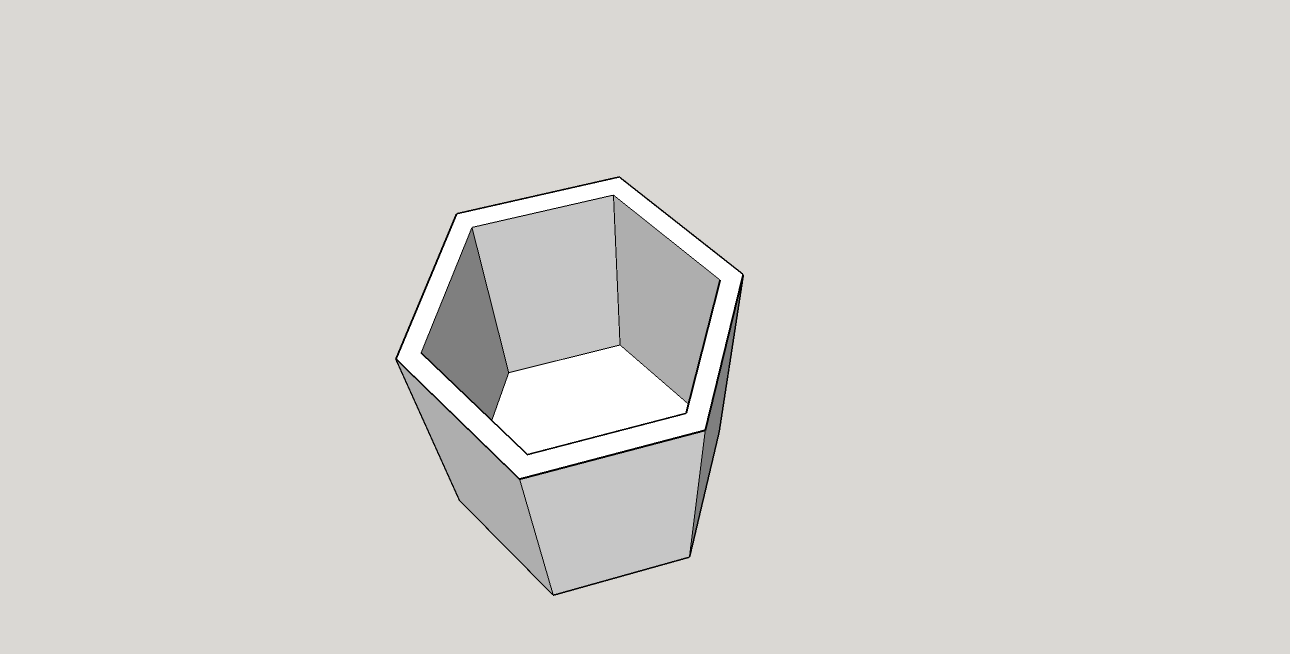
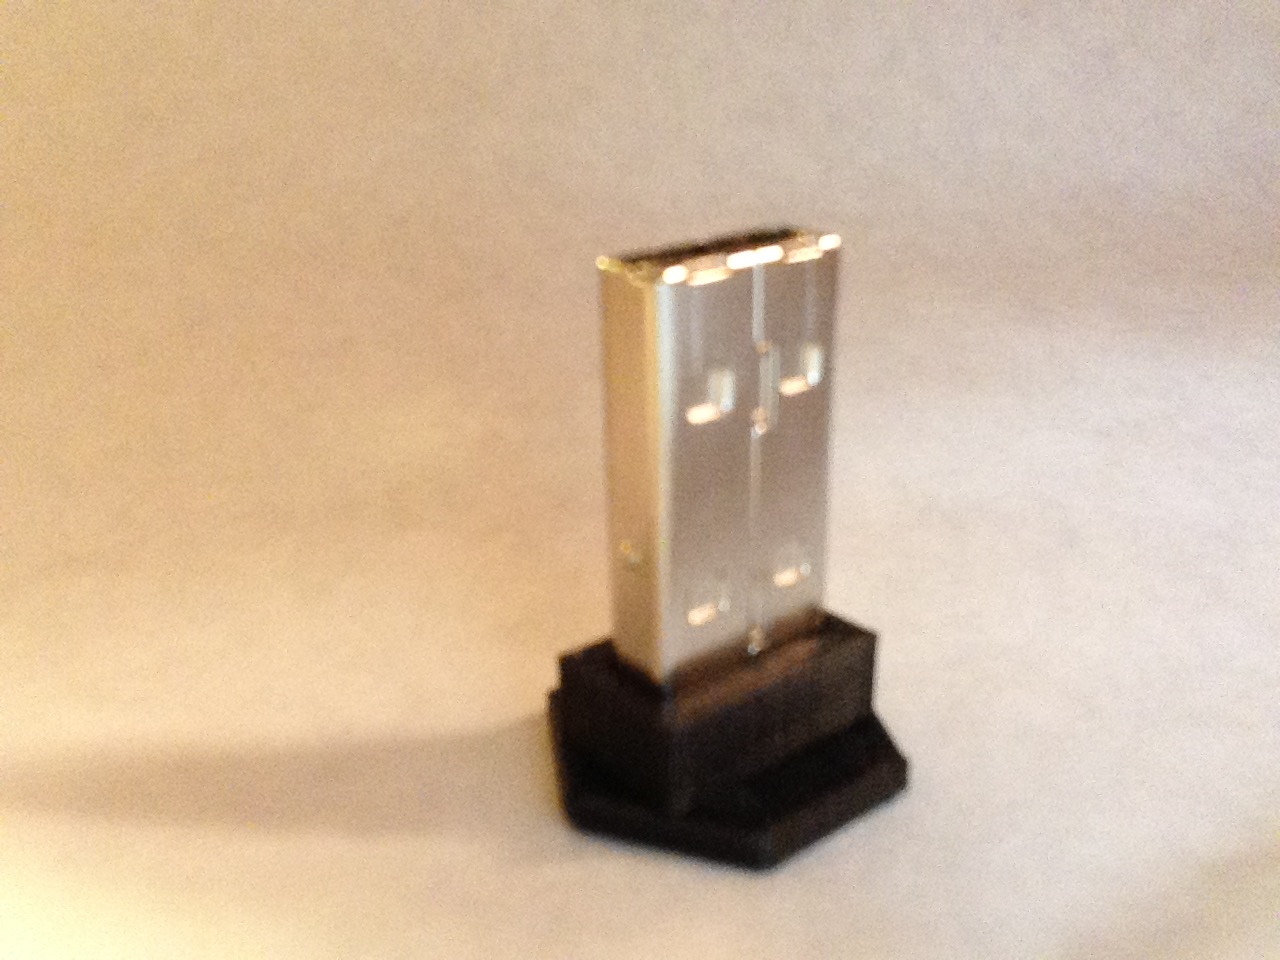
First, I designed and hollowed out a shell that would be large enough to contain the flash drive.
Step 2
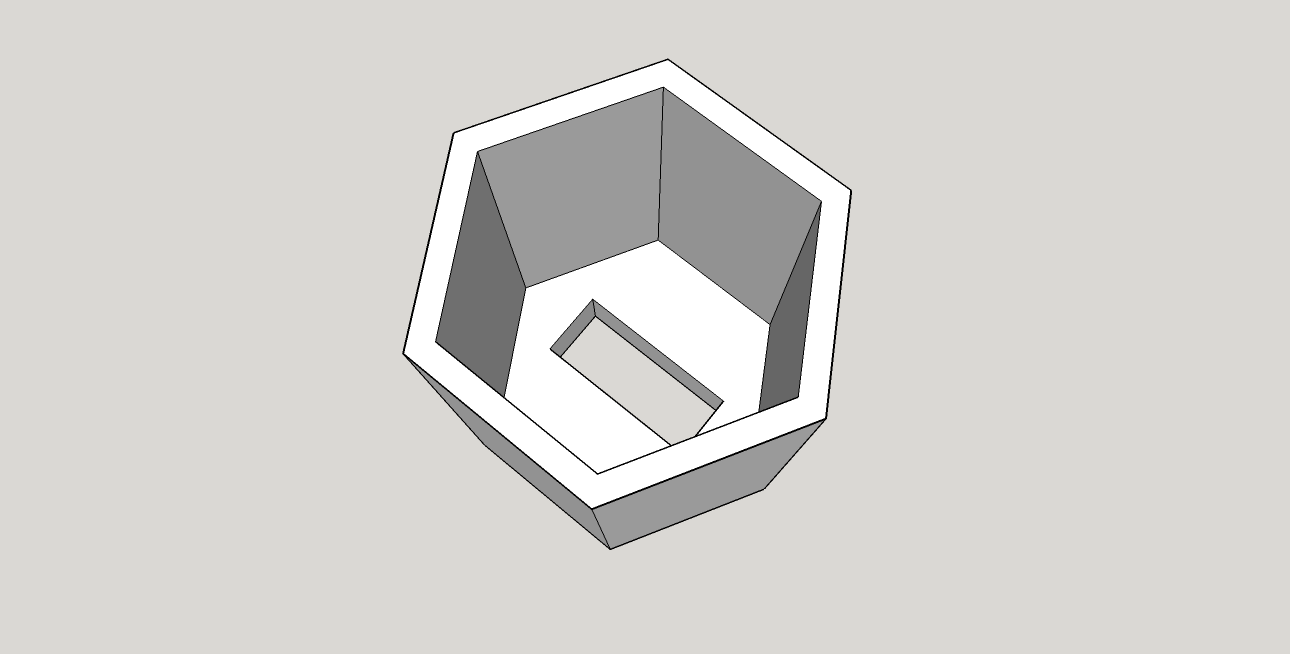
Next, I cut a hole through the shell that would be just large enough for the flash drive to slide through, but small enough that will be enough friction to prevent the flash drive from falling through unintentionally.
Step 3
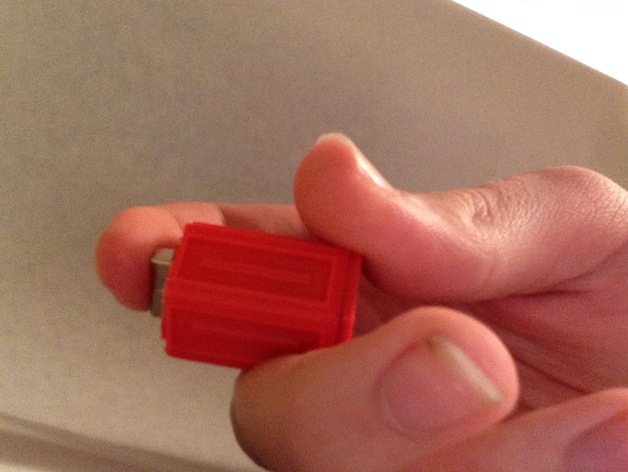
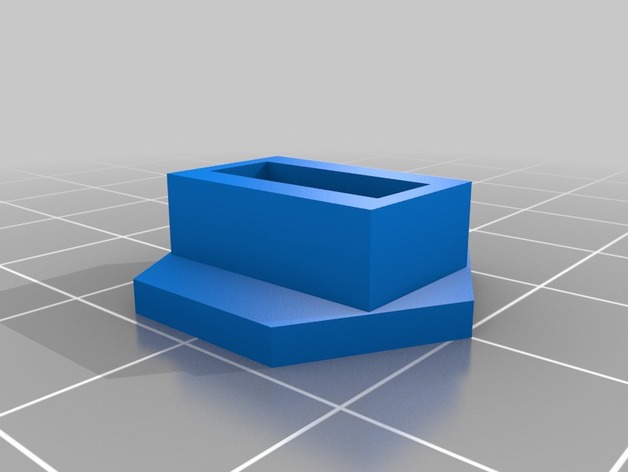
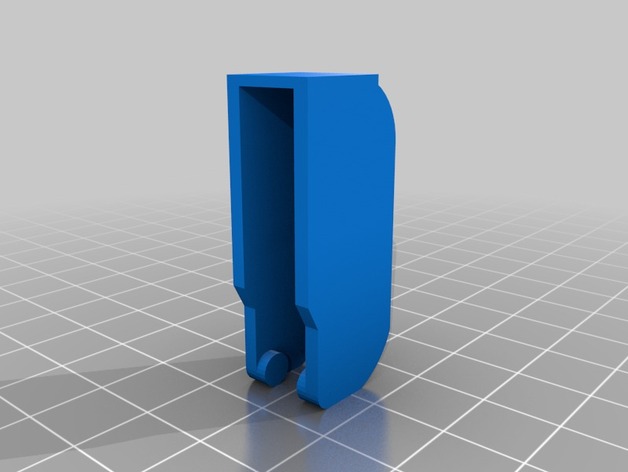
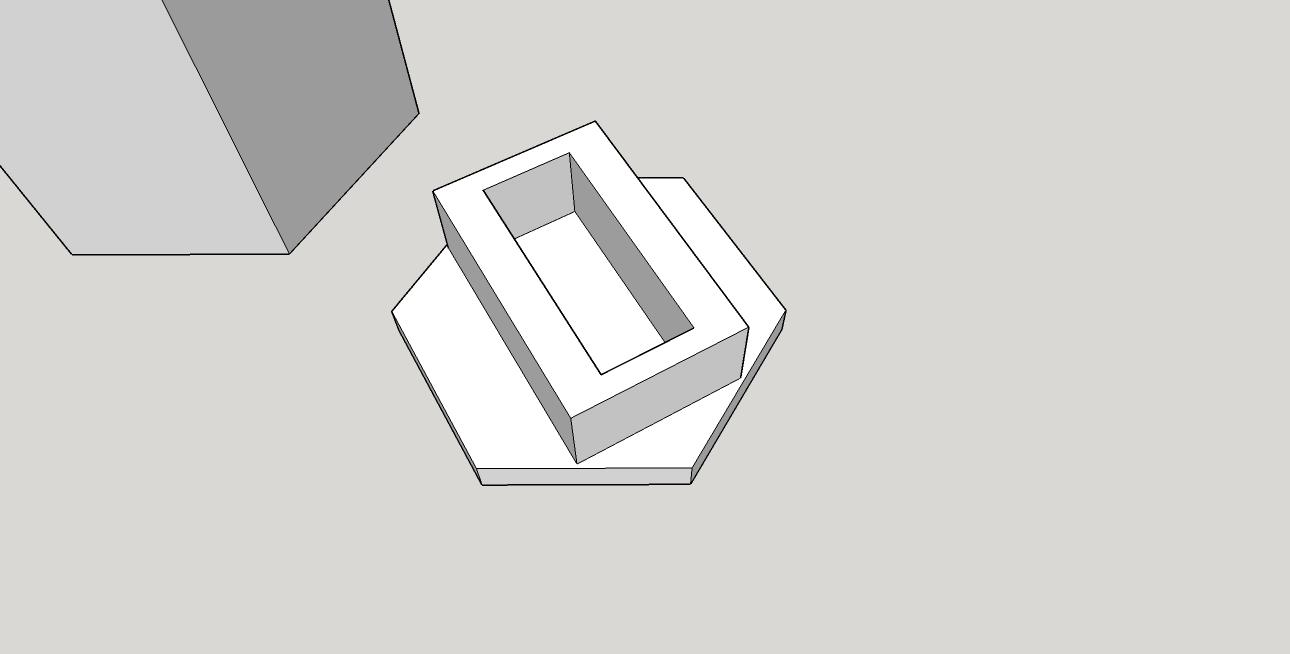
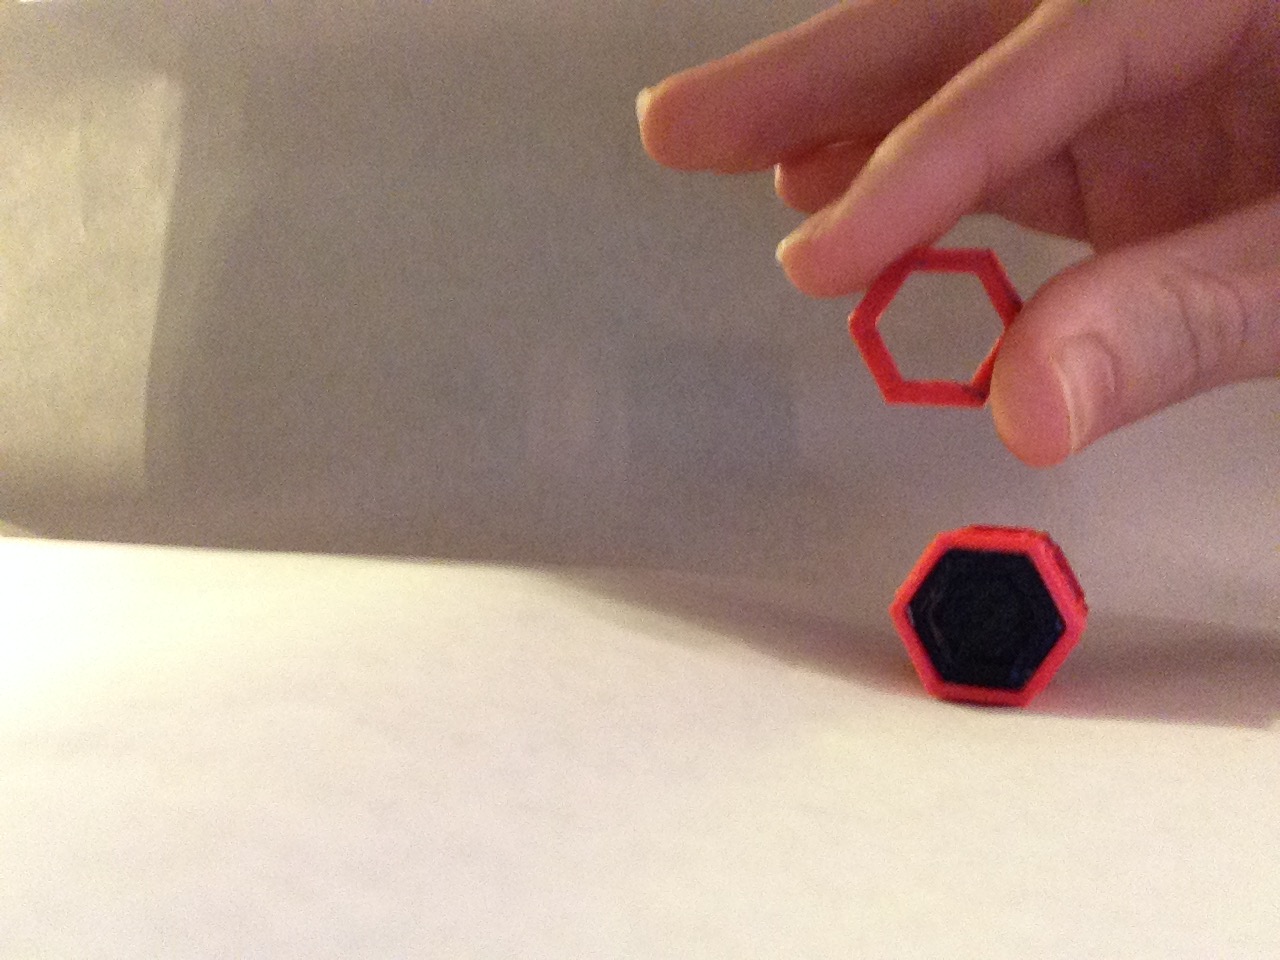
Next, I designed the piece that will go inside the shell that holds the flash drive. This is also the piece that you push on to extend the flash drive. There should be enough clearance for it to slide around on the inside of the shell easily. The side of the slider that will be inside the shell should have a collar to hold the flash drive in place.
Step 4
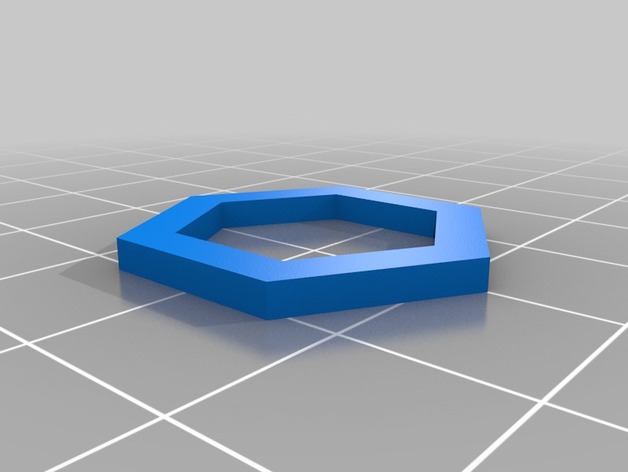
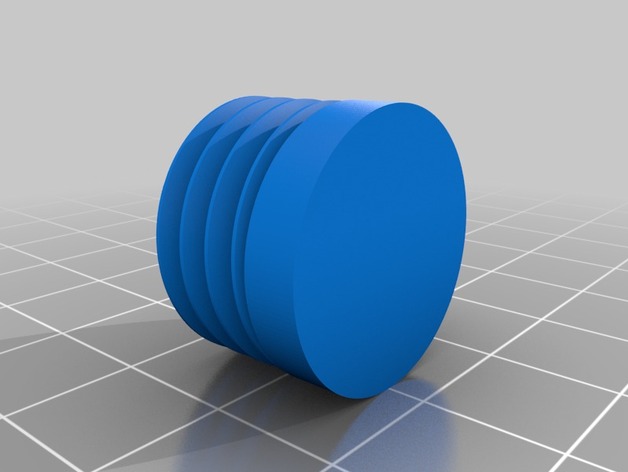
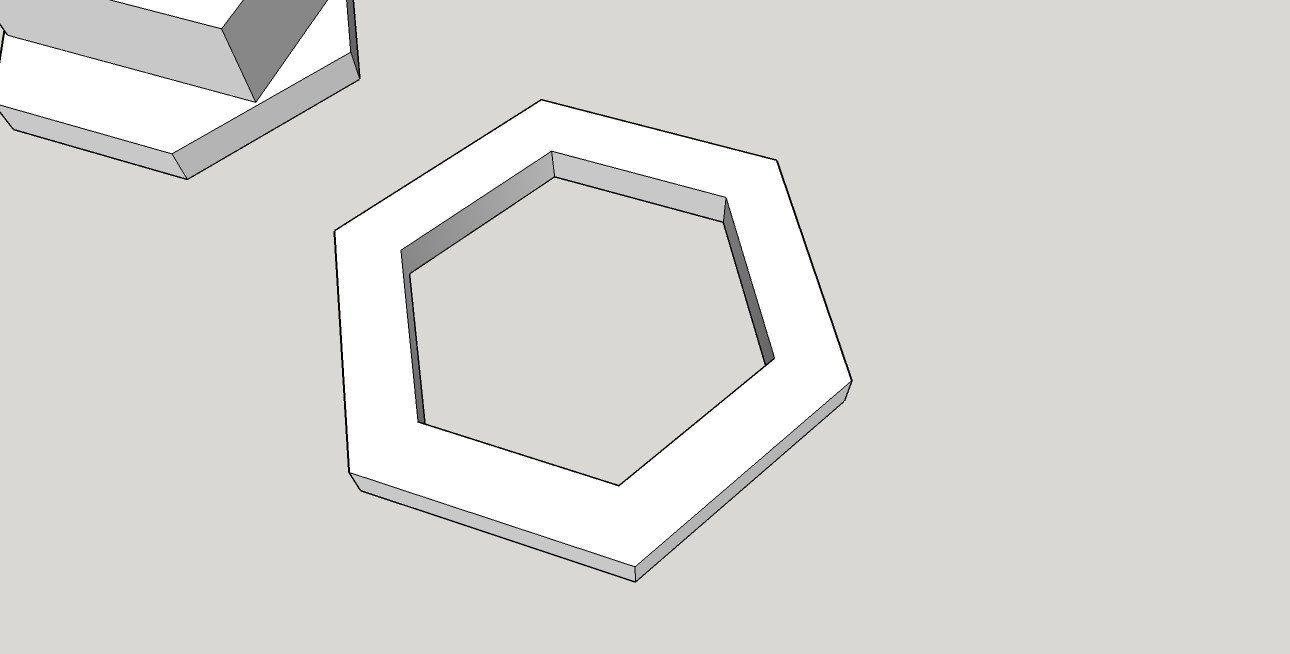
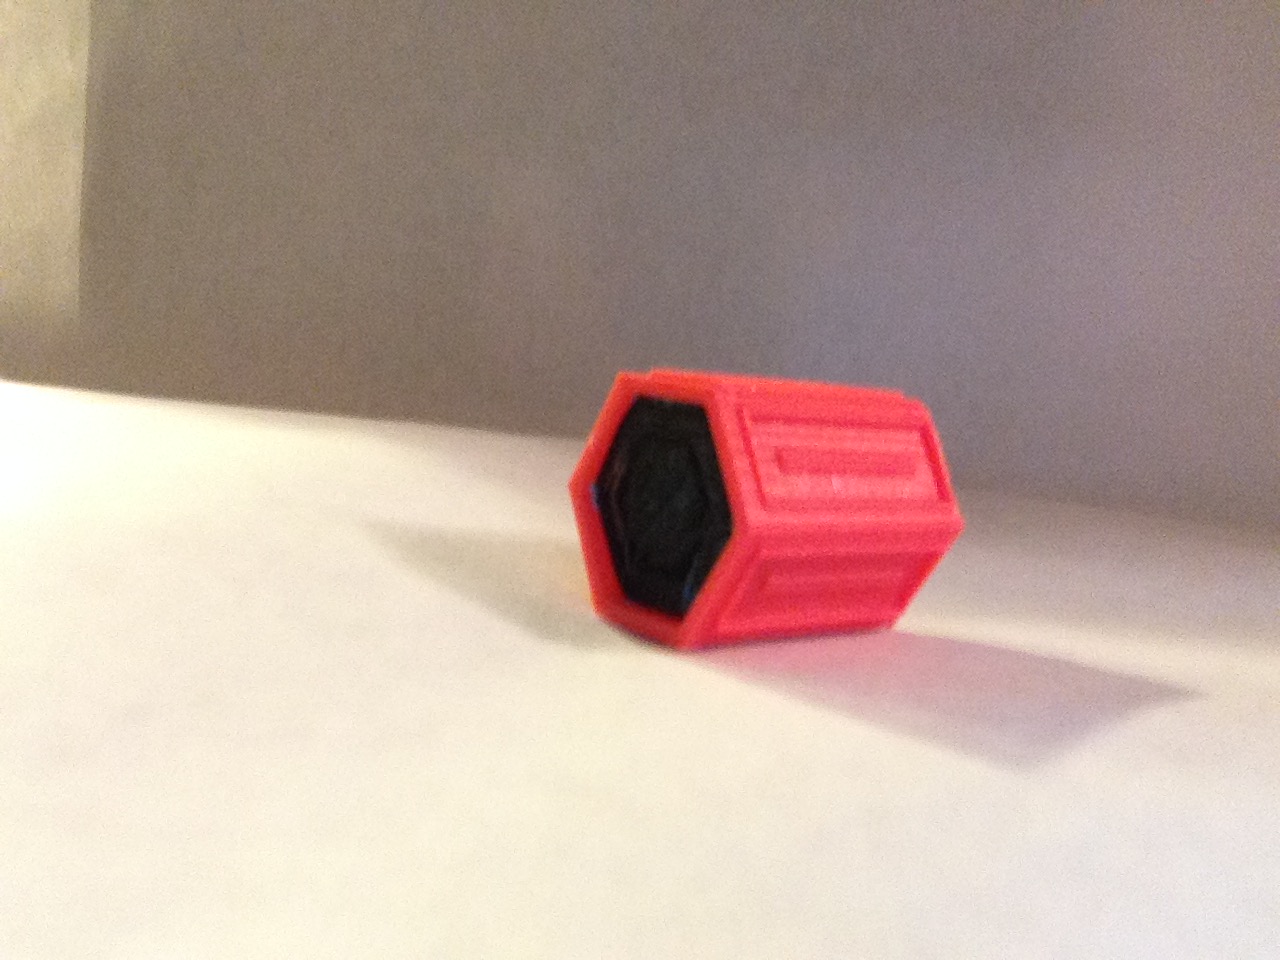
For the last design step, design a cap to hold the slider inside the shell. The outer part should be that same size as the shell, but the inner part should stick out farther than the inner part of the shell.
Step 5
Print out one of each piece.
Step 6
Insert the flash drive into collar on the slider. It is recommended to secure it with a little bit of your favorite brand of super adhesive.
Step 7
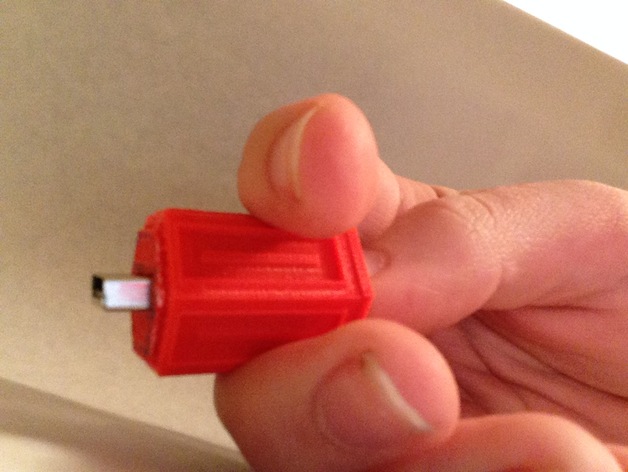
Insert the slider into the shell. It may be necessary to sand down the sides of the slider to make it move a little easier. The flash drive should line up with and go through the hole on the opposite side of the shell.
Step 8
Glue the cap onto the end of the shell that you just inserted the slider into. This will prevent the slider from coming out.
Finished
You are finished with the first example. If a student uses this type of mechanism, encourage that student to try making the shell a different shape.
Project: Design a Flash Drive Case
Objectives
Each student should create a case to protect a flash drive. Each case should incorporate a unique mechanism or component. Students will learn about designing pieces on a 3D CAD program that will interact with each other.
Audiences
This project is for students with intermediate experience working with 3D CAD programs.
Preparation
Each student will need a flash drive with the commercial case removed. Students will also need access to a program to design their project on and a printer to produce it on. Some form of super adhesive will come in handy.
Steps
brainstorm ideas for a unique case
get all necessary measurements
design on a 3D CAD program
print out the prototype
assemble the prototype and take notes on what could be improved
revise the design
print out and assemble final case
Results
Each student should have produced a functional case that can protect their flash drive.
Credits:
nugner_77
Download 3D models
| File | File size |
|---|---|
 Flash_Drive_Case_Design_Project
|
1 MB |