
Preface:
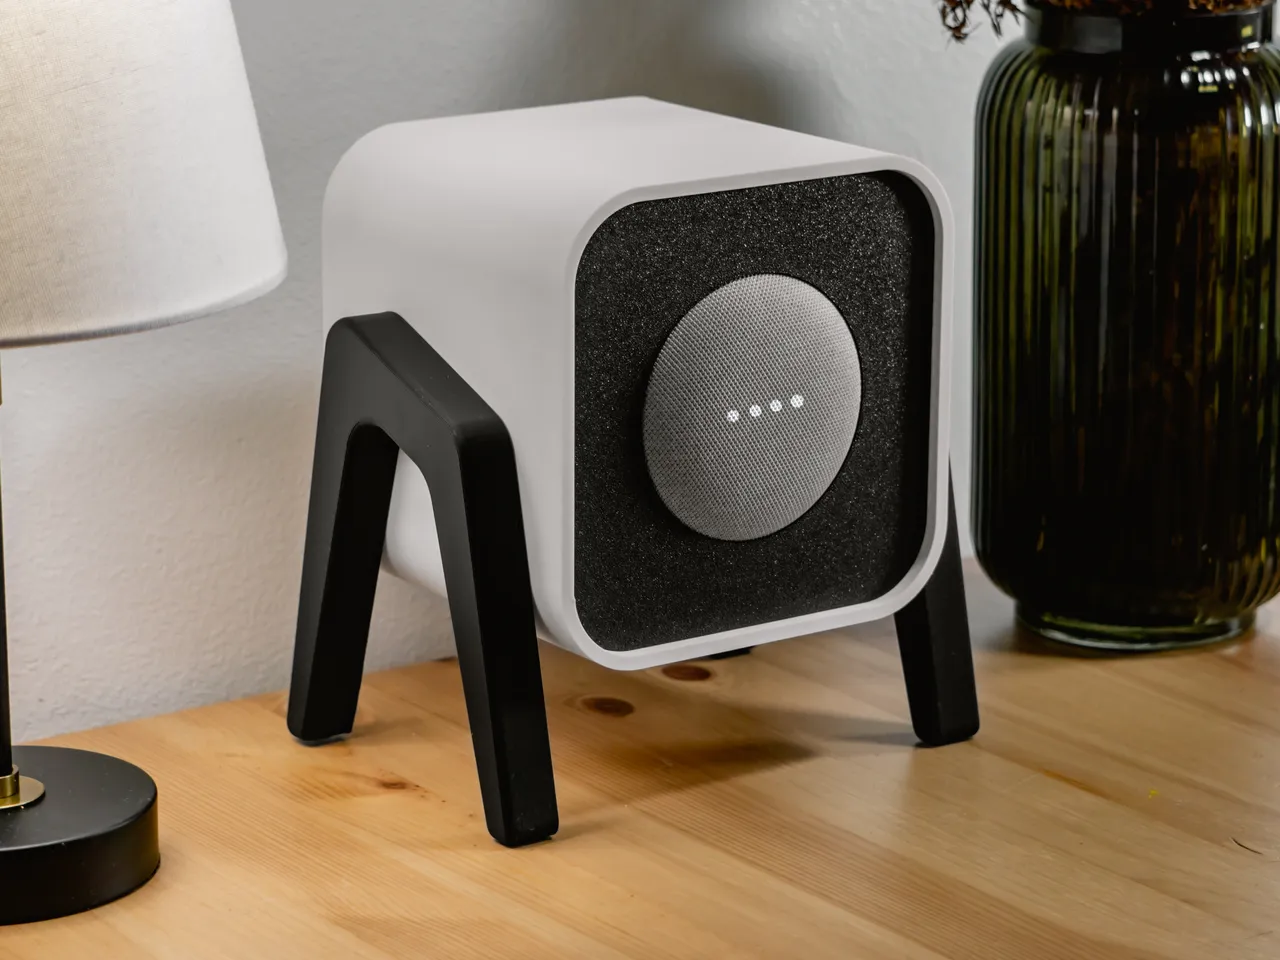
This model is a simple way to upgrade the aesthetic of your Google Home Mini speaker.
As far as I can tell, all of the Google Home/Nest Mini iterations should have the same dimensions and should fit this model. If yours does not fit, please reach out to me and I am happy to adjust the clamp tolerances for a better fit.
Note that there are two Front Plate files. One is plain, and the other has a radial cut-out pattern. Choose whichever one appeals to you!
See below for printing and assembly instructions. PLEASE READ EVERYTHING.
Printing:
Unless otherwise specified below, I used the following settings to print all of the parts:
15% gyroid infill
0.2mm layer height
3 walls
No supports
Print all models in the default orientation of their respective STLs.
The tolerances should already provide a snug fit for all of the parts, but you may need to play with the horizontal expansion settings in your slicer if the parts are not fitting together well.
Additional Print Settings and Orientation Notes:
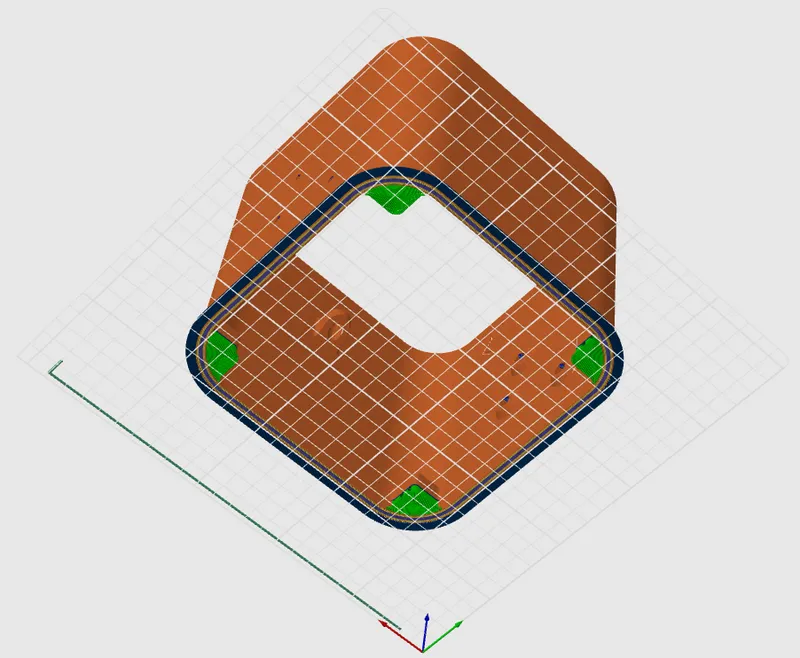
Main Housing:
Will need supports in four locations. This is a view from the bottom to show where the supports need to go (supports depicted in green). I would suggest painting on the supports in each of the four locations to prevent them from auto-generating in other areas where they are not needed.
Front Plate:
If you would like the texture of your buildplate to be visible/facing outward when assembled, print with the default orientation of the STL.
Right and Left Legs:
3-4 walls and 30% infill for extra rigidity.
Assembly (v2 – No Magnets):
Non-Printed Parts Required:
16x Socket Head M4x12mm screws
I have this set
Hot glue (optional)
Steps:
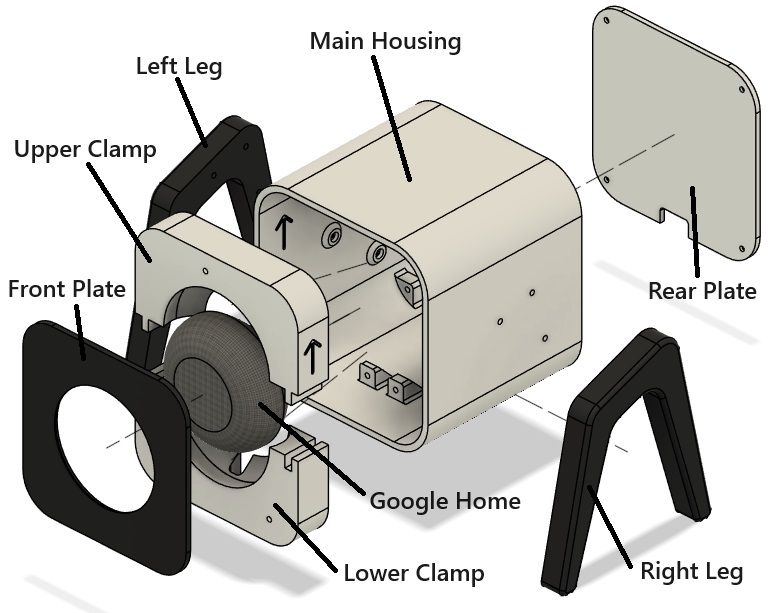
Using 6 of the 12mm M4 socket head screws (3 for each leg), screw the legs onto the main housing.
Clamp your Google Home Mini speaker between the Upper and Lower Clamp pieces so that the power cable slot of the Google Home lines up with the cable slot found in the Lower Clamp.
The mute switch cut-out (also found on the Lower Clamp) as well as the tongue-and-groove alignment guide should help make alignment easy.
Ensure that the UP arrows on the Upper Clamp are pointing upward.
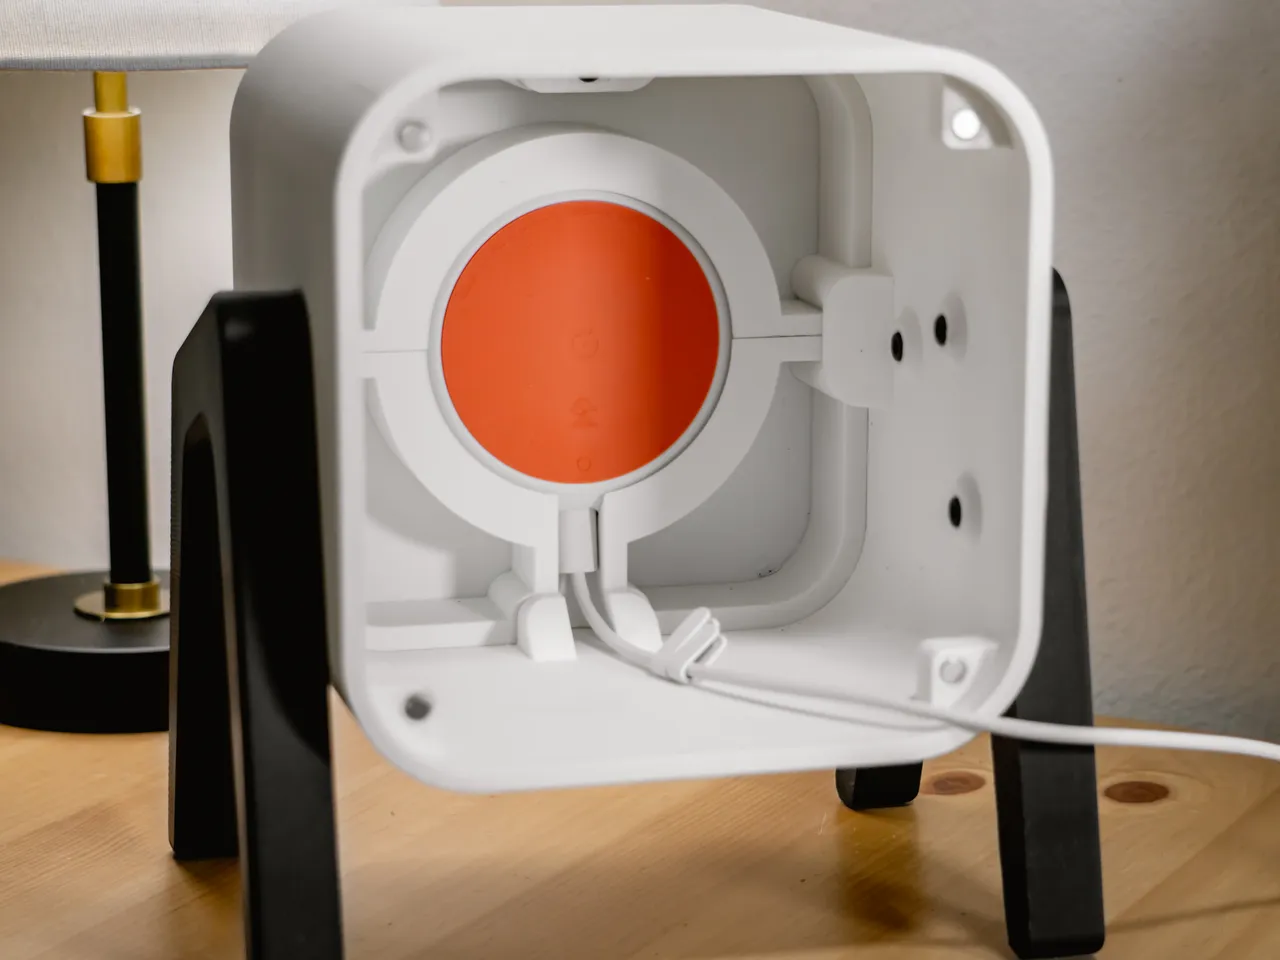
Feed the power cable of the Google Home through the Main Housing (from the back) and plug it into your Google Home.
Using 3x M4x12mm socket head screws, screw the Front Plate of your choice (Style A or Style B) onto the Upper and Lower Clamp assembly.
Slide the Google Home clamp assembly into the front of the Main Housing.
The UP arrows should once again confirm that your orientation is correct.
Using 3x M4x12mm socket head screws, screw the Google Home clamp assembly onto the Main Housing.
Ensure the power cable of the Google Home feeds through the cable cut-out on the bottom of the Rear Plate.
Using the final 4x M4x12mm socket head screws, screw the rear plate onto the Main Housing.
(Optional) There is a small slot on the bottom of each foot of each leg where a thin strip of hot glue can be placed to provide some extra grip to keep the whole thing from sliding around on slippery surfaces. I have mine on the back of a toilet and this step has proven to be very effective.
Assembly for v2 – Front Plate Magnets:
Follow the same assembly instructions for the no magnets version, but rather than screwing the Front Plate onto the Upper and Lower Clamps you will glue magnets into the corresponding holes. This will require 8 magnets (size 6x2mm, I used these).
Overall Dimensions:
H8.125in x L6.9in x W5.625in
Additional Notes:
The pictured model was printed on my Bambu Lab P1P using Bambu Matte Black and Matte White filament.
v2 UPDATE NOTES:
Magnets are no longer required for assembly (now only M4x12mm screws are required)
I also uploaded a variant titled (v2 – Front Plate Magnets) that still uses magnets on the Front Plate if you would like to be able to easily swap out the Front Plate without disassembling the entire speaker housing.
Decreased the amount of support material needed for the Main Housing
Improved tolerances on the Front Plate cutout (some people were having issues with it not fitting around their Google Home Mini)
Added a tongue-and-groove alignment guide to the Upper and Lower Clamp pieces
Uploaded a variant of the “v2 – No Magnets” Main Housing with no screw holes for the legs if you are interested in using this design without the legs.
If you have already printed the old version (v1) and are looking for the old assembly guide, I have uploaded it as a downloadable PDF in the files section.
Credits:
Jordan Proctor Designs
Download 3D models
| File | File size |
|---|---|
 v2-google-home-mini-speaker-housing-retro-modern-with-swappable-face-plates-model_files
|
5 MB |