
The basic part of the wall is printable on the Prusa Mini printer. It is necessary to turn off the skirt or set the distance to 1mm in order for the part to fit it on the pad.
You can connect the basic parts of the wall together. You can connect it also with printable parts which can be used in various ways (you can use it for screwing to the wall, you can use it as a holder for hanger or as a holder for hook).
Printing settings
layer height: 0.25 – 0.3
perimeters: 3
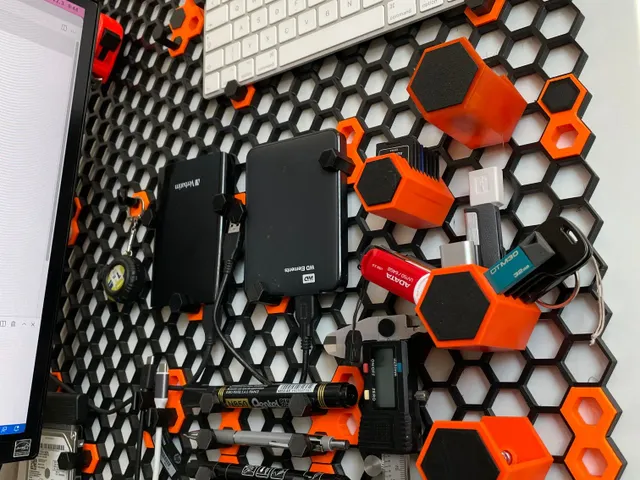
Parts for attaching honeycombs to the wall
Some of the parts (which are orange on the picture) you can use for hanging to the wall or for connecting the basic parts together.
Fasteners and parts for attaching hooks and objects
There is added one part with the nut (size M3, M4, M5) inside which can be used for screwing whatever holders you want.
Hooks and holders
This is space for new holders and hooks which will be added as needed.
Hook bottom and side is prepared to insert to the empty insert part.
Other parts
This is cover for the connecting part which is used for hiding the screwer.
And also you can use the second part (as shown in the picture) which can be used for additional attaching the honey comb to the wall.
My printing settings for all inserts
layer height: 0.2
perimeters: 4
infil: 20%
Credits:
RostaP
Download 3D models
| File | File size |
|---|---|
 honeycomb-storage-wall-print_files
|
8 MB |
|
honeycomb-storage-wall-model_files
|
9 MB |