

Testvideo:
I wanted to have a glidecam, but was not fully satisfied with the already available glidecam designs. They were too complex, needed to many not-printable parts, or even not-shelf parts.
This design uses a minimum of non-printable parts like screws and nuts. You don’t need to solder, or weld any part for this design. It is assembled fast and most of the work is done by your 3d printer.
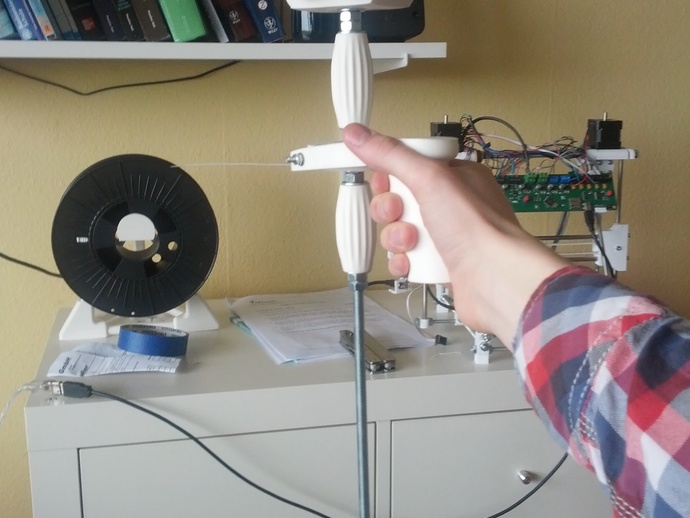
The system gives me very stable results. I was blown away after reviewing the first video test. The performance I think is just beautiful. Unfortunately I can’t compare it to a professional glidecam. If you have one please tell us how it compares!
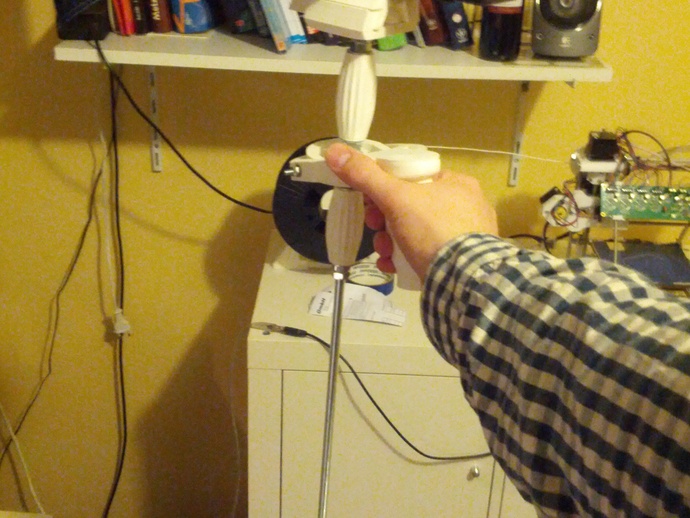
You will quickly get the hang of how to use the glidecam correctly and once you do it is like moving your camera with a dolly.
You can see a cost estimation in the attached excel sheet. My overall cost was 35 euro. Try to beat that!
If you enjoy my work, I would appreciate a small bitcoin donation to 1MSachsBbZJjBg83nEsTv95oLuQmnmZnGu.
— Update —
I replaced the bottle as a counterweight and added 42 washers on the weight rig instead. Overall this increased the cost to 46 euro.
Modeled in Blender. The source file is attached.
Instructions
Print all the parts. The parts with an x2 need to be printed twice.
Buy following parts in the following quanity:
Threaded Rod M8 0.5m………………..1
Ball Bearing 8x22x7……………………..1
Nut M8……………………………………….10
NutStop M8……………………………….. 3
small washer M8…………………………3
medium washer M8……………………..6
Big washer M8…………………………….42
Aluminum Tube 6×1 (min 8cm)…….. 1
Screw M4 30mm………………………… 2
Screw M4 25mm………………………….2
Screw M8 60mm………………………….2
Screw M3 15mm………………………….4
Nut M4 flat (1mm high)…………………5
Screw Wing M4 x20……………………..1
Washer M4…………………………………8
You also need 1 1/4 inch screw of about 1.5cm length to secure your camera. But you can also change that diameter if it doesn’t fit your camera type.
The aluminium tube needs to have a outer diameter of 6mm and a wall thickness of 1mm so that the inner diameter is 4mm.
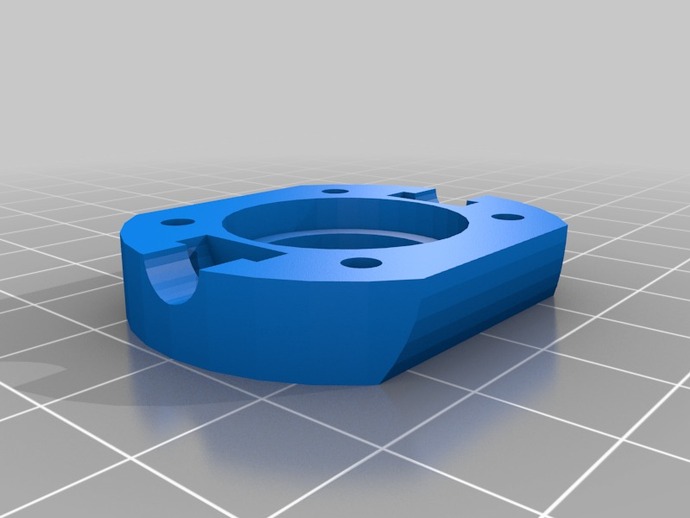
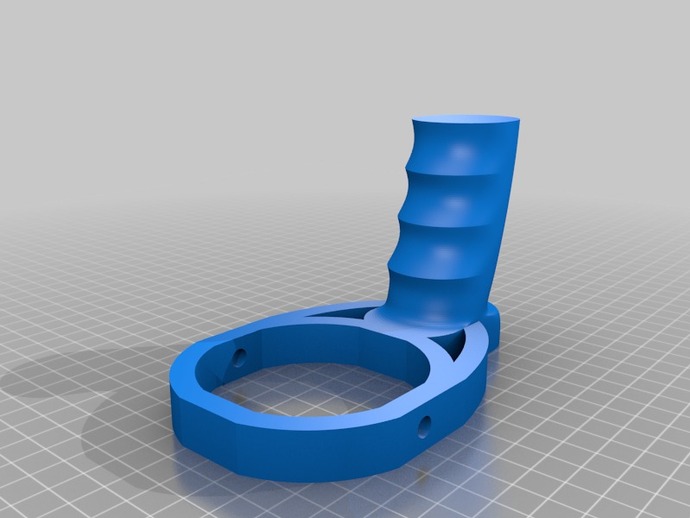
After having all the parts start by assembling the gimbal. Cut the aluminum tube into 2 pieces of length 1.75cm and 2 pieces of length 1.9cm. Then push the tube through the holes in the printed gimbal parts according to the picture of the gimbal assembly. Secure the tubes with a M4 screw, washers and nuts. (Can also be seen in the gimbal assembly picture)
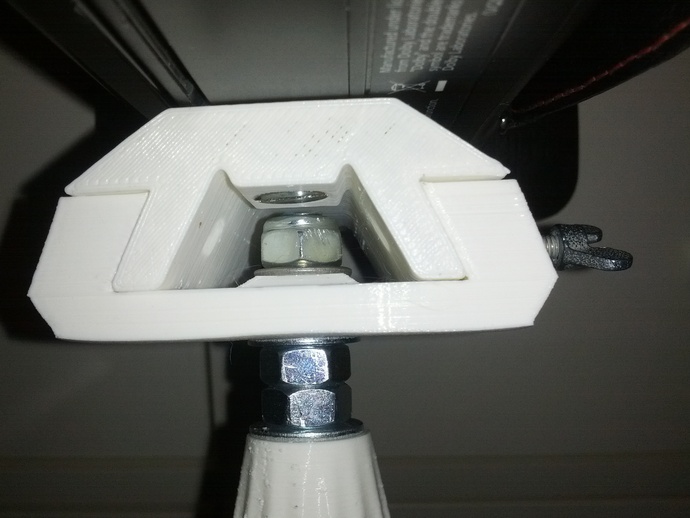
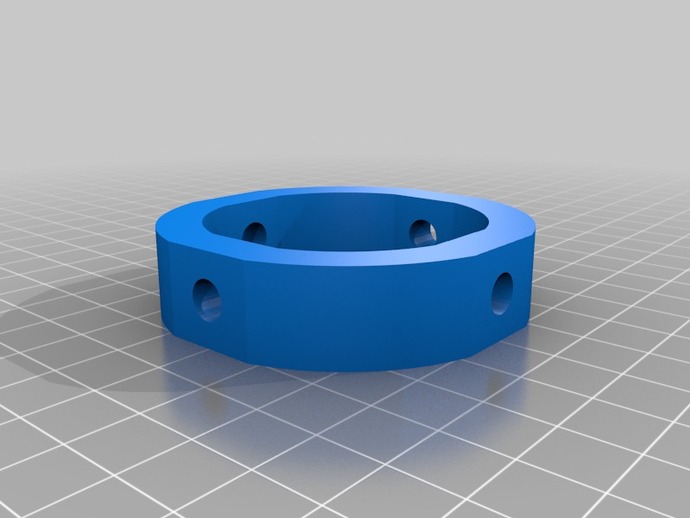
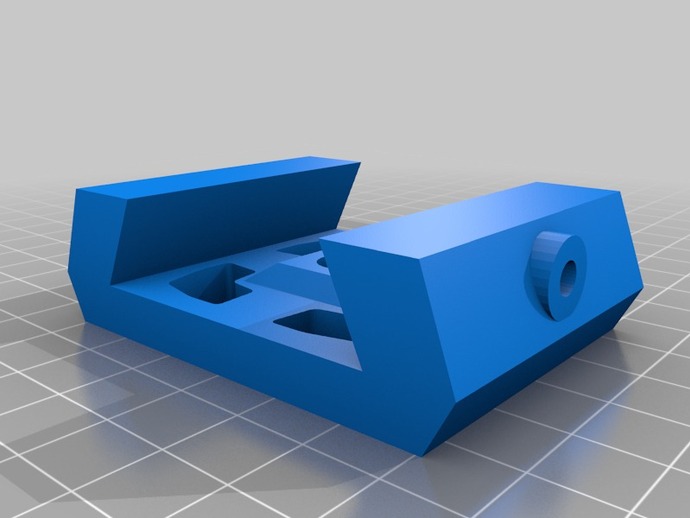
In the next step the ball bearing with outer diameter 22 mm and inner diameter 8mm and height 7mm will be secured in the centre part of the gimbal. The two pictures show the centrepart first open, showing the rim the ball bearing will lay on and the closed (the second part of the centre part closing the bearing in).
Once you secure the centre piece by screwing in the m3 screws (I didn’t need to use a nut on the other side, because the screws had good grip in the printed part) you can move on to the main assembly.
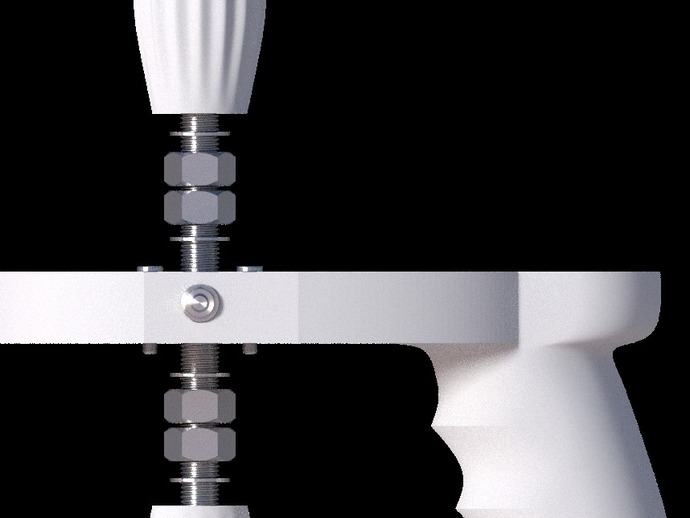
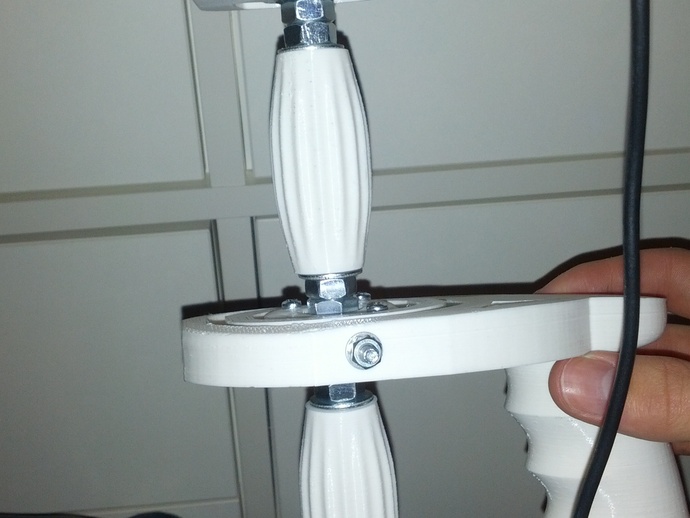
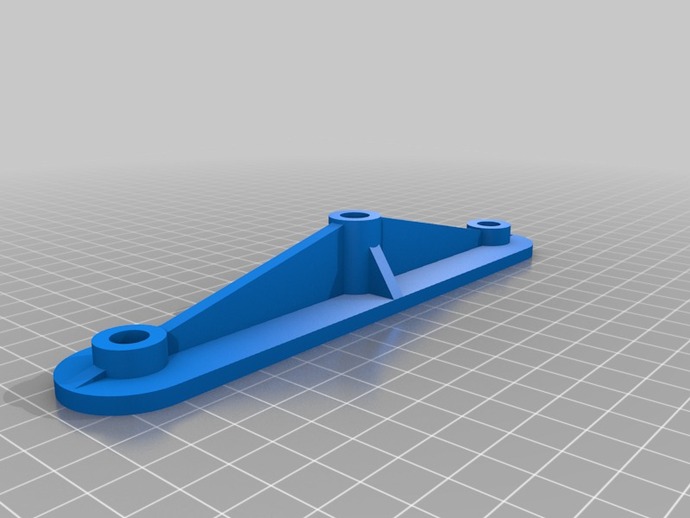
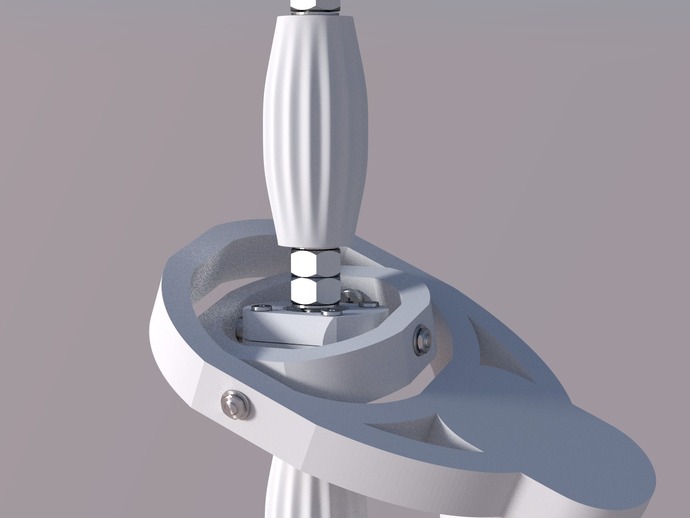
The side view picture shows the order of the parts and where nuts and washers need to be placed. The nut on top should be at the very end of the threaded rod. All the other parts below should be screwed up as high as possible. (see picture of my assembled glidecam)
As a counterweight cut a 8mm diameter hole in the top of a waterbottle and use washers and nuts to secure it to the other free end of the threaded rod. This way you can very easily balance out any camera by adding or removing some water. (This allows for a quicker camera change). Alternatively use the printable counterweight support and load it with the right weight. Its advantage is that it increases the moment of inertia for rotation around its longitudinal axis. I have not printed or tested that part yet.
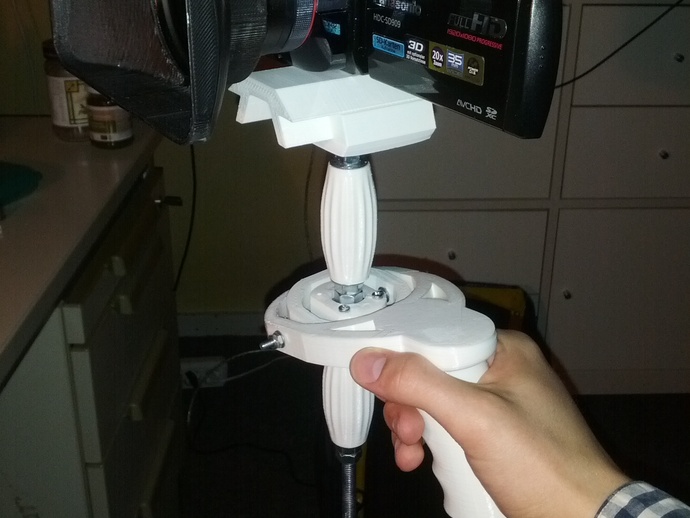
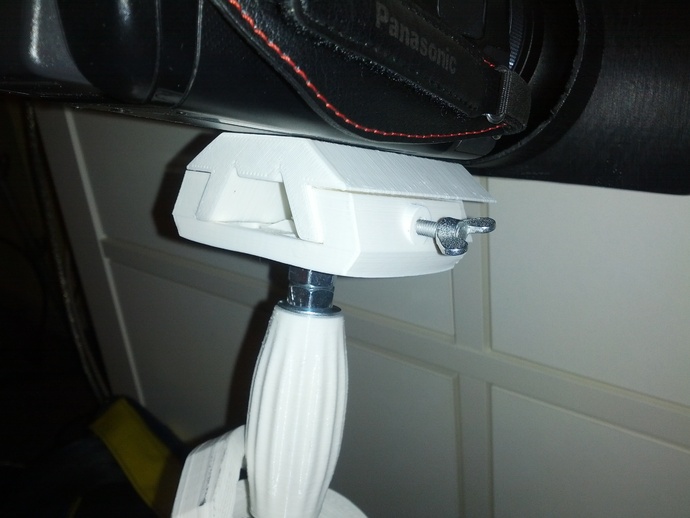
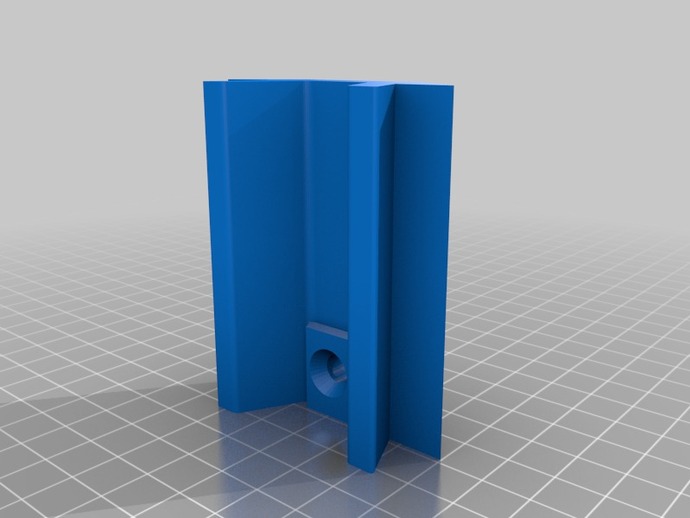
Secure the cameraslide with the M4 wingscrew and a M4 nut to the counterpart (see picture).
Credits:
MaximSachs
Download 3D models
| File | File size |
|---|---|
 MaxGlide_-_Glidecam_cheap_and_efficient
|
10 MB |