
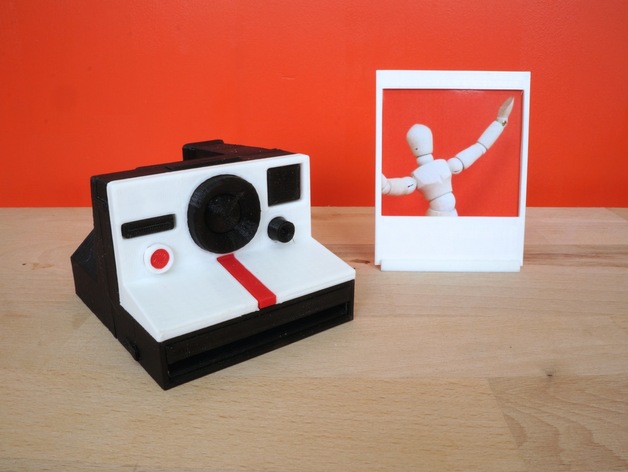
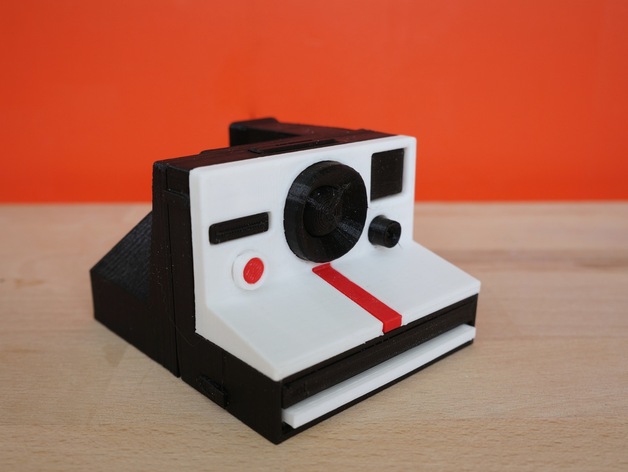
I box-modeled this Polaroid OneStep / 1000 Camera from scratch in Cinema4D as a gift, including a Picture Frame that fits within the camera.
It’s 60% of the scale of the original Camera, which I found a nice size for a gift.
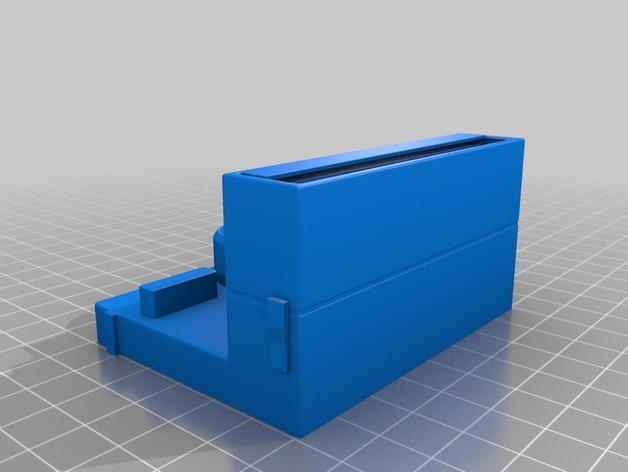
It’s a multi-part object specifically designed to be 3D Printed with a single extruder printer without supports.
UPDATE 29 NOVEMBER 2014:
I discovered the STLs had reversed normals, so I fixed that and uploaded a new version of it (v2).
Curious how I made it?
Read about it on my Blog: http://nicklievendag.com/polaroid-camera/
Instructions
PRINT INSTRUCTIONS
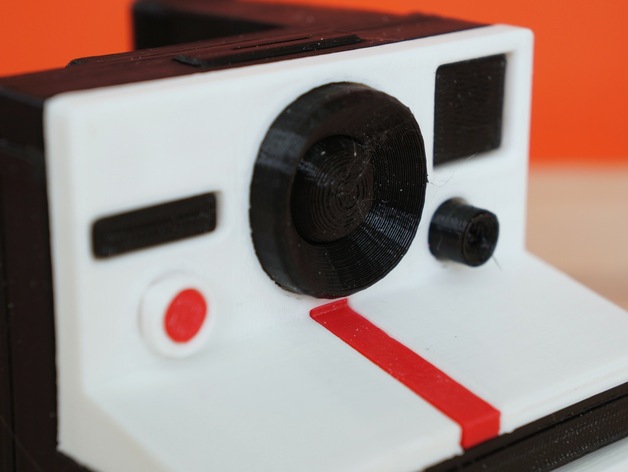
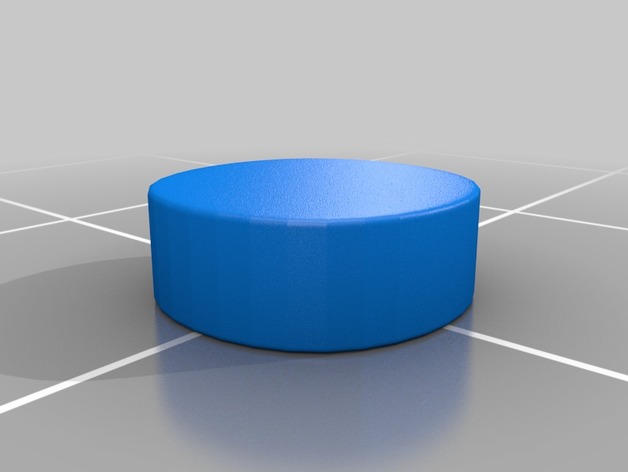
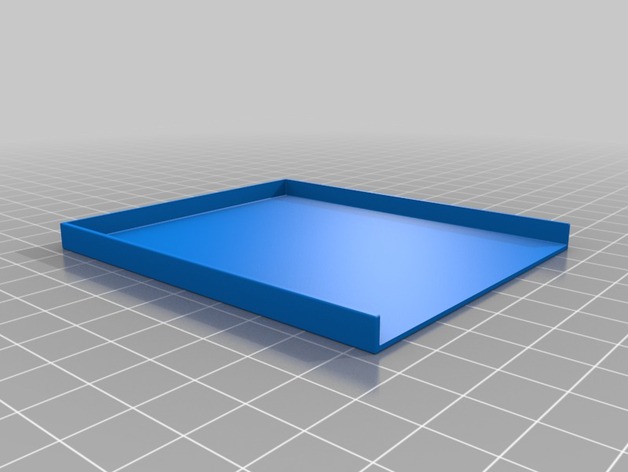
Use Black PLA for the body parts and the film tray. I printed it at 200 micron (to save time) with 10% infill. By the way, the tray is designed to give the body more rigidity and make the film slide in and out smoothly.
Use White PLA (or Warm Grey PLA) for the face plate, the picture frame and it’s holder. I printed those at 100 micron.
Use Red or Green PLA for the Button (the original camera had various models over the years with either a red or green button)
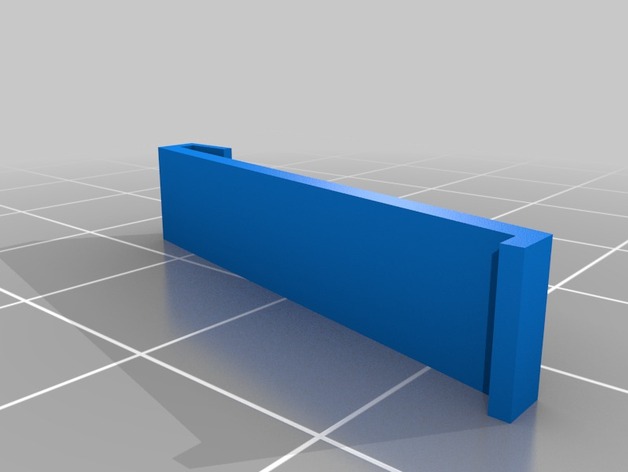
Use any color you like for the strip on the front, or – if your printer allows it and your want to be really authentic – pause your printer at steady intervals and change the filament to create the iconic rainbow! Do the strip at 100 micron. Because it’s very thin, you probably want to USE A RAFT for this part.
ASSEMBLY INSTRUCTIONS
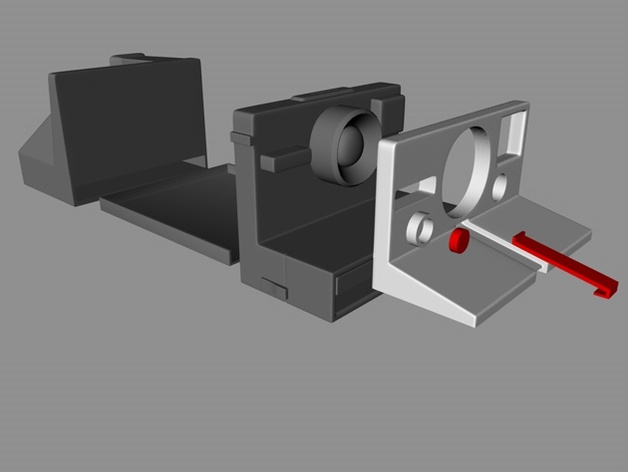
Check the second picture to see an exploded view of the model. Use use Super Glue to assemble the Body Parts (I will design a snap-fit body if this item gets insanely popular!).
The colored front strip is designed to click in place. Be sure to attach it before glueing the white face plate to the black body.
Depending on your printer and settings, the button will either snap in perfectly or need a little sanding on the edges to fit. You won’t see the sanded edge.
PHOTO TIPS
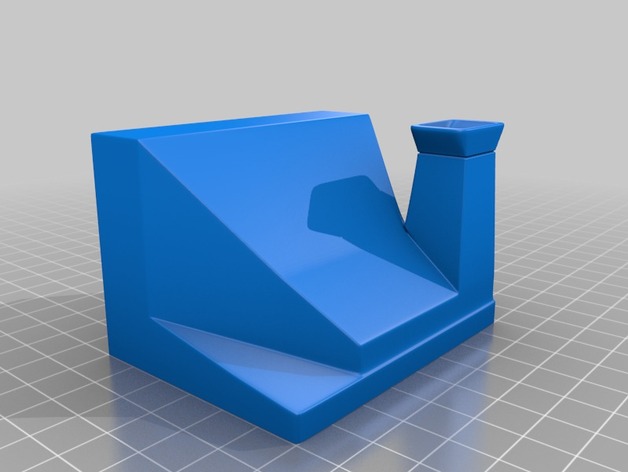
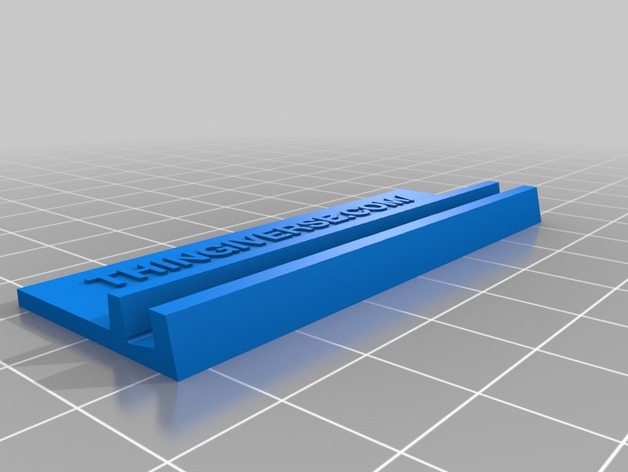
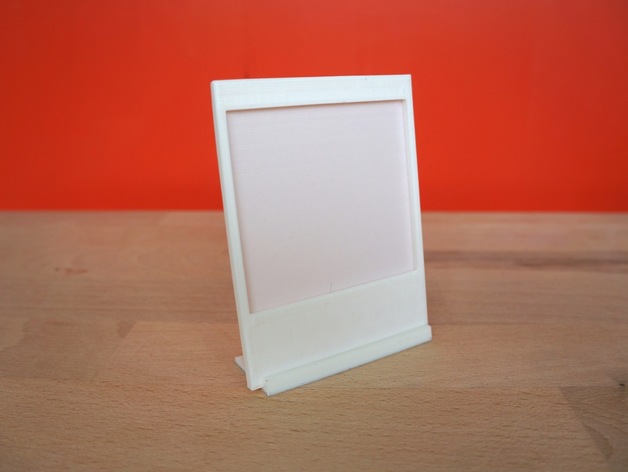
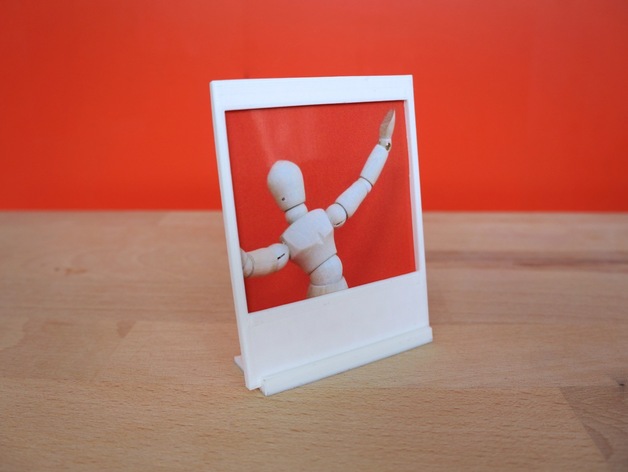
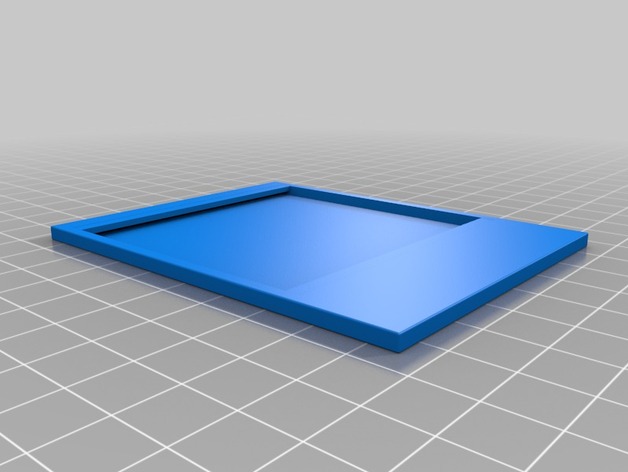
The Picture Frame is designed to keep a 64 x 64 mm photo. I made it square so you can print your favorite Instagram photo on glossy paper and put it in. Because a ridge on the top of the bottom the photo will stay in without glue, so you can replace it.
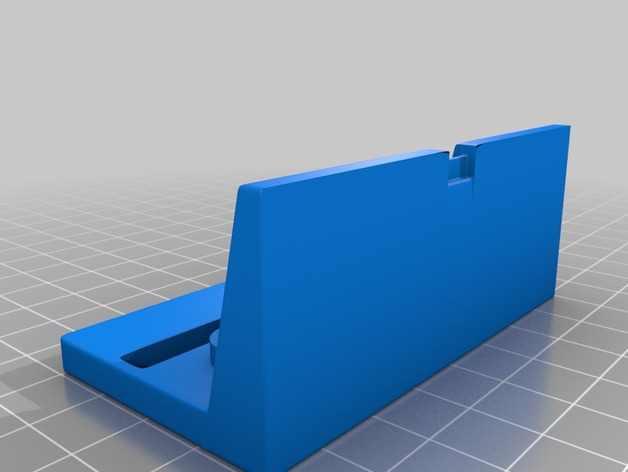
You can use the stand to display the photo next to the camera like on the first picture.
TIP: print multiple Picture Frames and Stands and put them around the camera!
Credits:
nicklievendag
Download 3D models
| File | File size |
|---|---|
 Minature_Polaroid_Camera_with_Instagram_Picture_Frame
|
17 MB |