
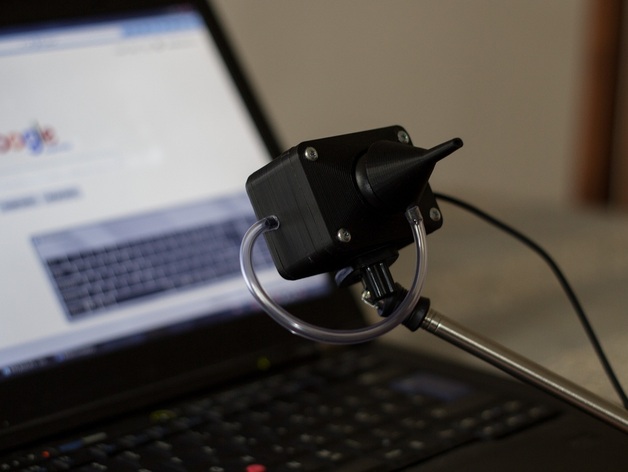
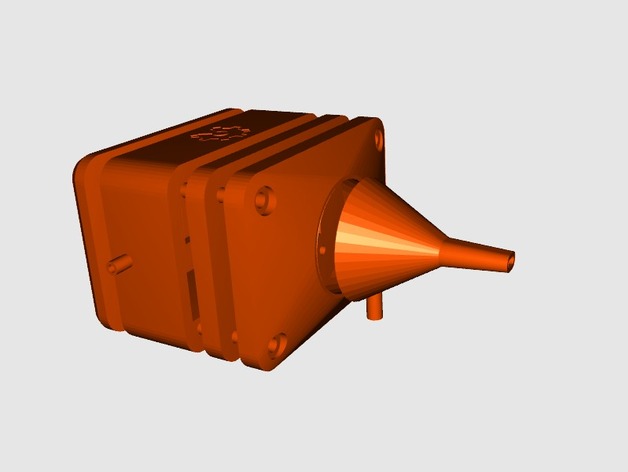
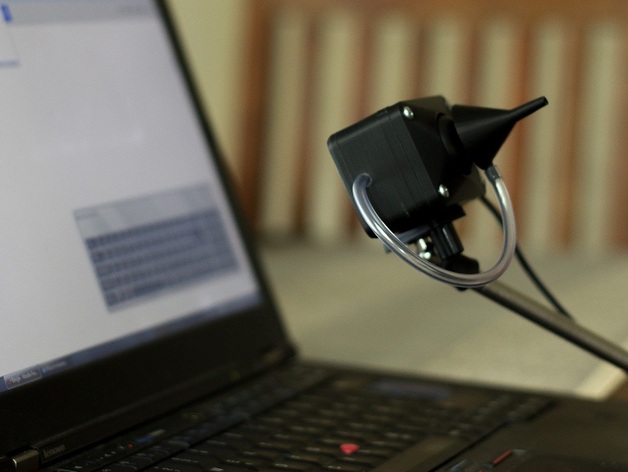
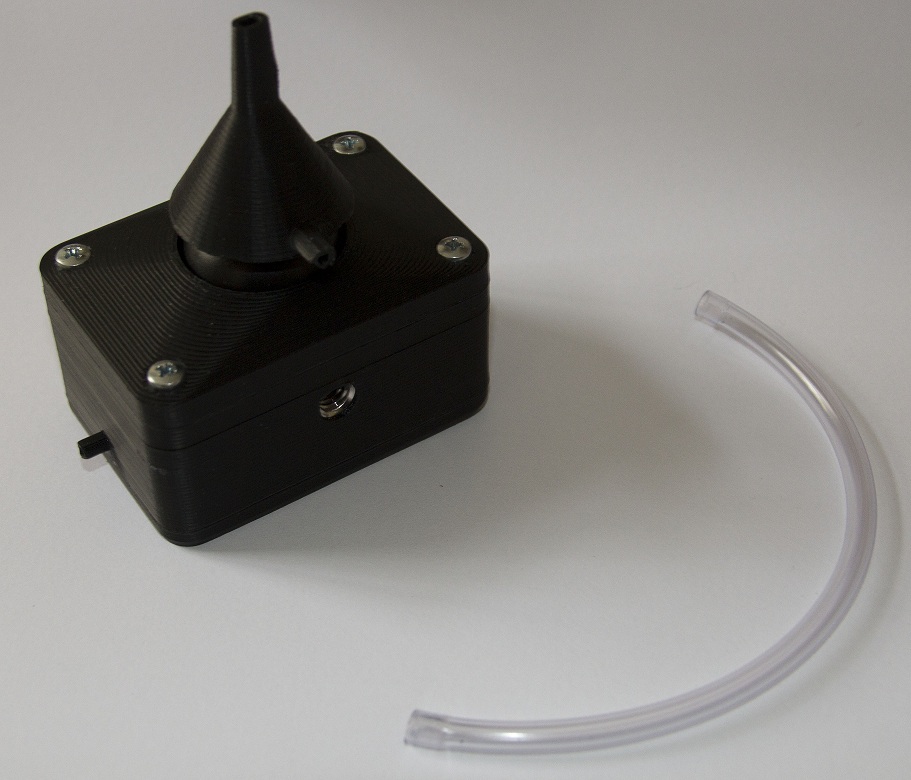
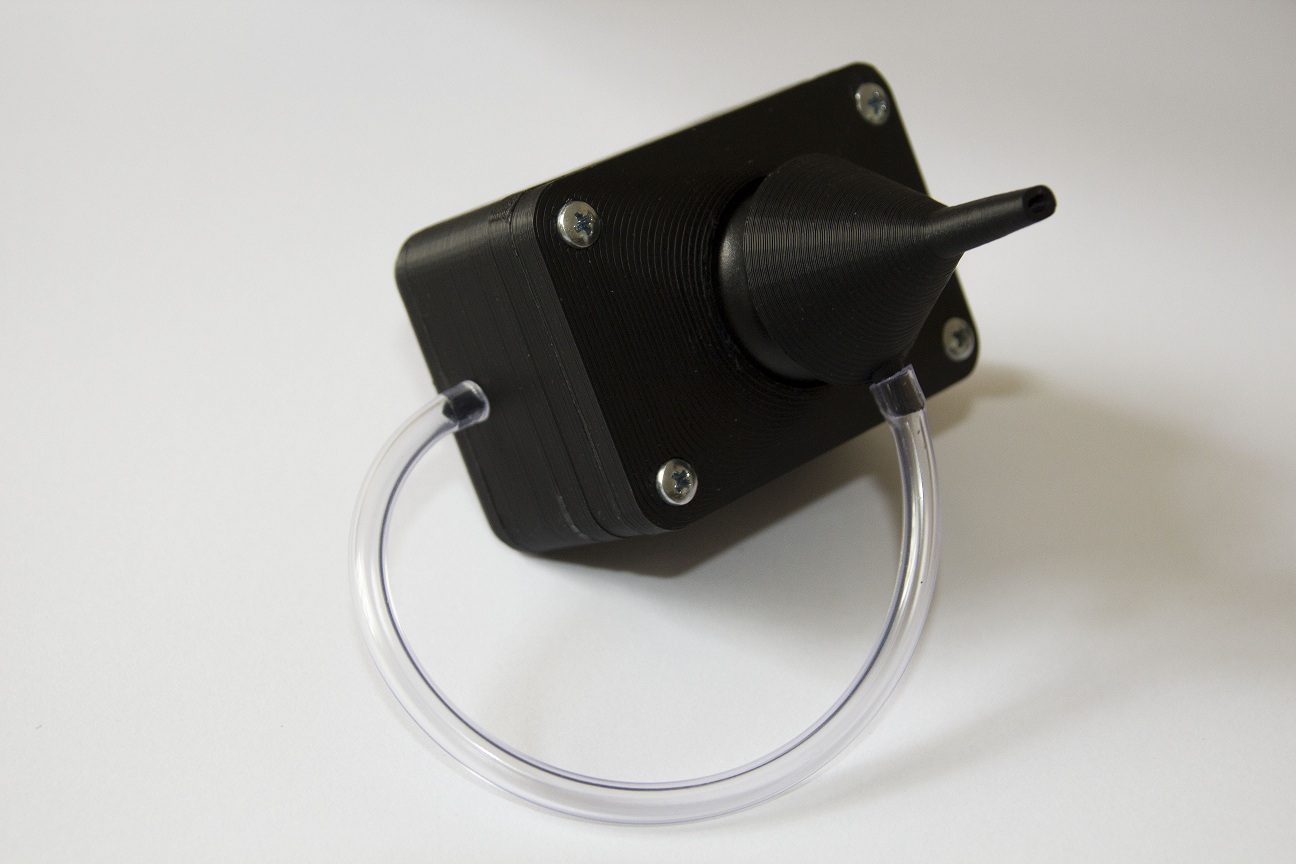
This project was intended to prove if it is possible to build a pointing device (mouse) for people with disabilities for under 20 USD, using only components which are widely available as well as a 3D printer. The result is a basic mouth operated mouse which can be connected via USB to nearly every PC. The case allows to mount it on standard tripods using a 1/4 inch screw.
Functionality
The user moves the cursor by using a mouthpiece which basically works like a joystick. The right mouse button is operated by pushing the mouthpiece towards the case. The left mouse button is emulated by a sensor that recognizes if the user sucks air trough it.
Hardware/Software
I used open source hardware and software if possible. The system is controlled by an Arduino Pro Micro. The Firmware was written as an Arduino sketch. I’m not really a fan of the Arduino “IDE” but for this project it simply worked. Other parts where purchased from ebay or a local hardware store.
Print Settings
Rafts:
No
Supports:
No
Resolution:
0.2mm
Infill:
20%
Notes:
Supports are included in the STL files.
Post-Printing
Bill Of Material
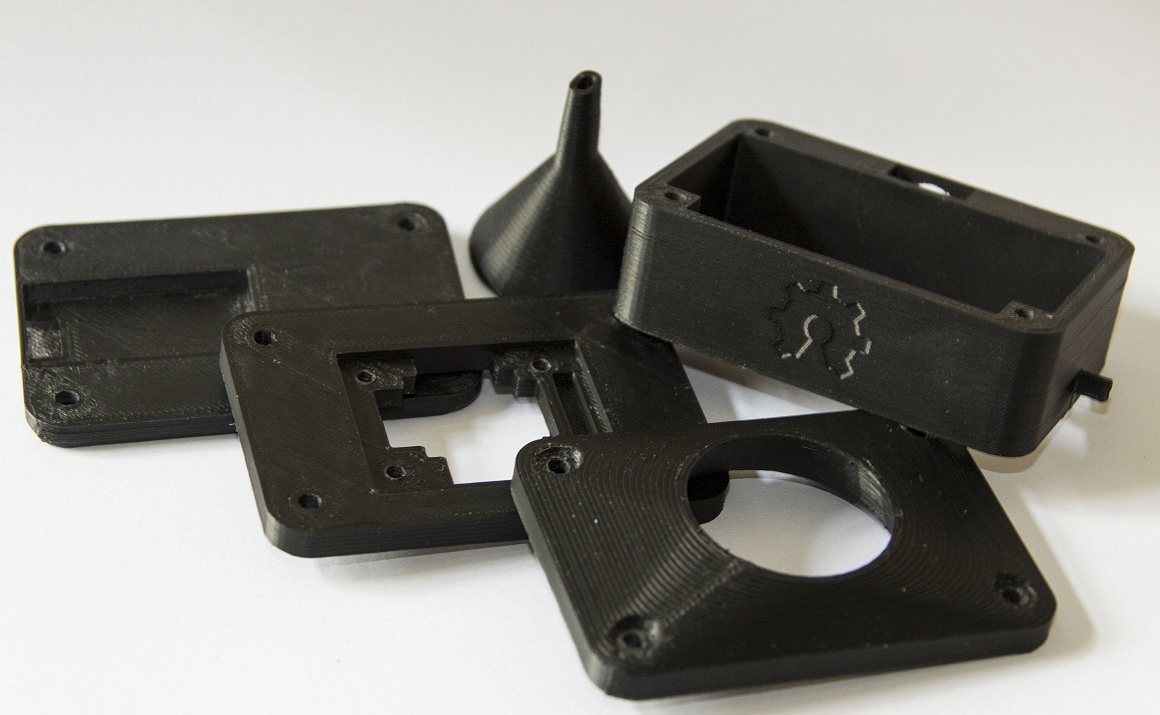
3D printed parts
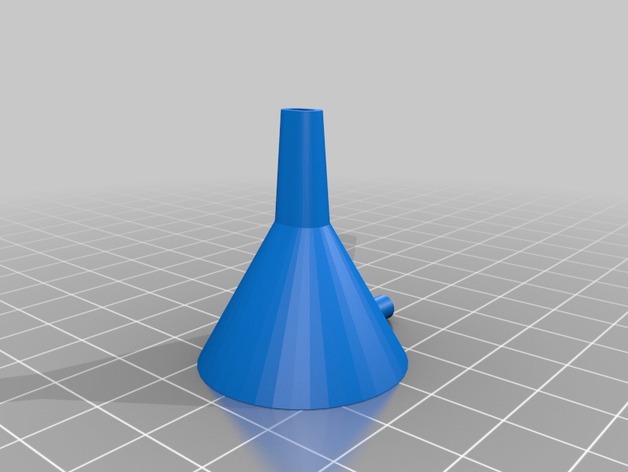
1x mouthpiece (should be printed with non-toxic material)
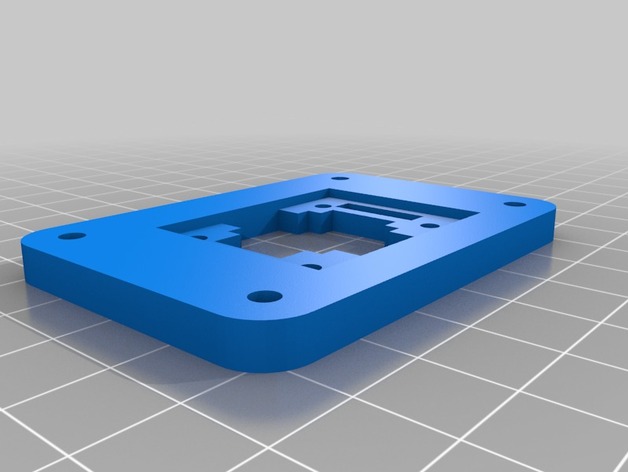
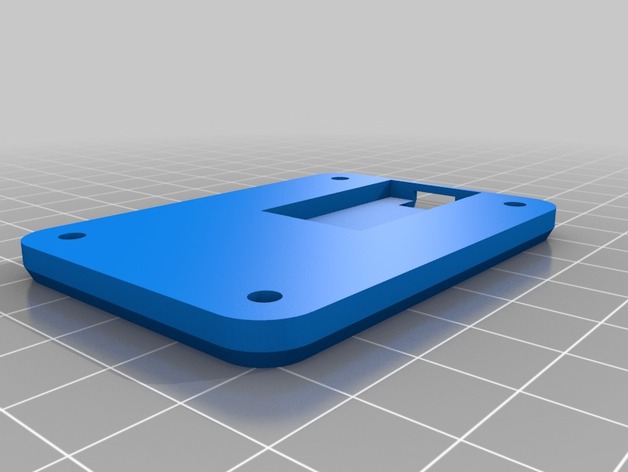
1x front
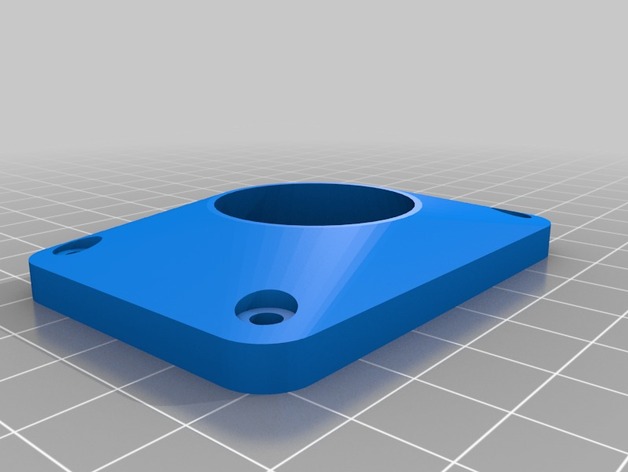
1x joystick mount
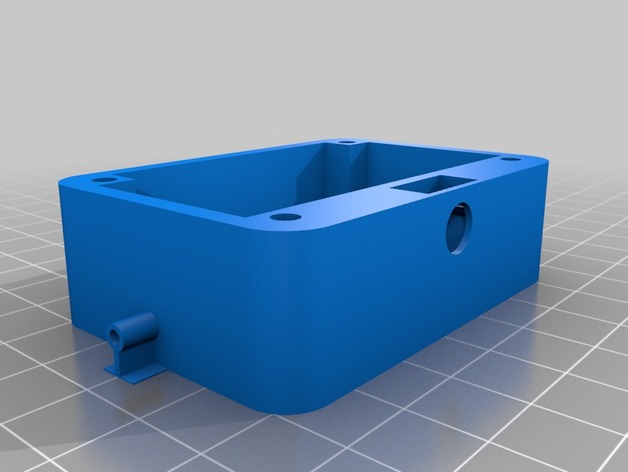
1x cable box
1x back
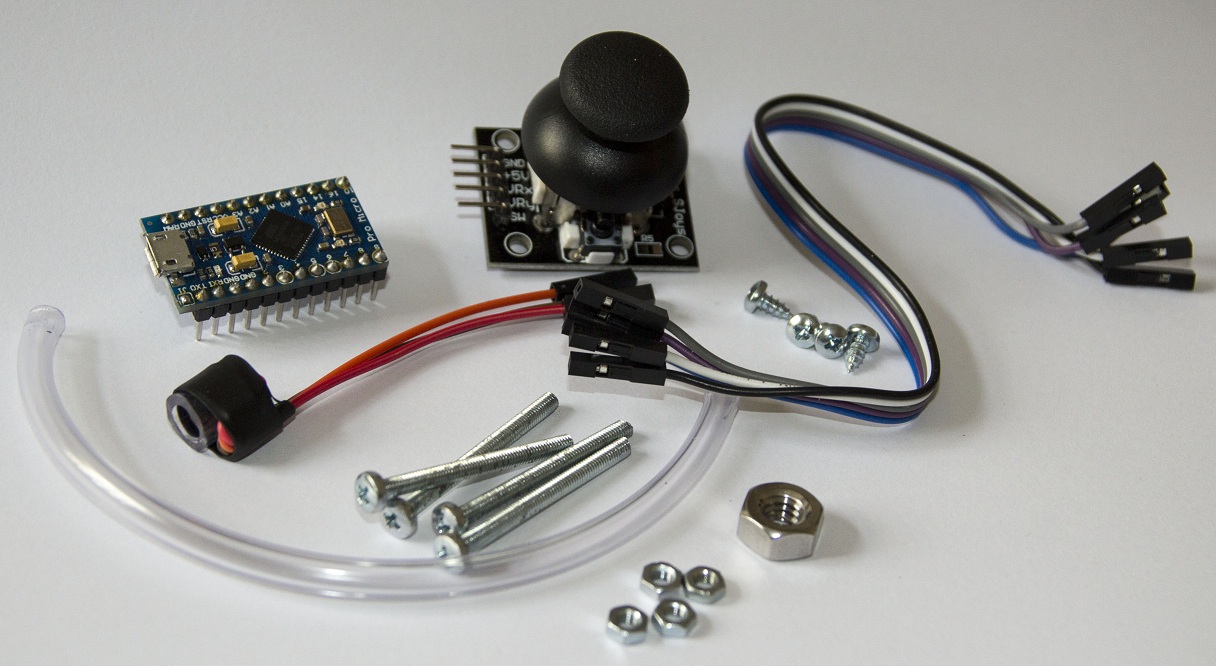
Parts To Buy (~18 USD)
4x M3 35mm screw (~0.40 USD hardware store)
4x M3 nut (~0.10 USD hardware store)
4x self tapping screw 2.9mm diameter 6.5mm length (~0.20 USD hardware store)
1x 1/4 inch nut (~0.30 USD hardware store)
15cm 6mm food-safe PVC tubing (~0.40 USD hardware store)
8x jumper wires (female/female) (ebay ~2 USD for 40 pcs.)
1x disposable electronic cigarette (ebay ~5 USD)
1x Arduino Pro Micro (5V version) (ebay ~7 USD)
1x Thumbstick on PCB (ebay ~2 USD)
1x micro USB cable (ebay 1 USD)
some heat shrink tubing
some solder
Tools
soldering iron
side cutters
screwdriver
hobby knife
Skills
soldering (basics)
electronics (for the wiring)
3D printing
Ikea furniture assembling skills 😉
Build Instructions
Step 1
Print all of the printable parts provided as STL, remove the supports and build the sensor (sensor build instructions below).
Step 2
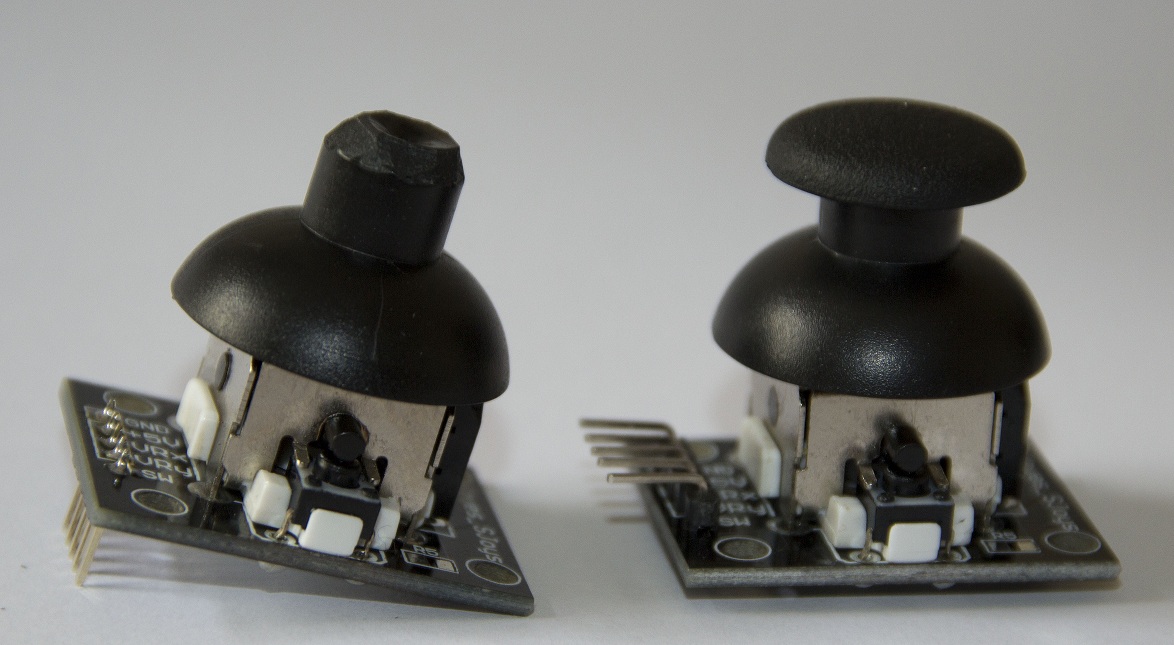
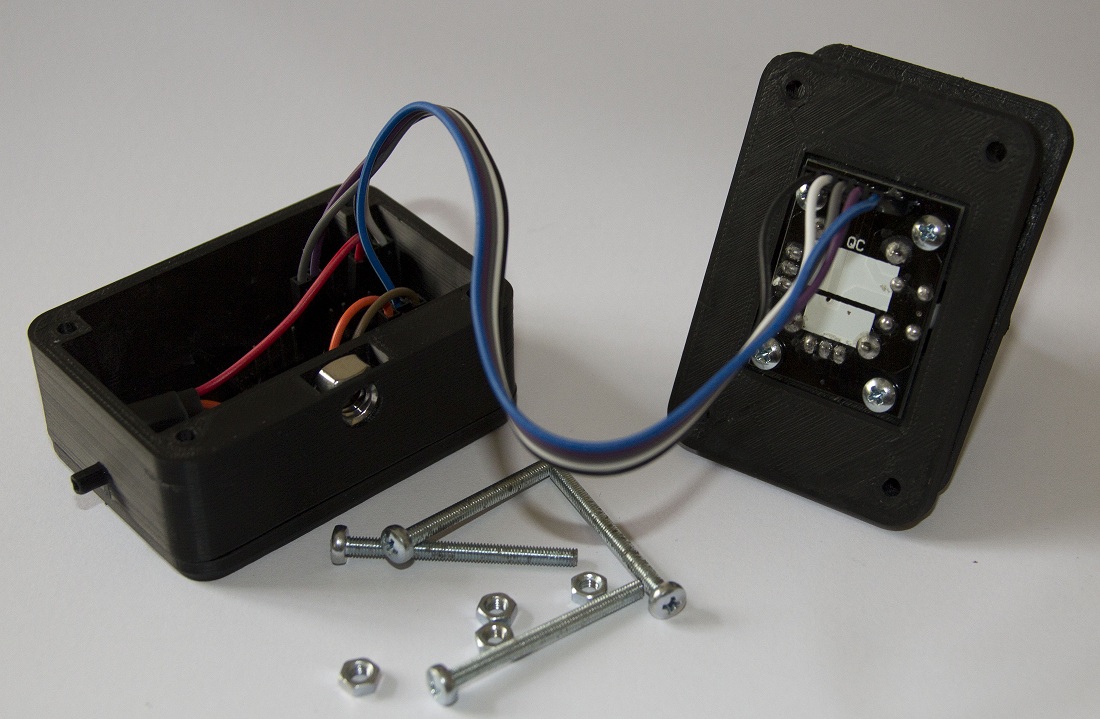
Cut the top of the joystick using side cutters and solder the pinheaders from the front to the back of the PCB. I used new pinheaders for this but if you are careful, you can reuse the original ones after desoldering.
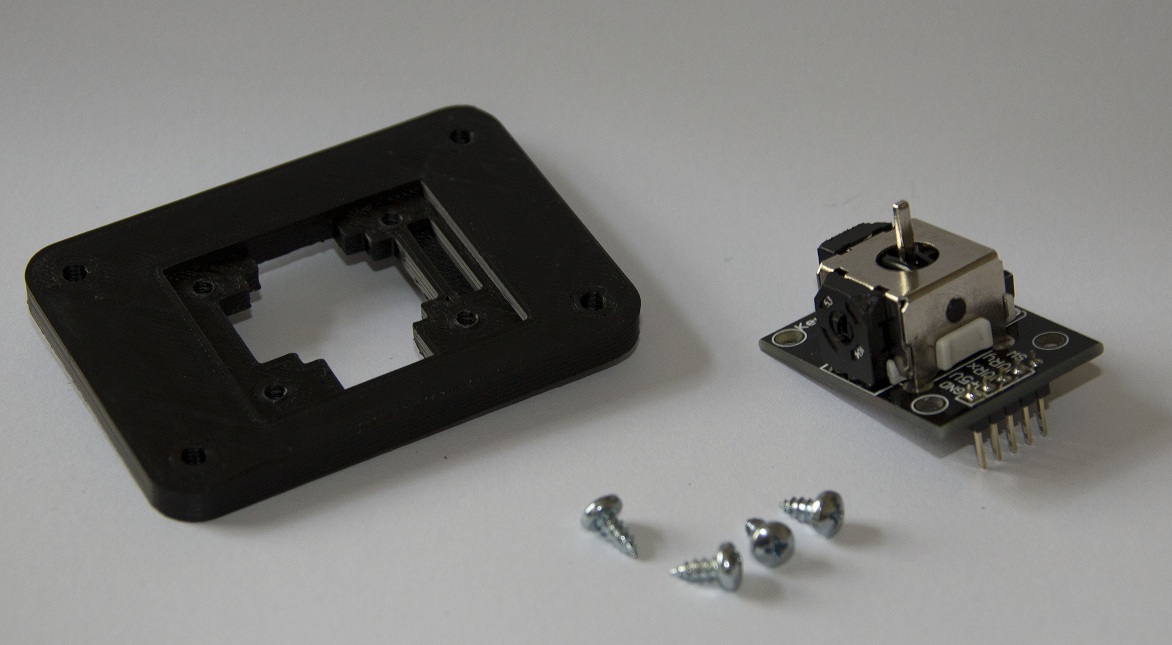
Step 3
Remove the plastic piece from the top of the joystick and screw it onto the “joystick mount” printed part using self tapping screws.

Step 5
The assembled part can be put aside. Push the 1/4 inch nut into its hole on the bottom of the printed middle piece. You should hear a ‘click’ if it is in the right position. Now the Arduino Pro Micro can be mounted onto the back of the same part. Also the sensor should be pushed onto the connector on the inner wall.

The printed back part can be mounted to enclose the Arduino board.
Step 6
Now it is time to wire everything up. First, connect the sensor. As a second step, the five jumper wires for the joystick should be connected to the Arduino board and the joystick board.
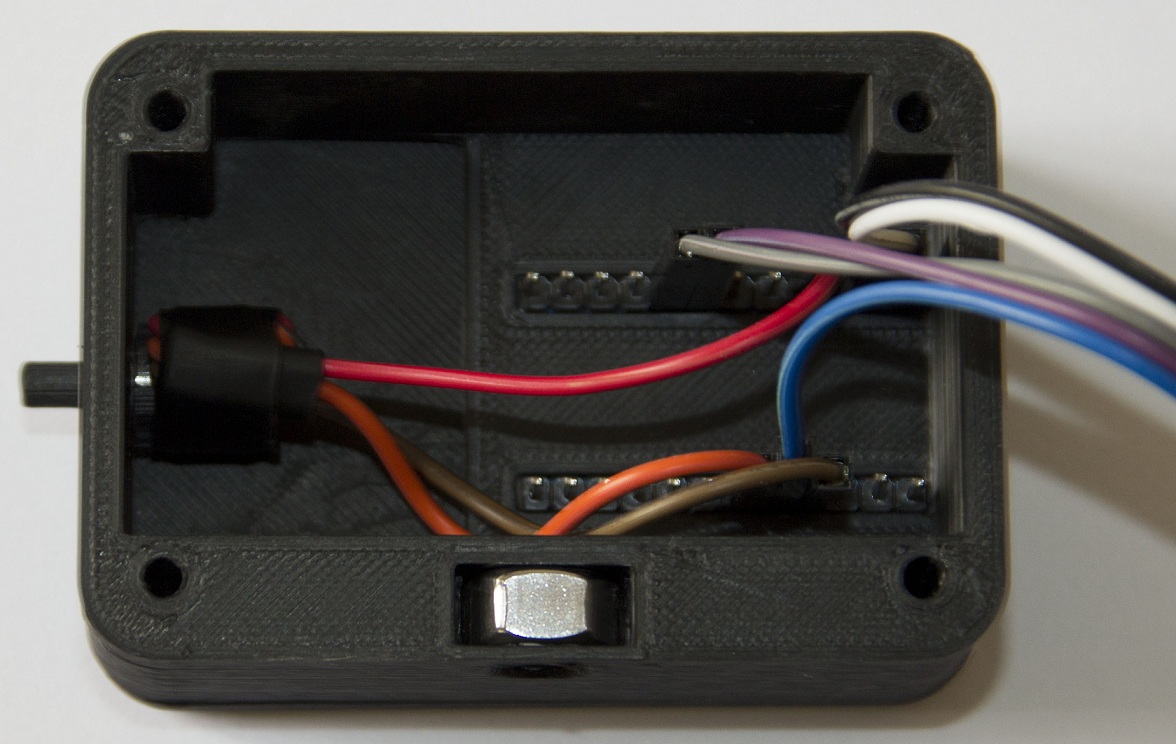
Arduino Connection
RAW <==> Joystick 5V
GND <==> Joystick GND
2 <==> Joystick SW
A0 <==> Joystick AXIS_X
A1 <==> Joystick AXIS_Y
3 <==> Sensor signal (blue)
VCC <==> Sensor 5V (red)
GND <==> Sensor GND (black)
Step 7
Put all wires carefully into the case and screw all parts together using the four M3 screws.
Step 8
Connect the PVC tube to the mouthpiece and the connector on the case. You should rotate the tube until it does not put any force on the joystick.
Step 9
Last but not least, connect the Arduino to your PC and flash the firmware. You can use Xloader to flash the HEX file provided. Or you can use the sketch file and the Arduino software if you want to modify the firmware. For compilation you will also need the TimerOne library.
The device should now be detected as an HID device and is ready to use.
Sensor Assembly
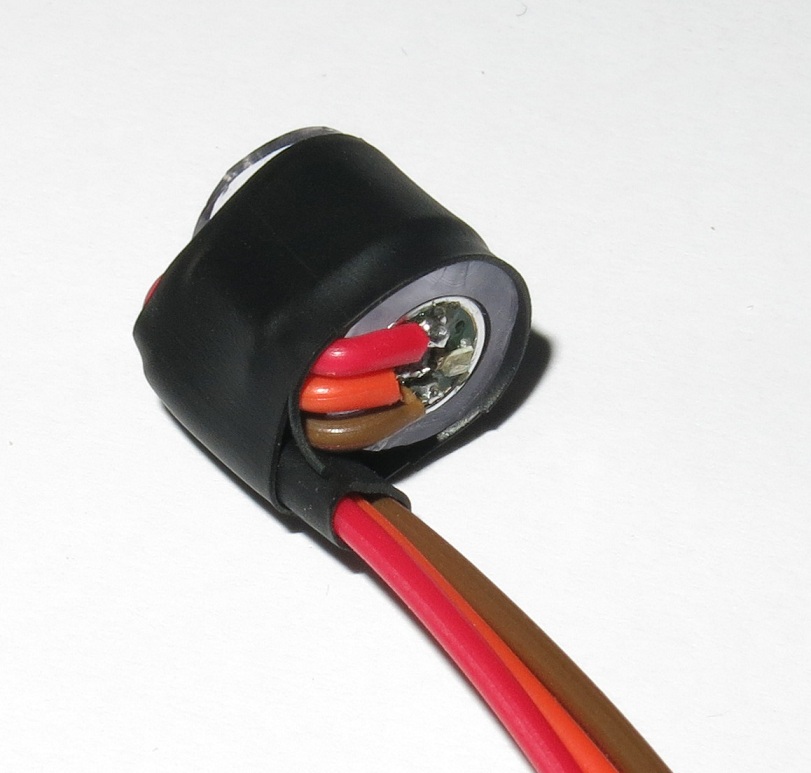
I think this might be the hardest part of building the device. First of all you need to buy one of those cheap electronic cigarettes. You can buy them on ebay for less than 5 USD incl. shipping. You should buy one with an acceptable flavour because after disassembly, your bench will smell like this for a while. The sensor itself is on the front part of the metal tube. There are three wires. The red is positive, black is ground and blue is the signal. The sensor works fine at +5V. If you use +3.3V it detects a low battery. Assuming a 4 cell rechargeable battery it is designed for +4.8V. The sensor outputs a low frequency PWM signal which can be easily used with a microcontroller.

There are several good teardown videos on YouTube you should watch before you start:
https://www.youtube.com/results?search_query=e+cigarette+teardown
After you successfully salvaged the sensor from its smelly home, you are left with something like this:
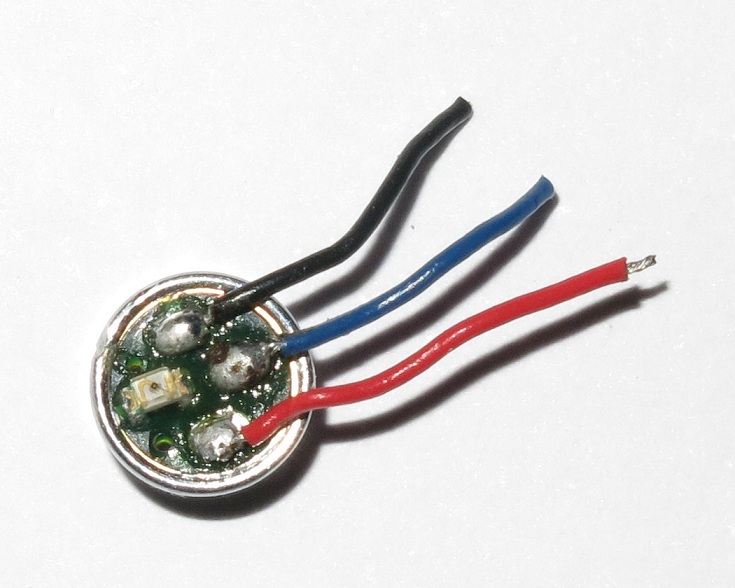
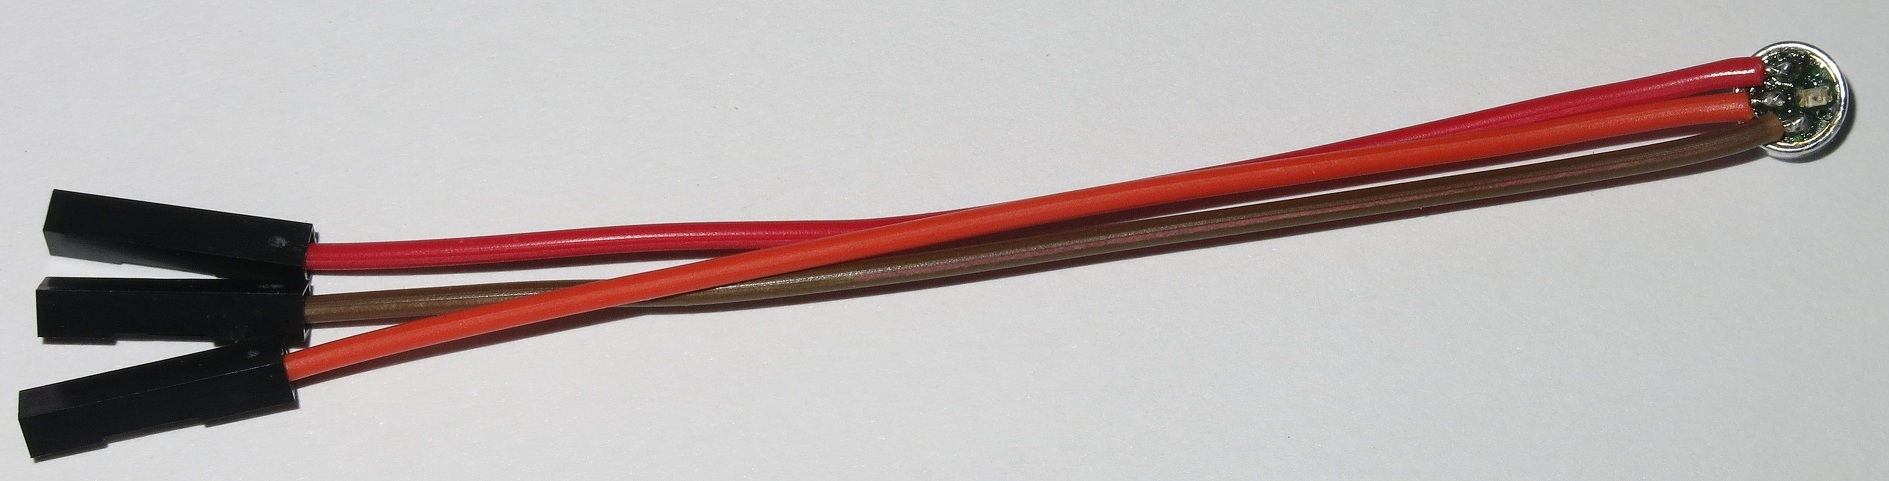
Especially the red wire is very short because it only connects to the positive side of the battery. I decided to resolder the connections using jumper wires. If you don’t trust your soldering skills, you should solder the jumper wires onto the existing wiring (so leave it as long as possible). Be careful, the existing wires are likely to break.
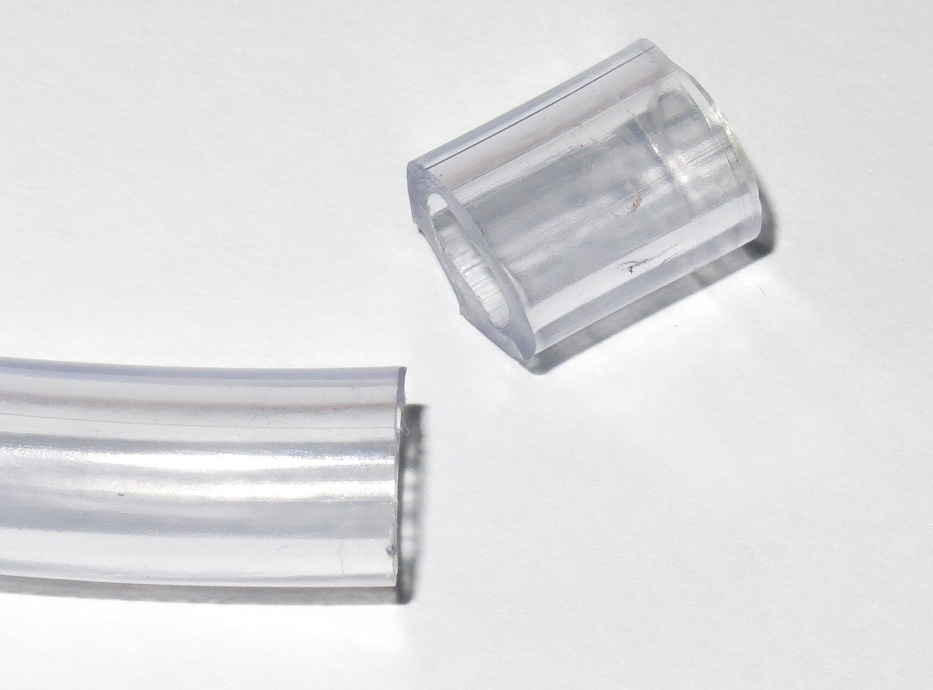
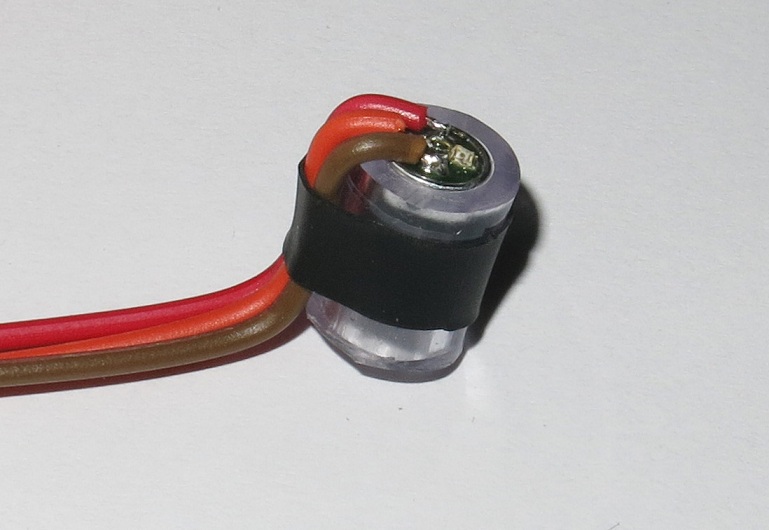
To mount the sensor to the 3D printed case, I used some PVC tubing. Luckily, I had some tubing with the right inner diameter lying around. It should also be possible to use heat shrink to mount the sensor on the case. In ether case, you need app. 1cm of tubing.
You should add something for strain relief, otherwise the wires might break during assembly.
Some Thoughts
There are a lot of things that can be made different/improved. The currently used sensor only detects a vacuum. Another sensor could detect both directions of the air flow. The BMP180 with a filter might be suitable (mine was a bit too sensitive for humidity..oops). Companies like Freescale offer a broad range of promising sensors that might work (~10 USD in low volume).
The used joystick requires the ability to slightly move the head. Other devices, like they are used for e.g. Track Points, might allow to operate the device only by using the lips or the tongue.
The USB connection could be replaced by Bluetooth or another kind of wireless connection.
The firmware only supports a mouse emulation for the moment. Keyboard or gamepad emulation could be implemented in the future.
A single PCB solution would result in a much smaller, more professional and easier-to-build device.
Unfortunately it is a bit inconvenient to clean the mouthpiece.
I would be happy if someone would like to contribute in any way to this project. The design is modular. Every part can be modified to fit your needs.
Credits:
0_o
Download 3D models
| File | File size |
|---|---|
 Mouth_Operated_Mouse
|
108 KB |