
My name is Robert Frei and I am a high school senior in St. Louis. I came up with the idea for this project this past summer when our family purchased a Nintendo Switch. My dad is a right-hand amputee and a Marine Veteran, and since he lost his hand in 2003 he hasn’t been able to play videogames with me and my siblings. I was inspired by the vast customisability of Nintendo Switch controllers, and designed this one-handed switch arm attachment. After a week of prototyping and playtesting, my Dad can finally play videogames with me and my siblings with full functionality, except for two handed motion controls (most motion control games still allow for button control options, so this isn’t an issue.)
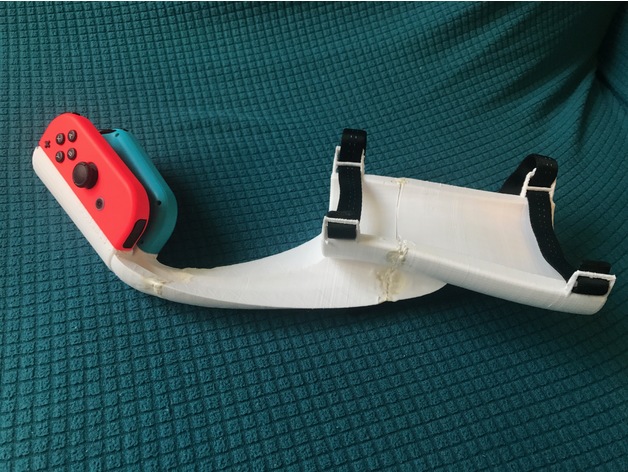
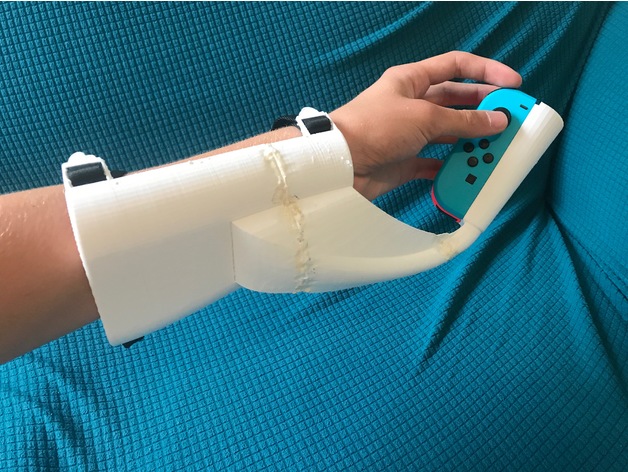
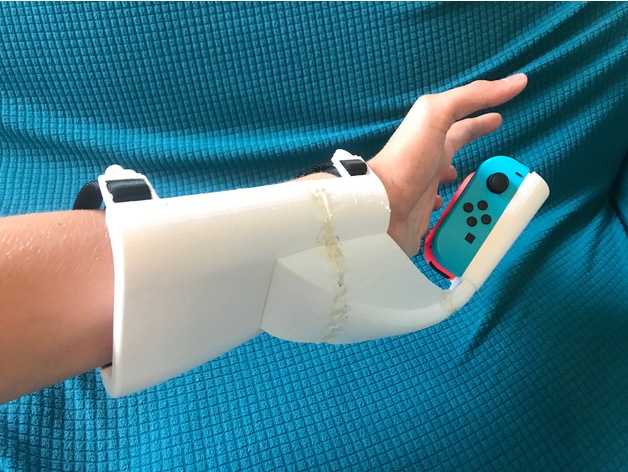
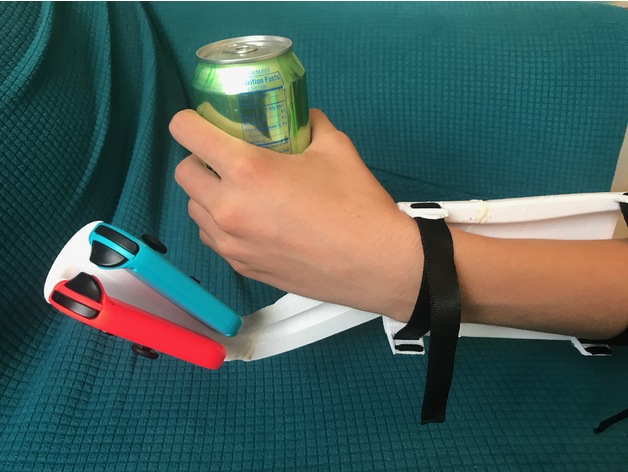
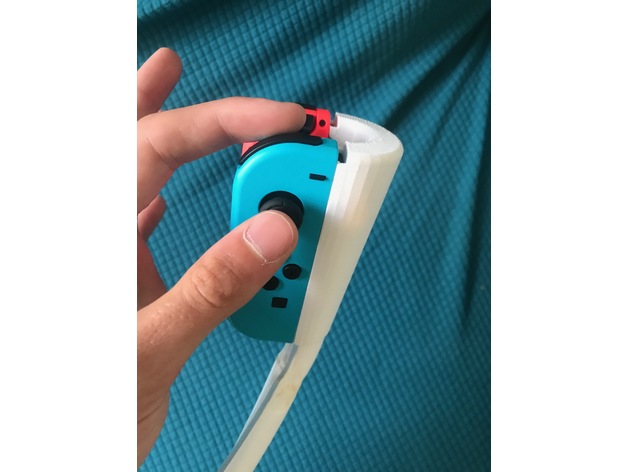
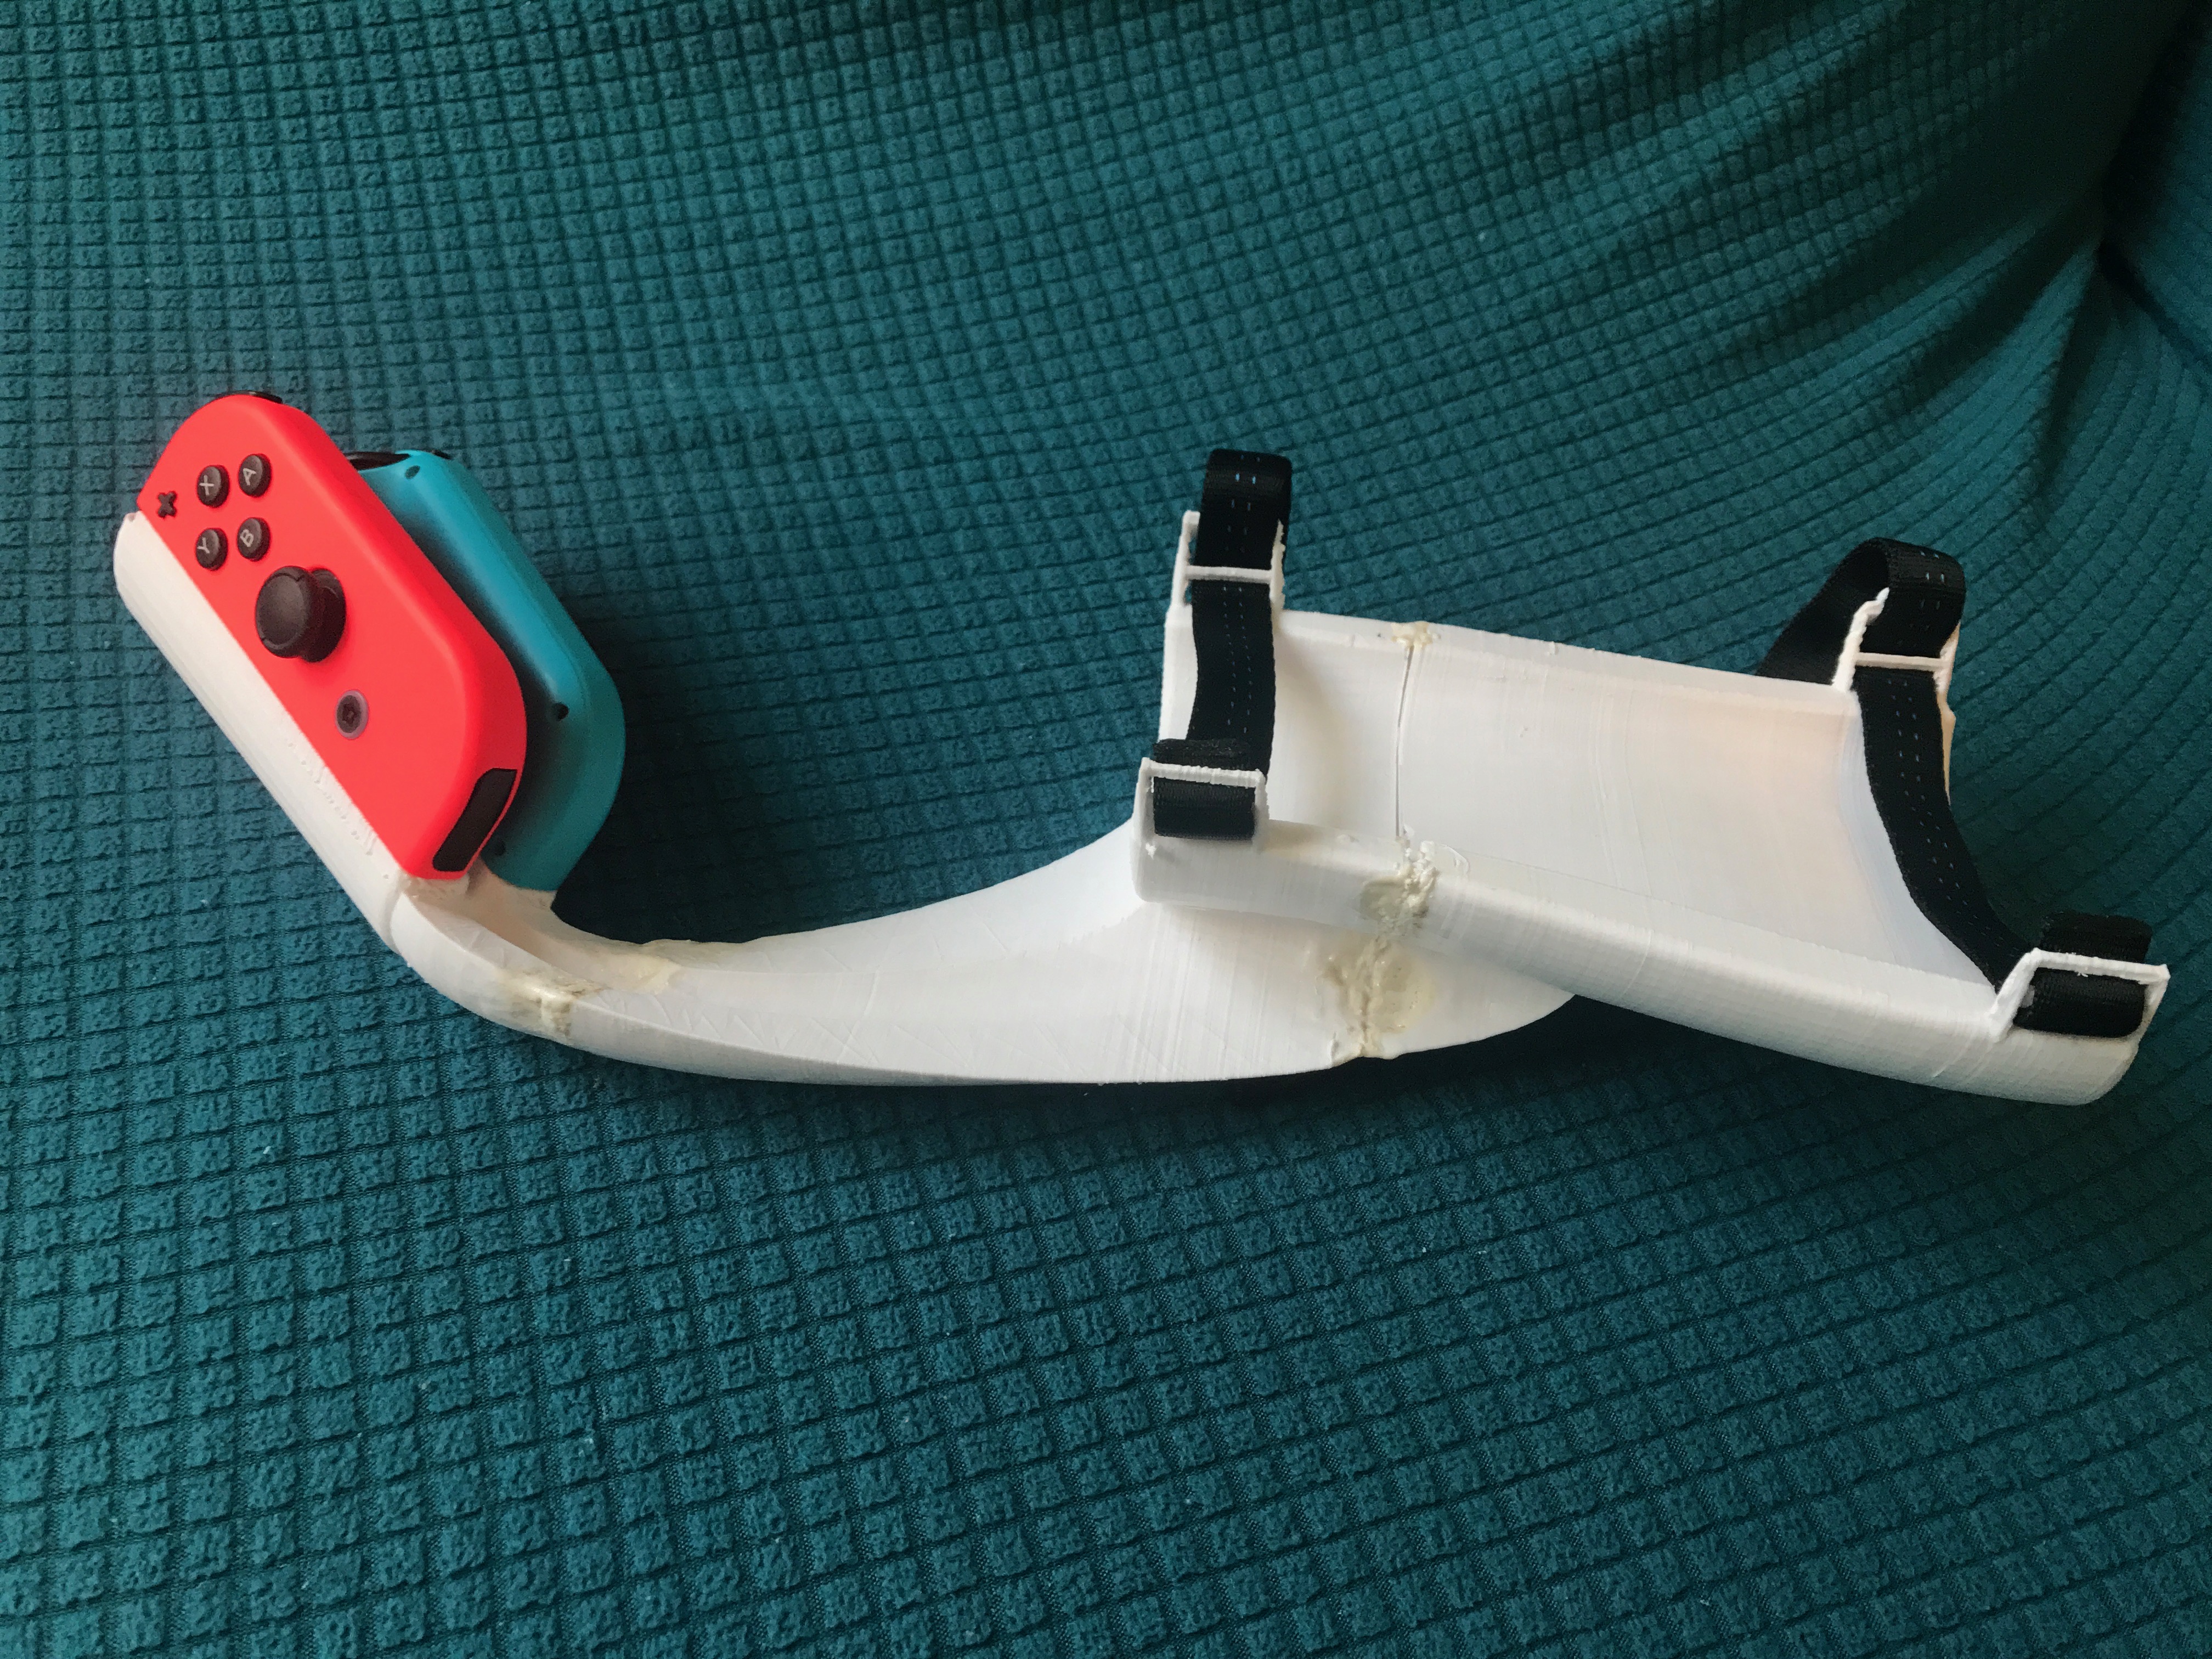
I uploaded this project so that anyone who has one hand can enjoy the same Nintendo games we all love (if you have two hands, it’s still comfortable and incredibly useful). The attachment straps on on the inside of the wrist. The Joy-cons snap in like any other attachment, and the space in between the wrist attachment and joycons allow the user to reach their hand through and do other things, like eating a snack.
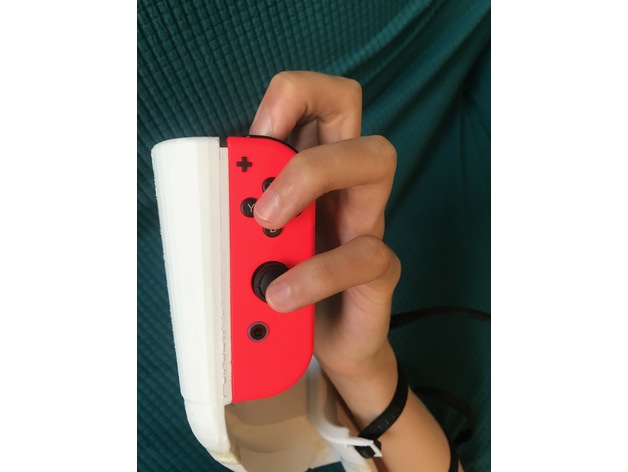
The finger-button mapping is shown in the images above. Because the joycons are supported externally, every finger is able to operate a button, leading to the exact same playing speed and responsiveness as if you were playing two handed.
There is both a right handed and a left handed model above, although the button mapping is for the left model. For the right model, the button mapping is the same, only the controllers are reversed.
Again, this model offers full functionality for any Switch game, except ones that require (and don’t offer alternatives to) multiple Joy-con motion controls
Hopefully you enjoy this print! If you have any questions feel free to email me at [email protected]
Print Settings
Printer:
Dremel IdeaBuilder 3D20
Rafts:
No
Supports:
Yes
Resolution:
.100 mm
Infill:
15%
Notes:
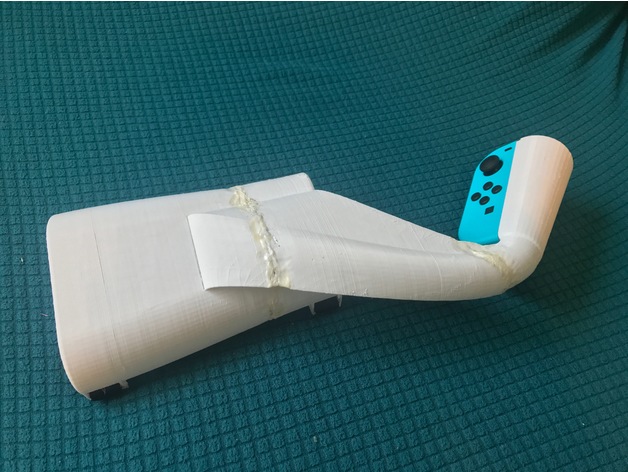
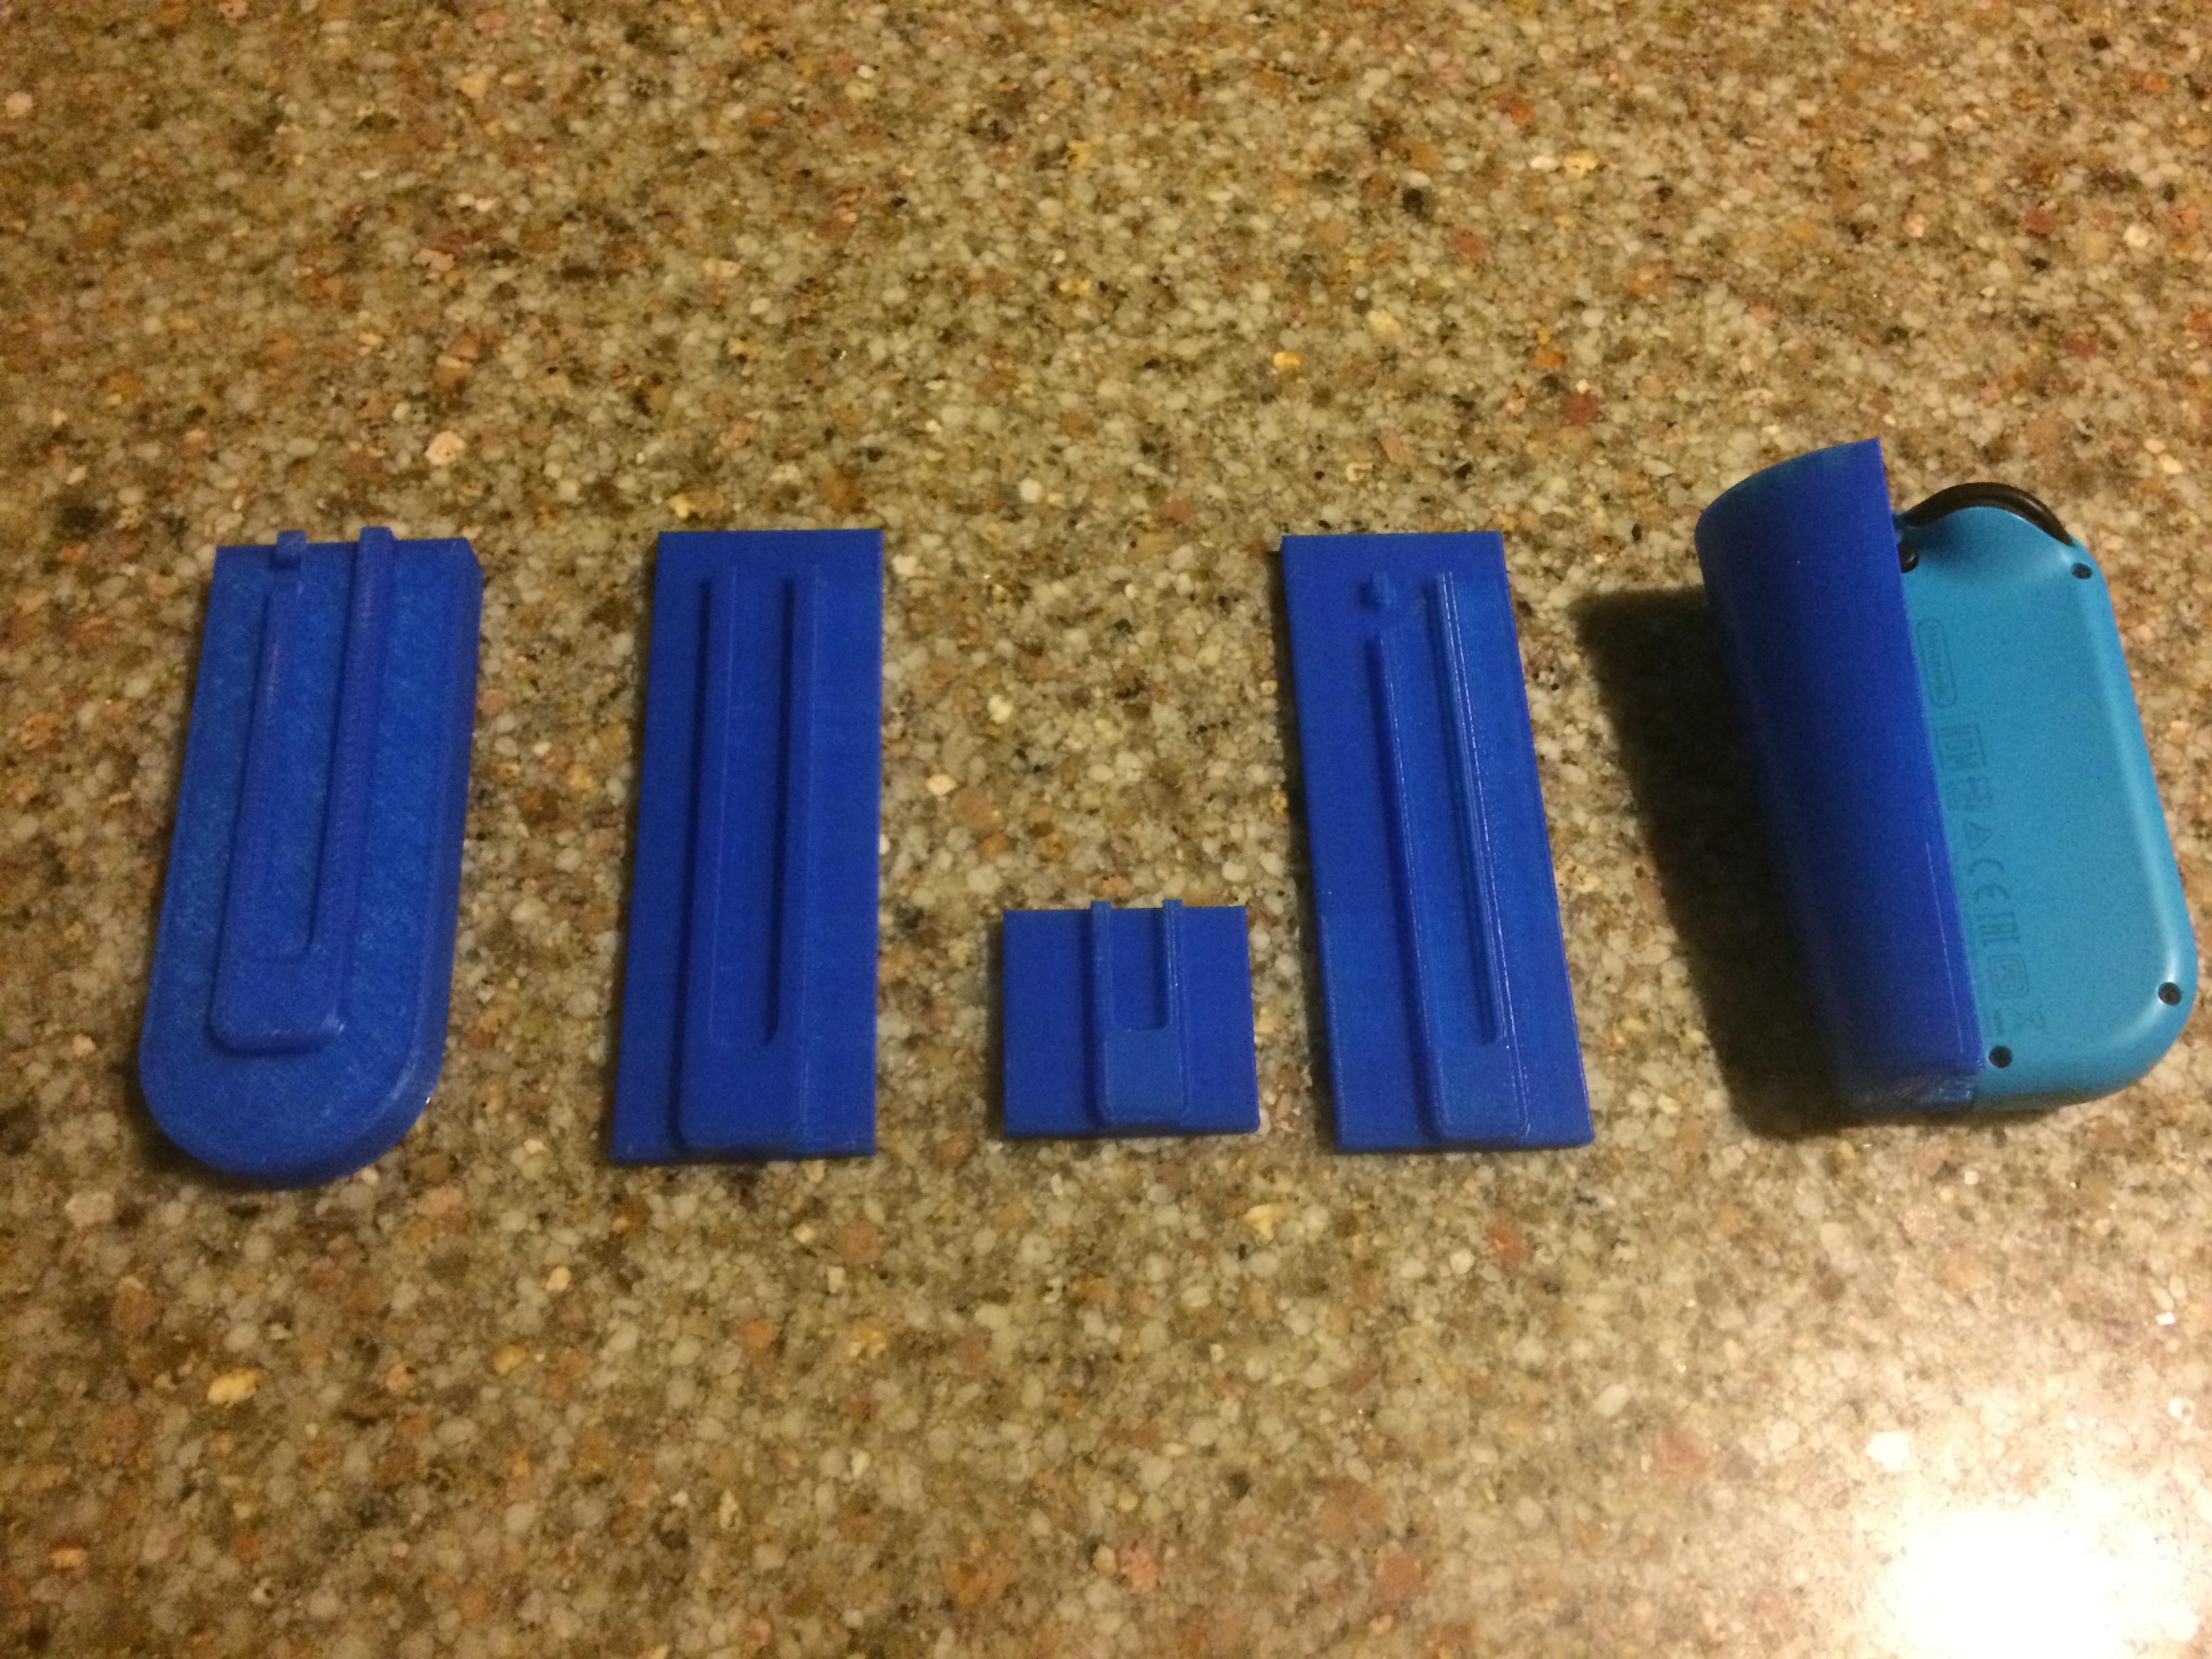
This project is larger than many printers’ build volumes, so I printed it in 3 slices (included in the build files). These are attached like any other 3d printed model, like acetone bonding on ABS plastic. I printed in PLA and did not have the correct kind of glue, so I held the pieces together and used a wind resistant lighter to melt the edges together. The result was a little yellow and bumpy, but strong. Any decent attachment method should keep the model together during use.
Post-Printing
I used fabric webbing/straps instead of a plastic attachment because it was more comfortable and allowed for a larger variety of forearm shapes. I purchased 2 2ft. lengths of 1.5cm wide webbing from REI, but any webbing or straps that wide will work. The side that goes into the flat-ended buckles can either be held by friction (in my case) or by sewing a loop. The other side is threaded like any normal buckle.
How I Designed This
I designed this project in Solidworks CAD.
The first challenge in designing this project was the Joy-con rail attachment. I tried to import a joycon model from online and design off of that, but I eventually just measured the physical nintendo Joy-con attachments. I went through 5 different iterations to optimise the dimensions so that the joycons slid in smoothly and snapped into place, just like the Nintendo designed peripherals.
Next, I needed to attach two Joycons together. I designed the mount by importing rough Joy-con models and positioning them as close to each other as possible in order to minimise hand strain and allow smaller people to use the attachment.
Then, I play tested it. By using my right hand as a mount, I found the optimal position of the Joy-cons for my left hand while playing Breath of the Wild. I imported a solidworks model of an arm and positioned the Joy-cons at the right angle and distance digitally.
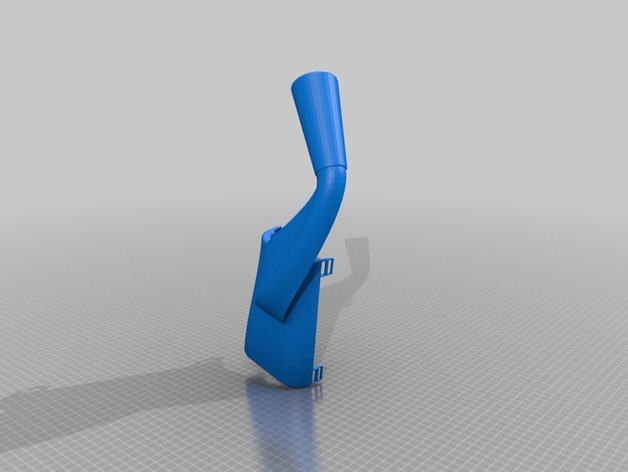
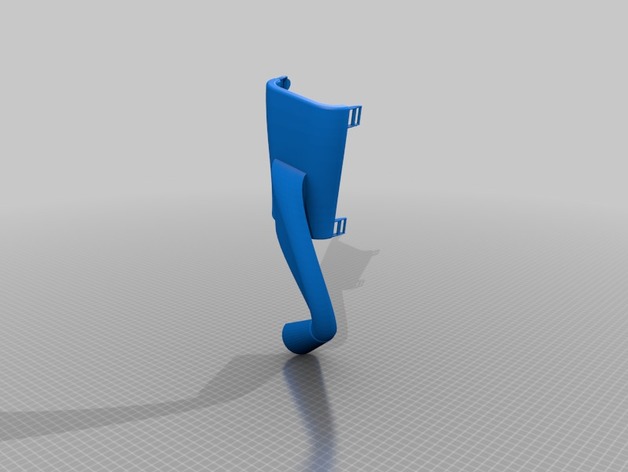
I then designed the wrist mount off of the digital arm and used a modified GrabCAD buckle design for the straps. Last, I added the attachment between the joycon mount and wrist attachment in an unobtrusive way.
Finally, I printed out the object on my printer, assembled it, and gave it to my dad. Walking out of the cave in Breath of the Wild, he began the first 3d video game save file of his life.
Prototyping the rails (They actually click into place!)
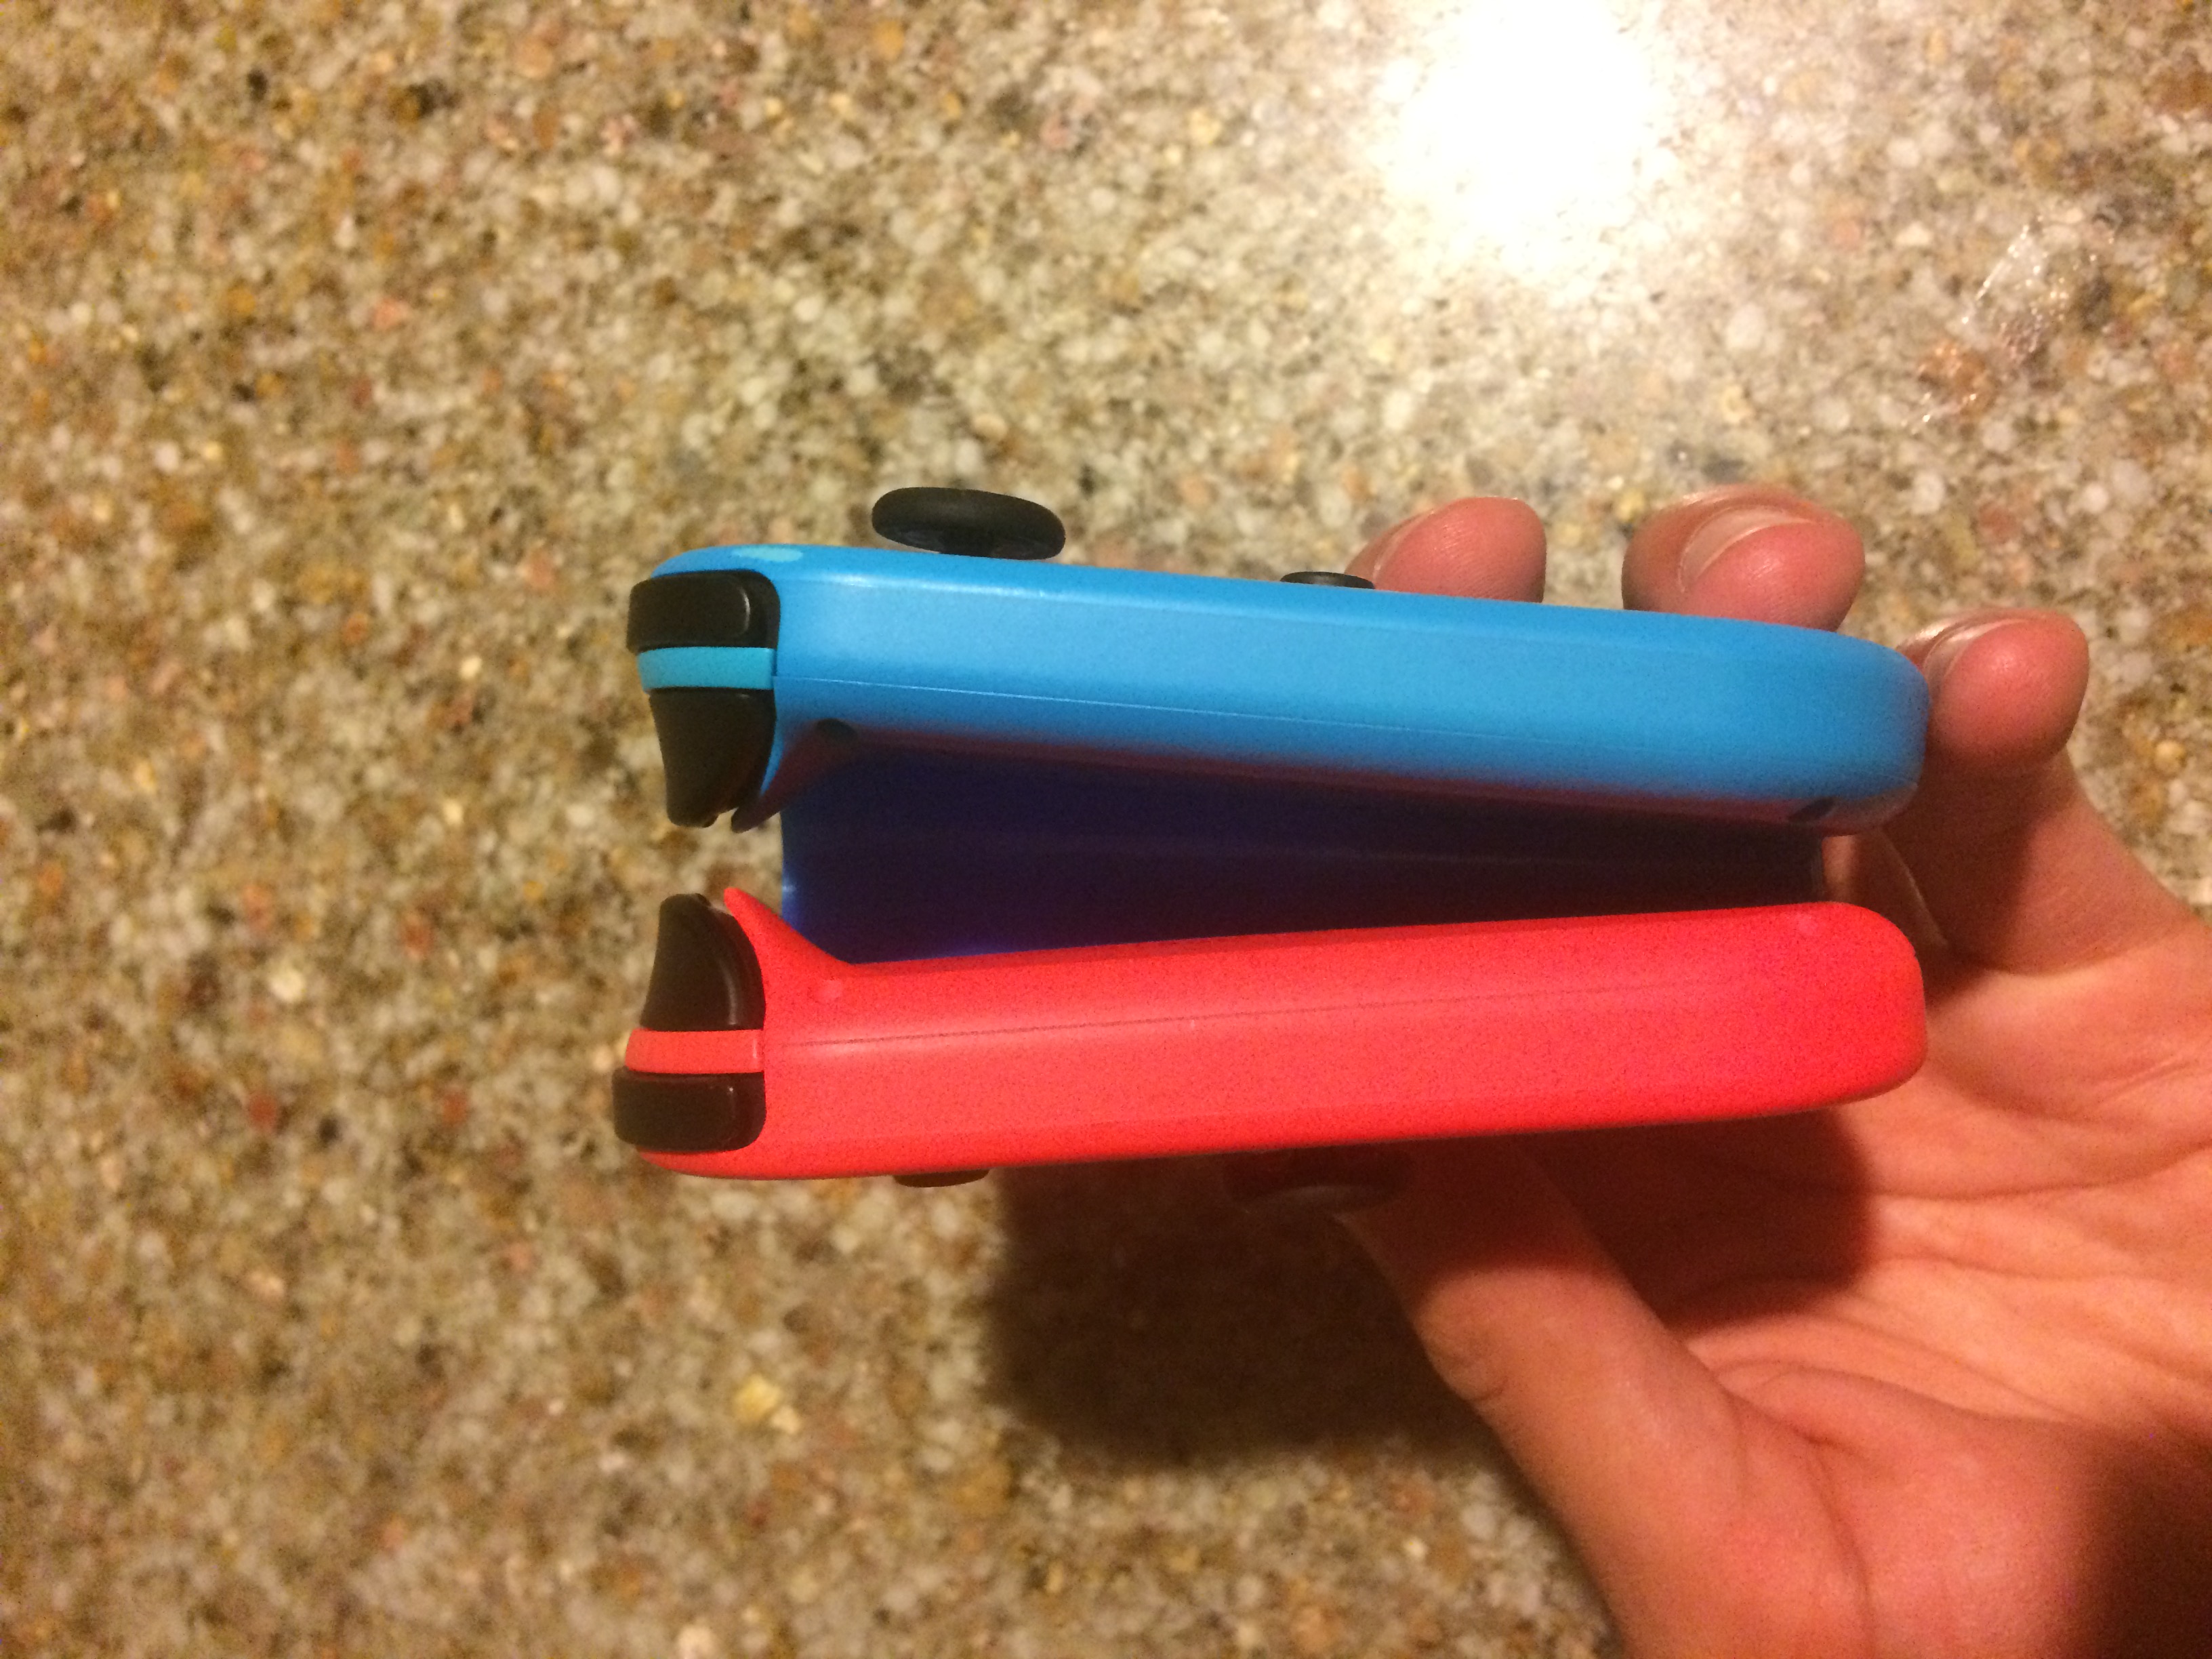
Optimal Angle for closest Joycons
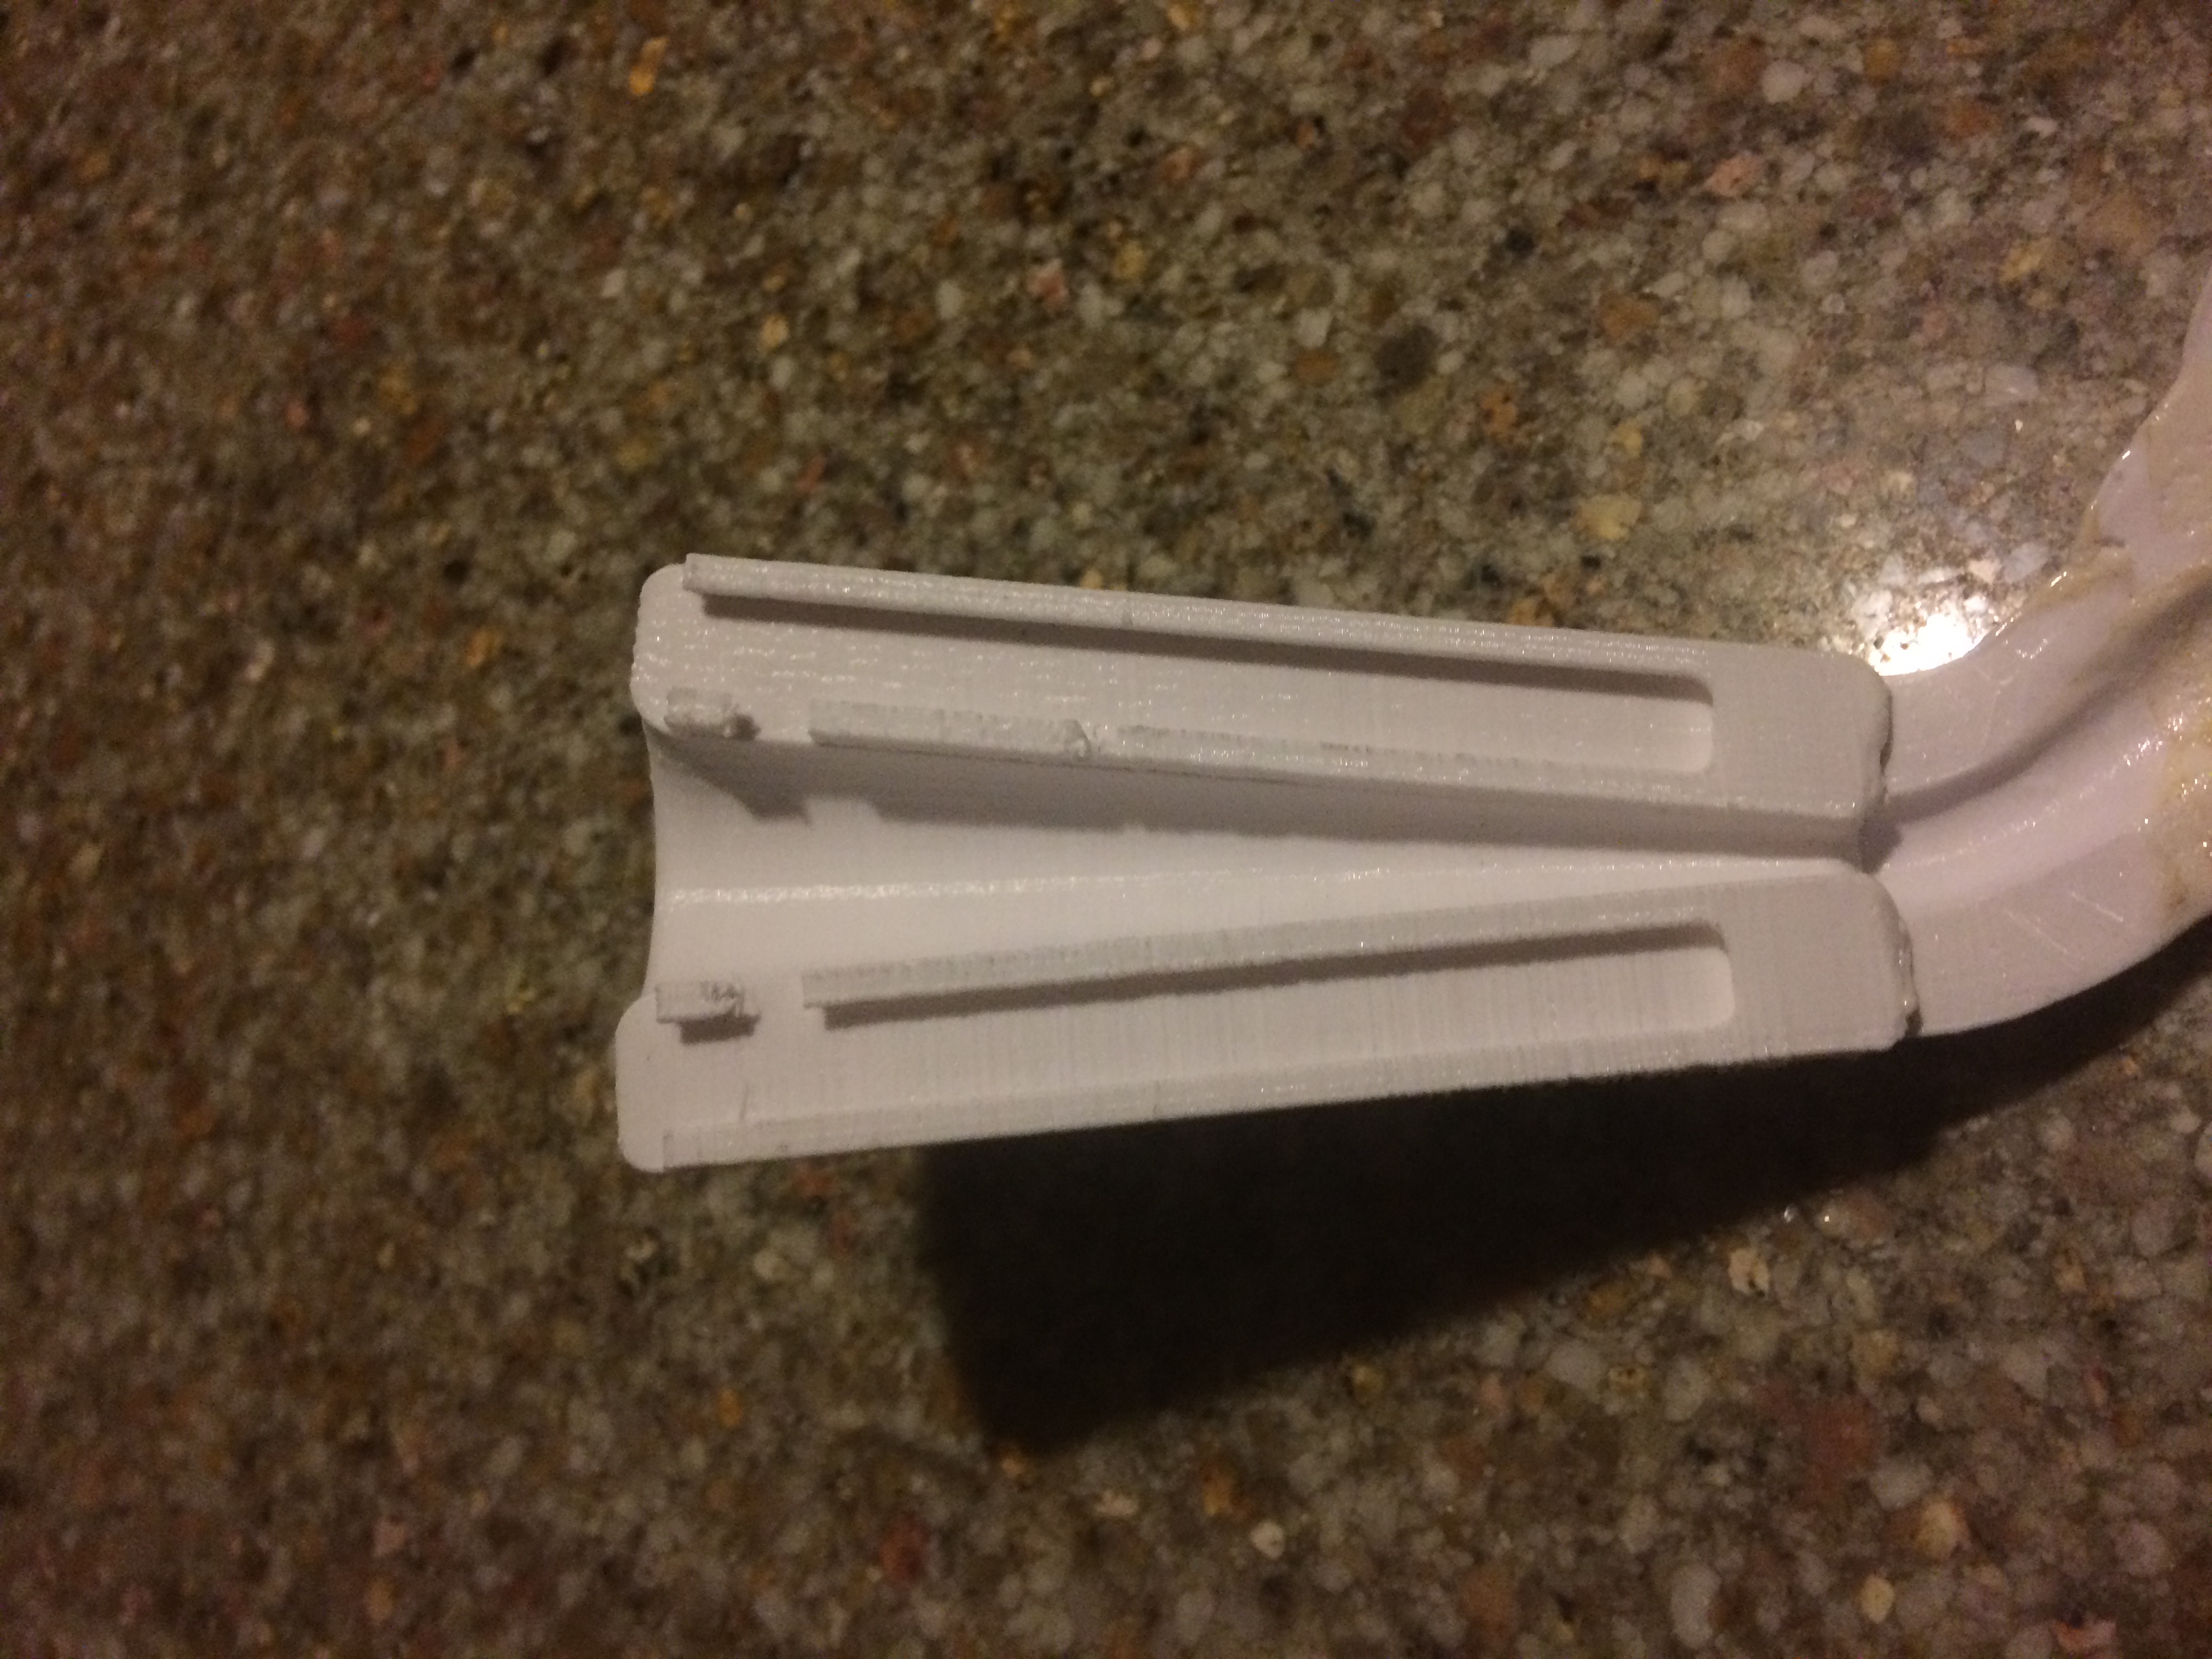
Final rail attachments

Joy-con attachment used for playtesting
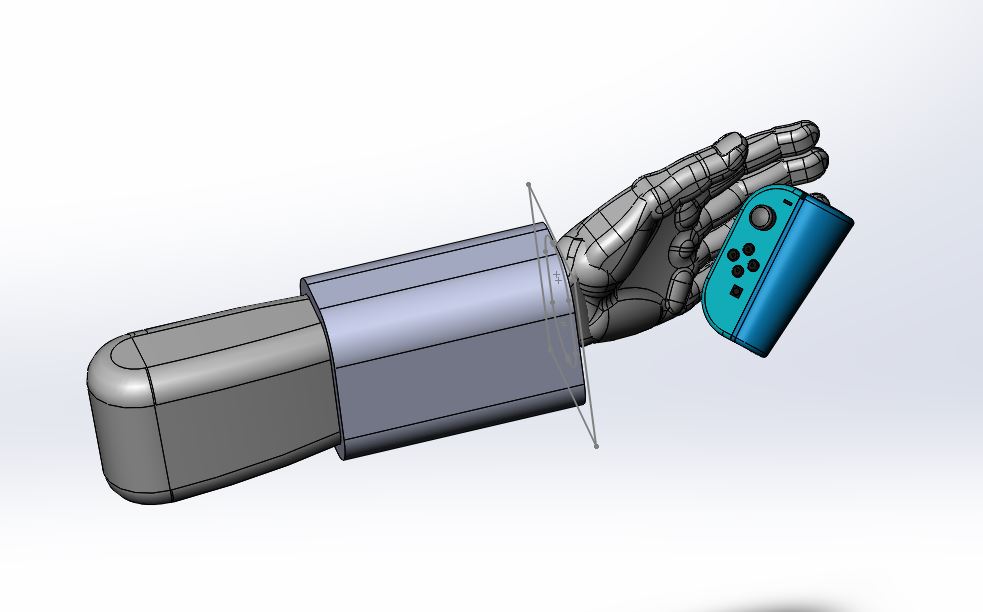
Optimal position in CAD
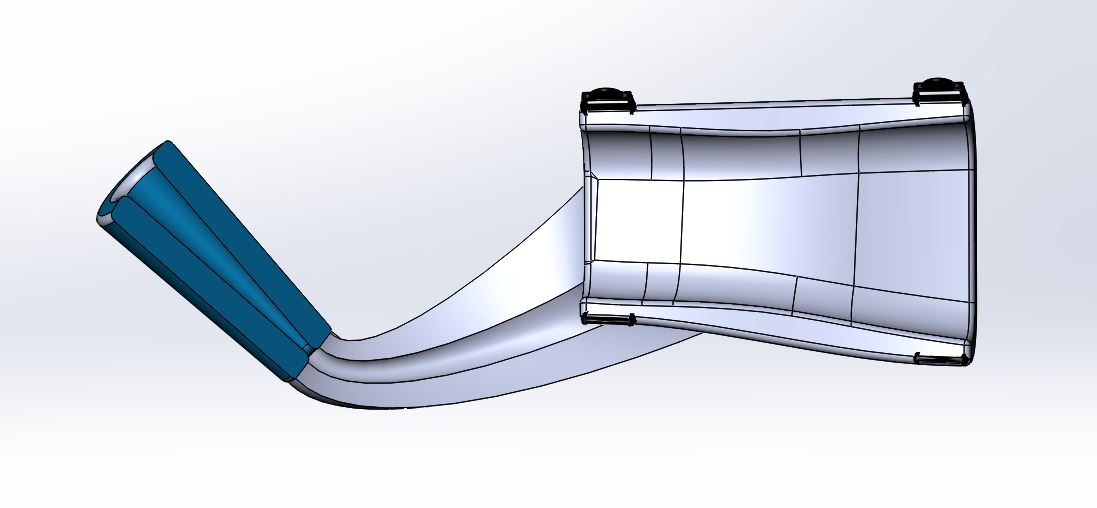
Unobtrusive attachment
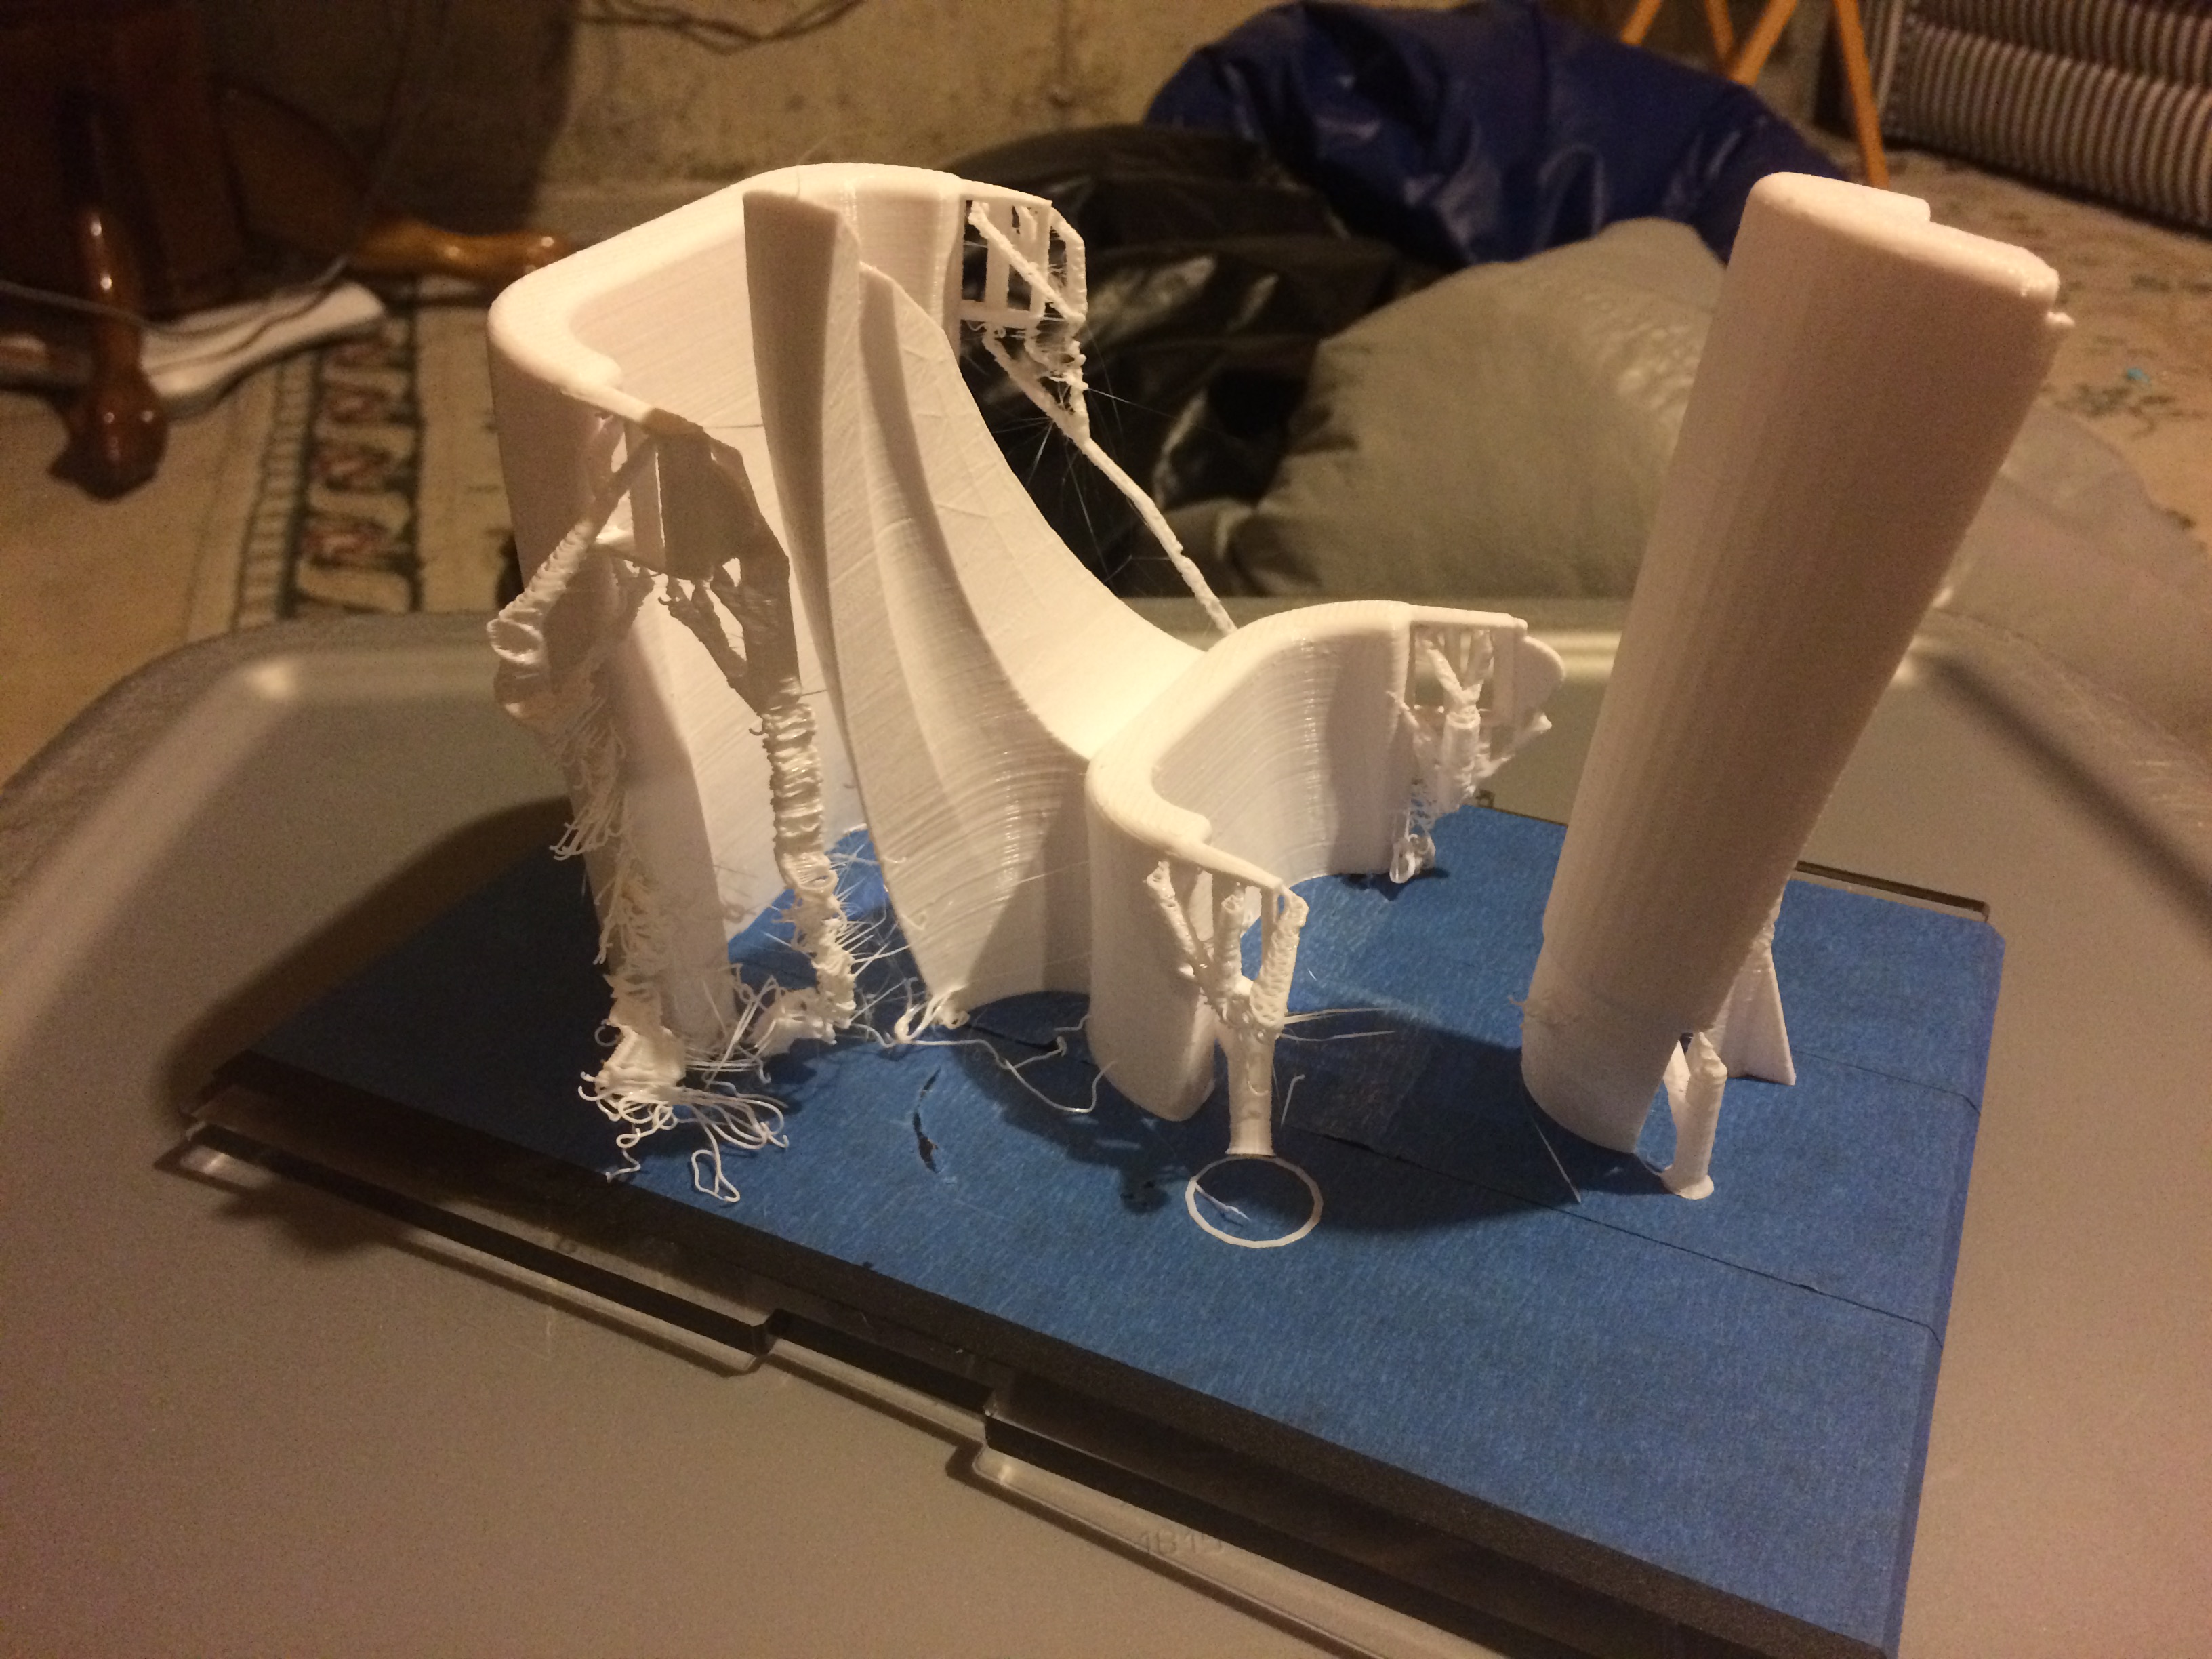
Final Print
Final Product
Credits:
robster1012
Download 3D models
| File | File size |
|---|---|
 One-Arm_Switch_Controller_Mount
|
7 MB |