
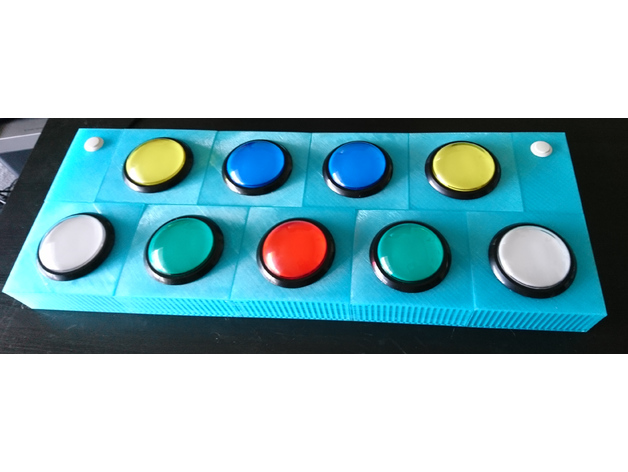
This is a full size 3d printed Pop’n Music controller. It’s a bit silly in construction (laser cut acrylic is more sensible), but works well.
BOM:
1.5kg of PETG or PLA
atmega32u4 breakout board or similar for USBemani
5V regulator (optional)
9x Samduck 100mm buttons from makestick
2x Sanwa 24mm snap-in buttons from makestick
9x arcade LEDs from ebay
18x 0.250in crimp connectors
22x 0.187in crimp connectors
64x M3x10mm screws
64x M3 nuts
22x M3x4mm screws
22x M3x3.8 heat-set inserts
4x M2.5×5 screws
~50 feet of wire
PS2 extension cable
Print Settings
Printer Brand:
LulzBot
Printer:
Mini
Rafts:
No
Supports:
No
Resolution:
0.25
Infill:
20%
Notes:
Use either PLA or PETG. ABS will likely warp too much.
I printed mine with only a single (0.5mm) wall, which was sturdy enough.
Post-Printing
Flash the atmega32u4 with USBemani, and wire up the PS2 cable.
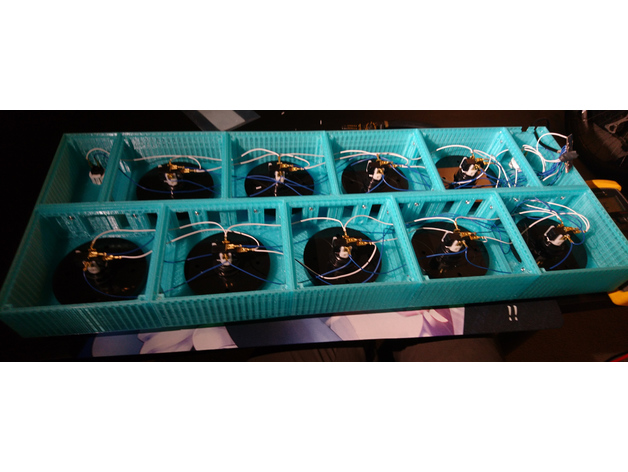
Place all of the printed boxes face down and screw them together with 10mm screws and nuts. You don’t have to install all of them, but I recommend it, especially with PETG. Use a soldering iron to install heat-set inserts.
Push each Samduck button through, then align the back plate and screw on the nut. Snap in the 24mm buttons. Wire up all the buttons, using the crimp connectors (soldering also works if you don’t have a crimp tool – don’t try to crimp without one), to the USBemani. The lights can be connected to USB 5V or 7.4V off the PS2, or a 5V regulator to allow them to be powered by both. I wired mine so they are on all the time – if you want them to flash with button presses, you’ll need additional transistors.
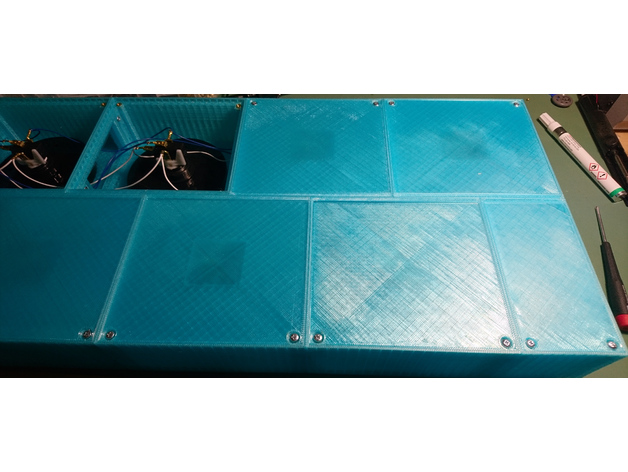
Finally, install all of the covers. Screw the USBemani down with 4 M2.5 screws.
Credits:
TDLinux
Download 3D models
| File | File size |
|---|---|
 Pop_n_Music_Controller
|
1 MB |