
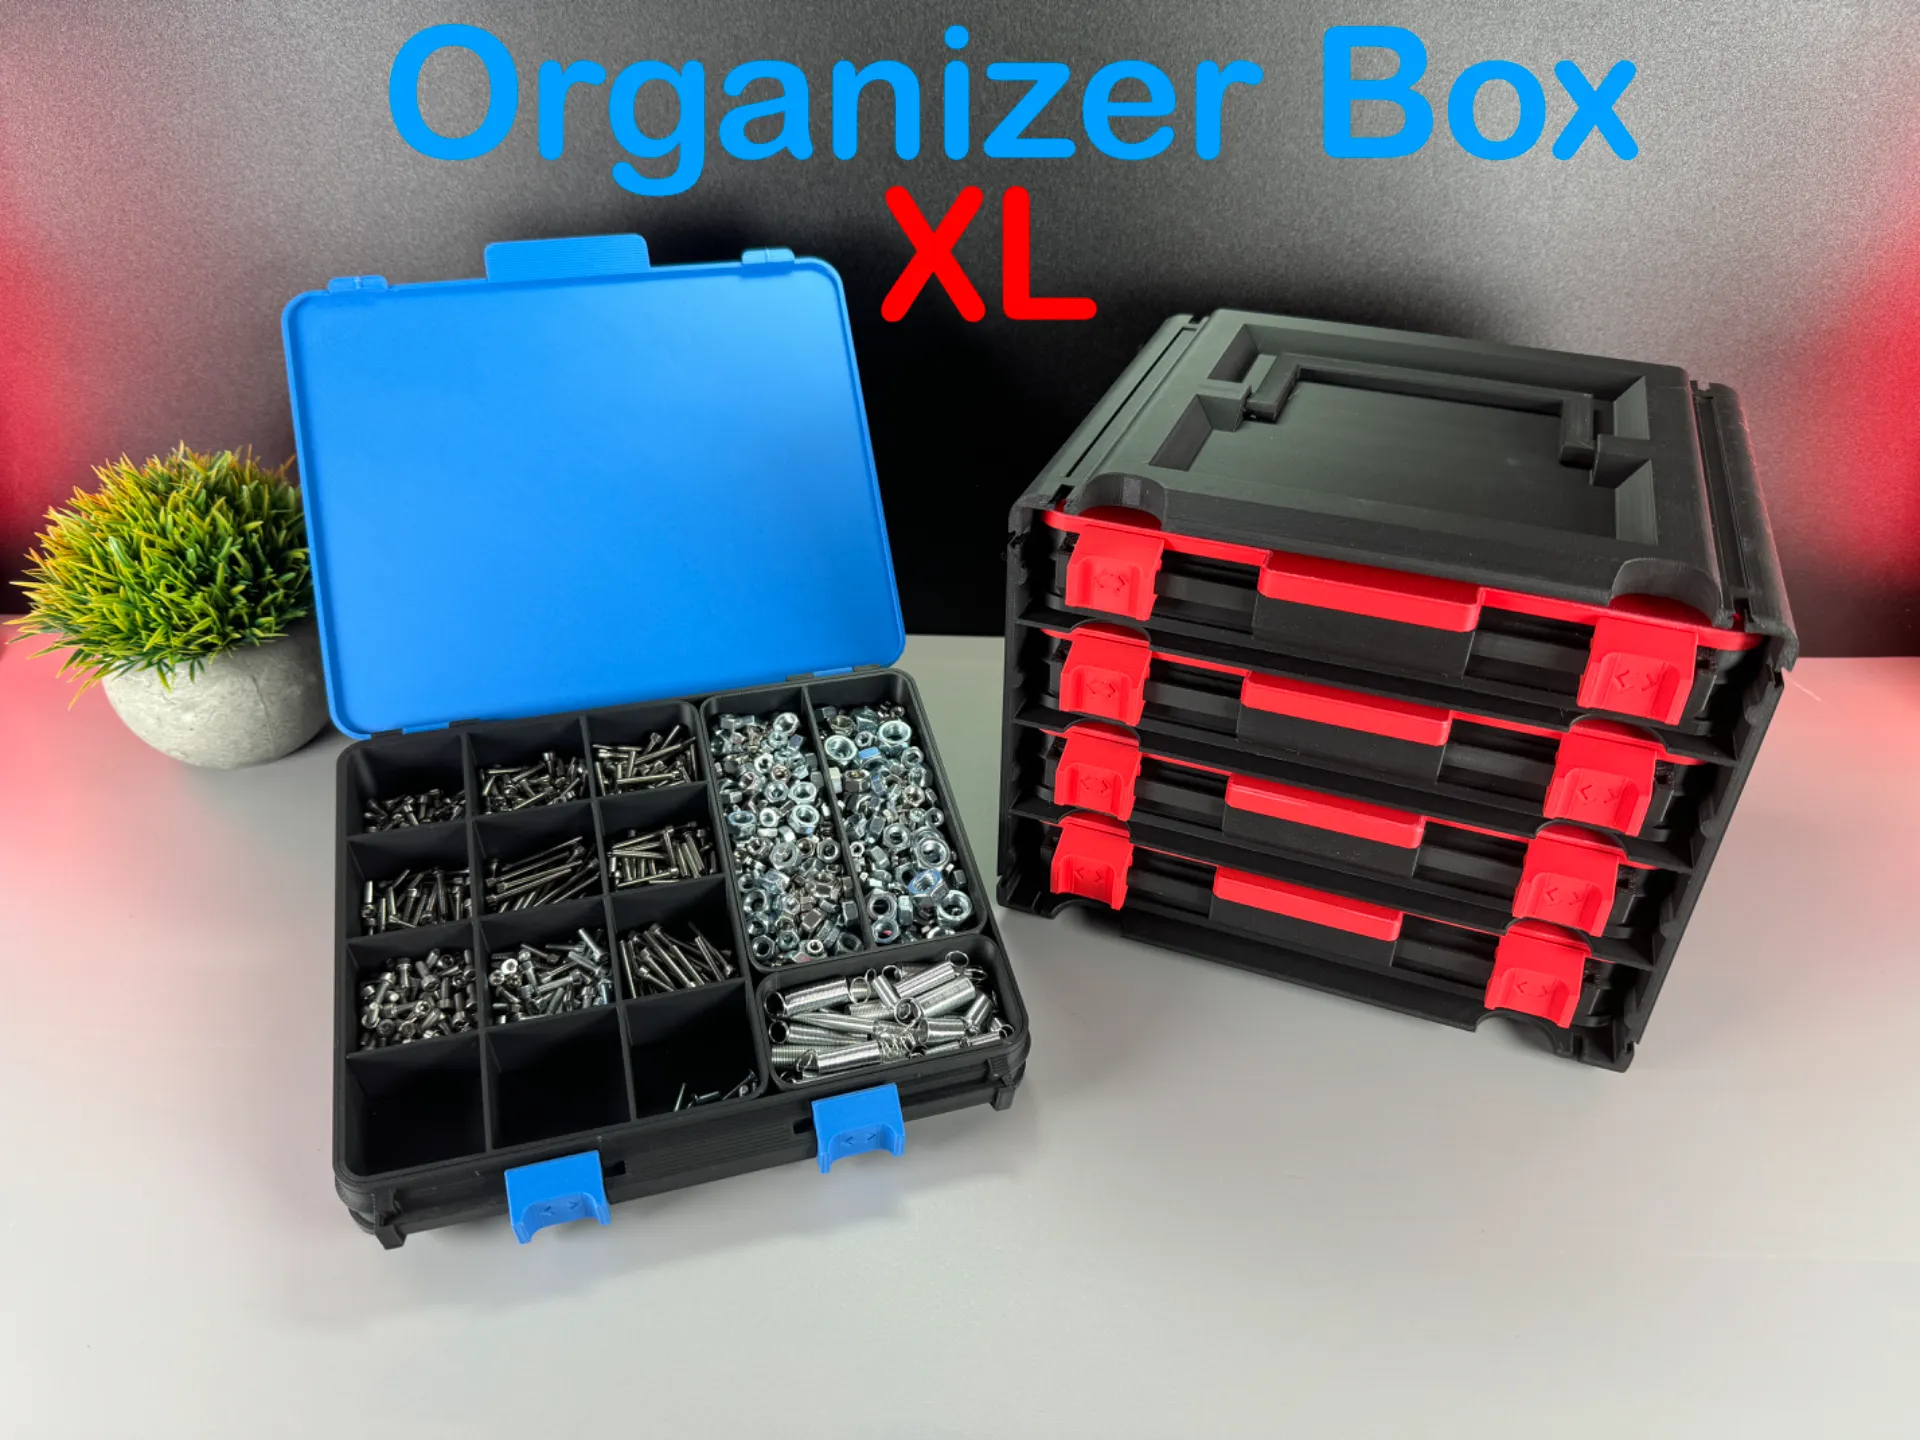

Please read the description!
When you decide to print my model please print the normal box first and look how it goes before you print the organizer holder!This model is not compatible with gridfinity!
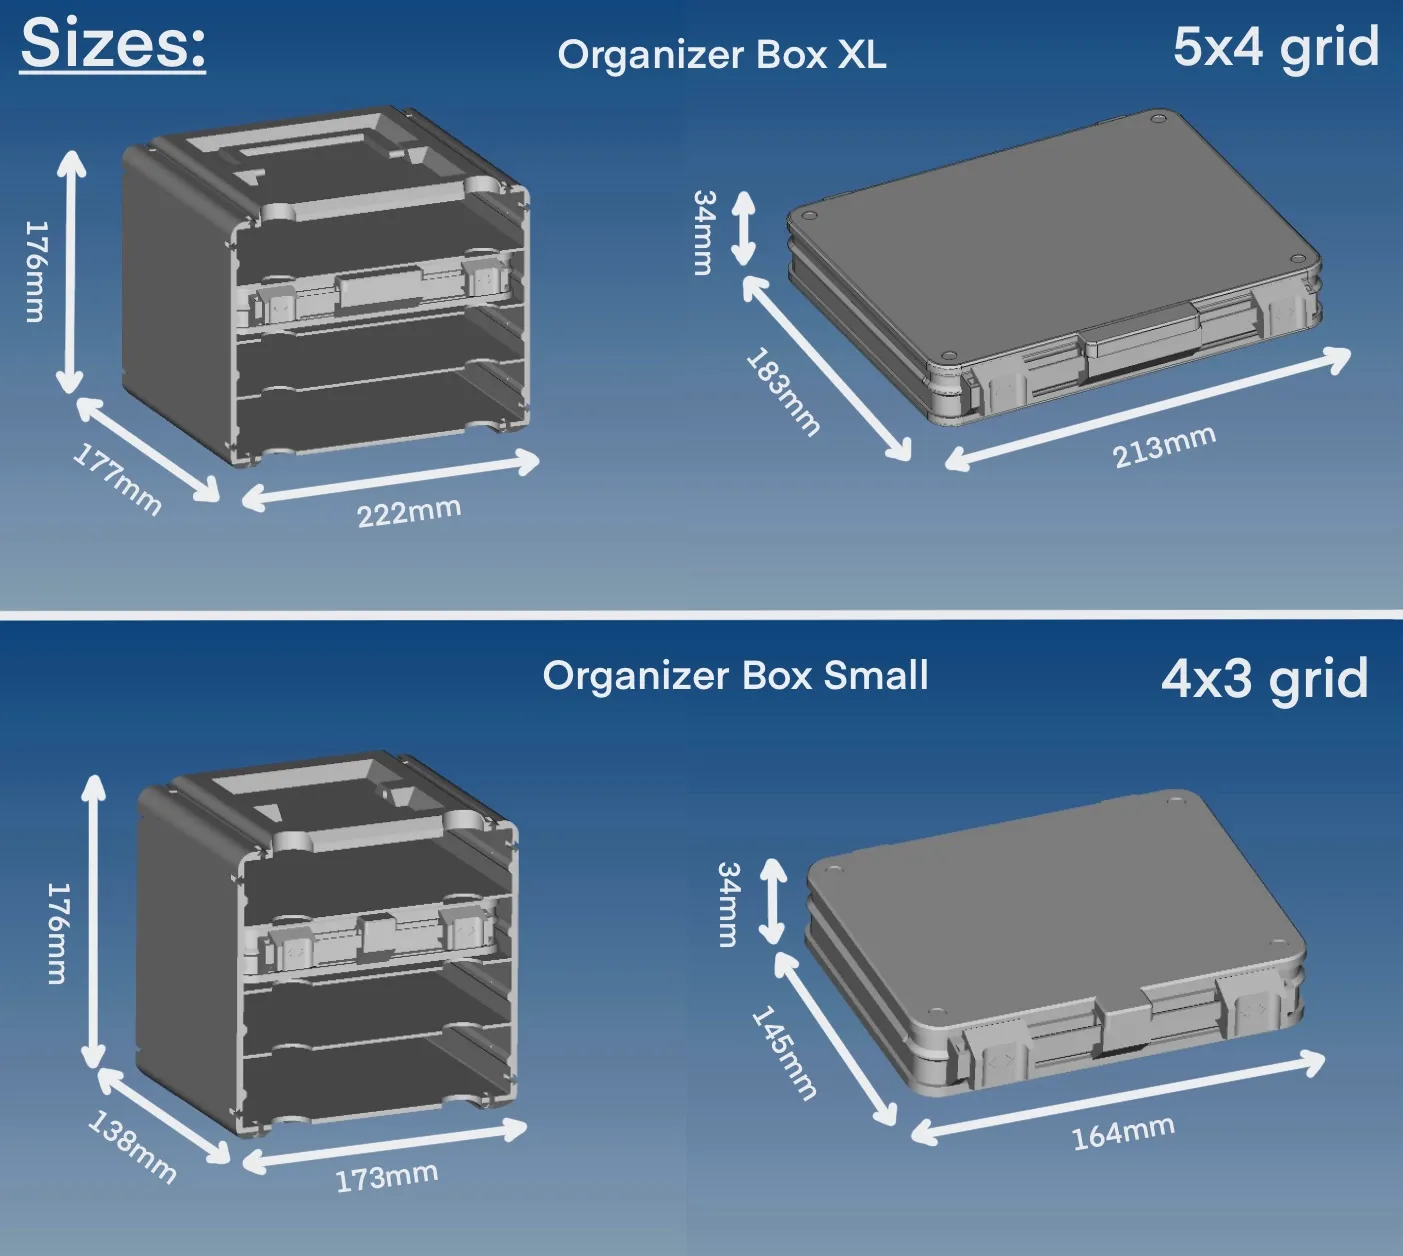
All inserts from the smaller box still fit. I have created additional inserts that only fit in the XL version. (InsertsXL_V01) I also adjusted the model a little bit so that everything fits. Because it is the XL version, the filament consumption is quite high. Please keep this in mind. Why did I choose a 5×4 grid and not something bigger? Because many people don’t have a large 3D printer (300x300x300mm). The filament consumption would have been too high and the stability would not have been as good. I think a 5×4 grid is the optimal choice. I hope you like this larger design!
You need at least a 3D-printer with a bed size of 250x210x 220mm or above that!
Size of the Models:

This organizer box (XL Version) has a lockable sliding mechanism. The boxes can be stored in a holder with up to 4 pieces. You can connect the holders with connectors in any direction and thus hold them all together. If you want, you can even attach the holder to the wall. Inserts are available in all sizes, but more from me will be added from time to time!
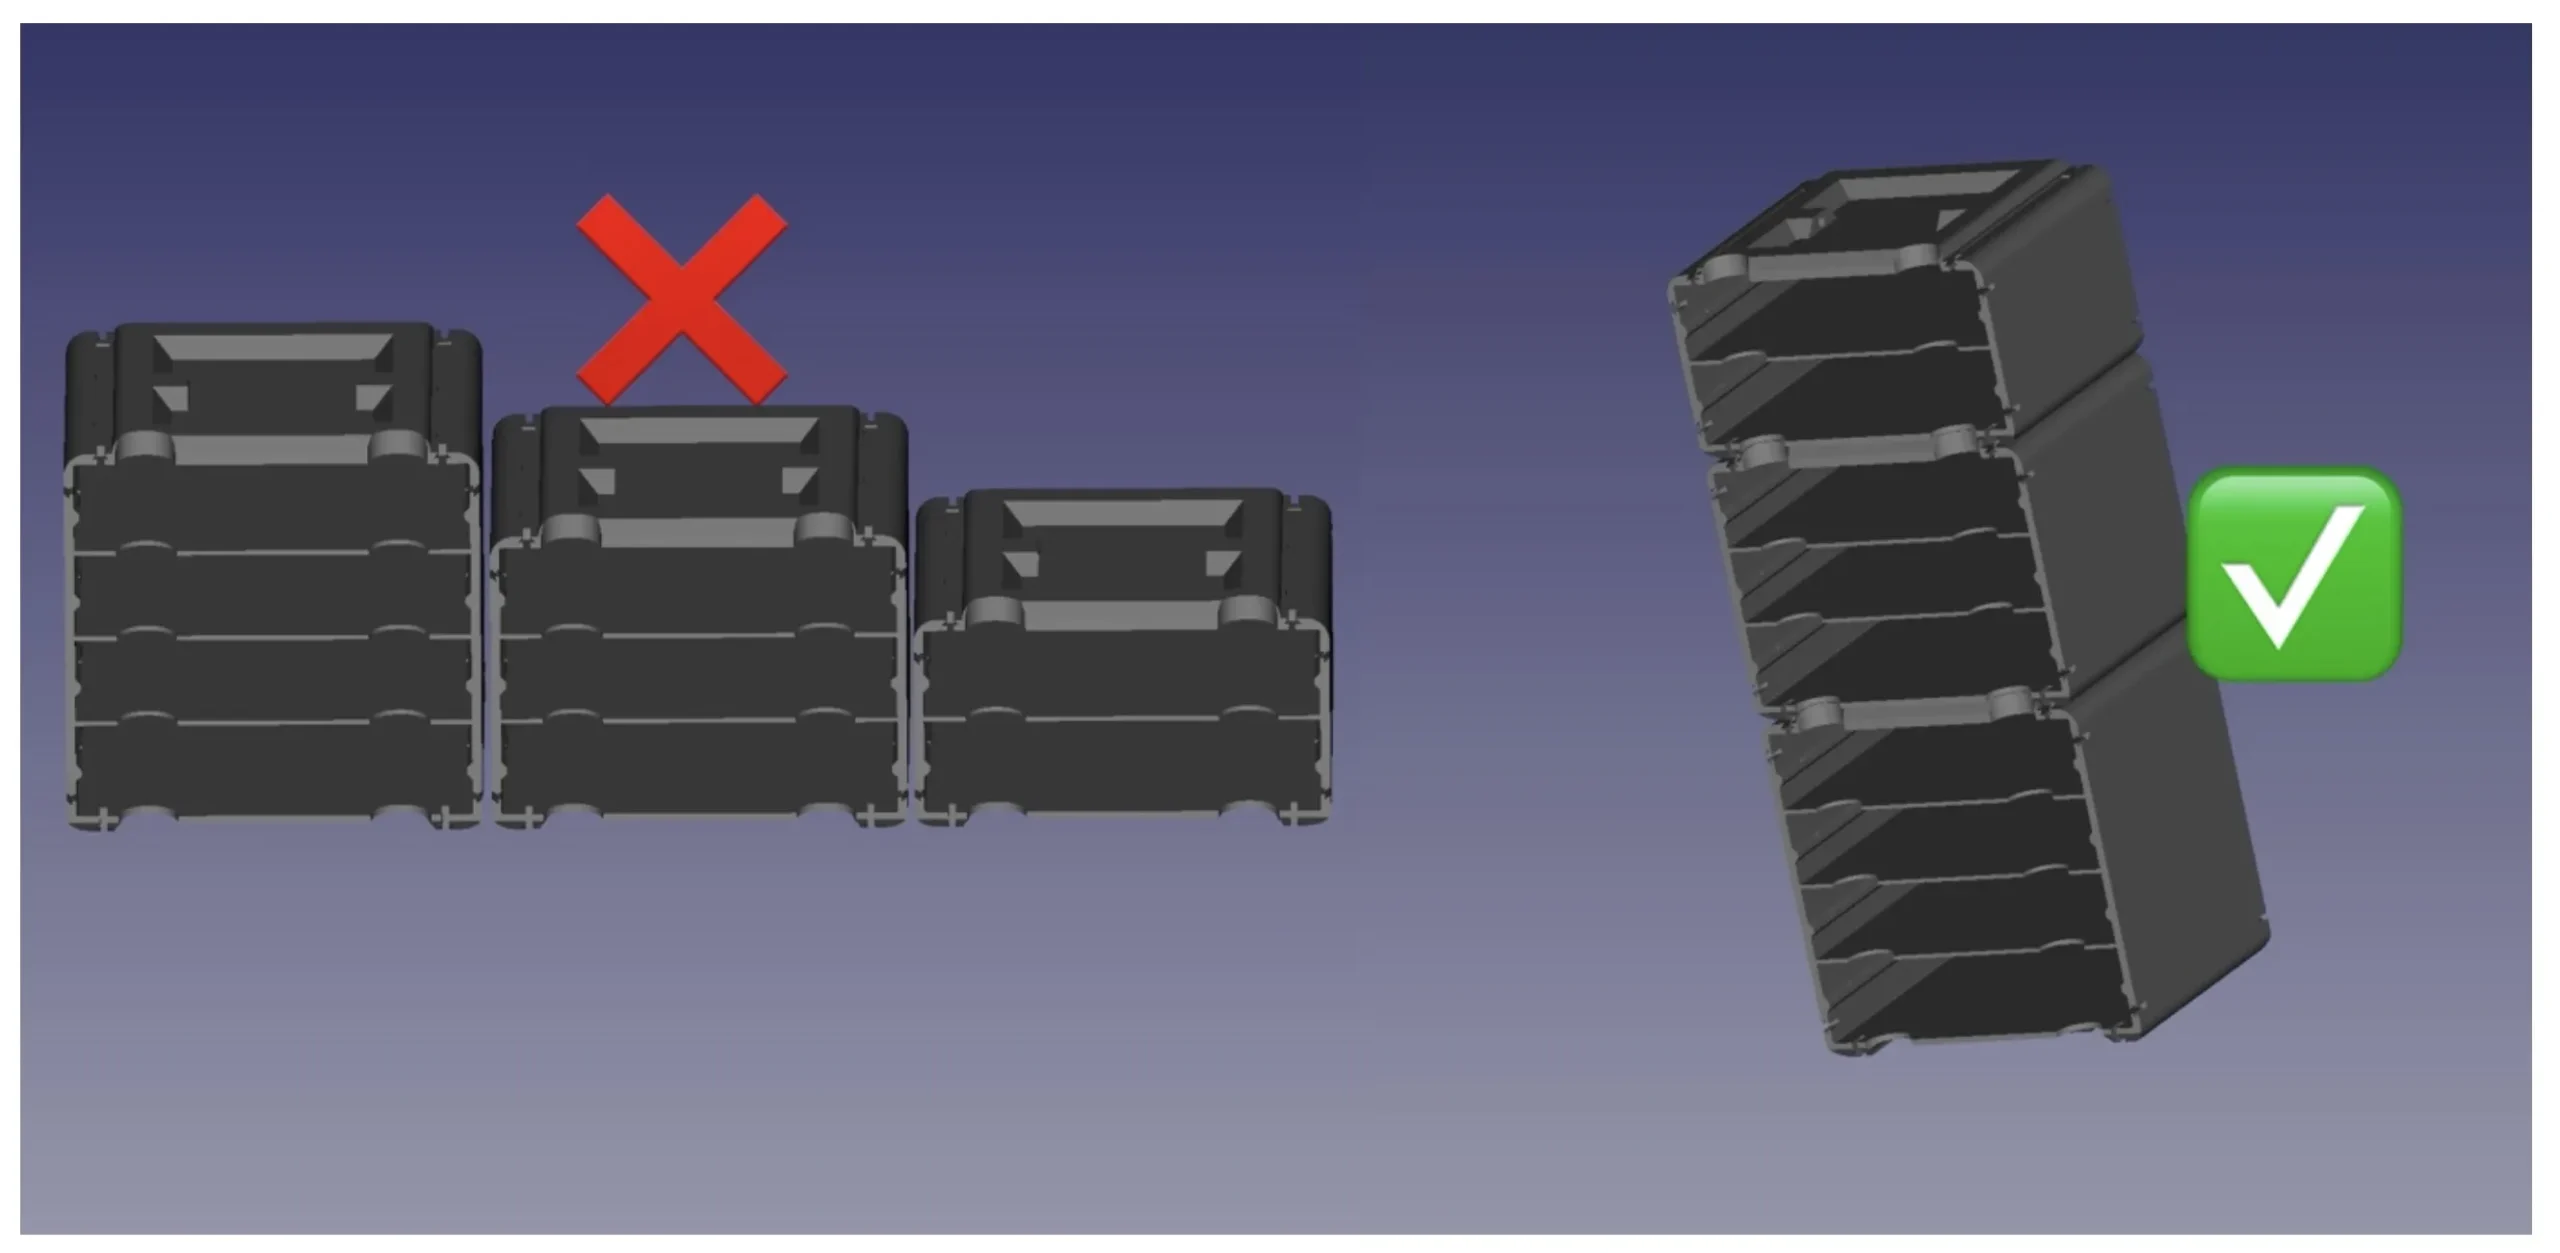
Important!!! You can only connect the box holders with the same sizes in the horizontal length. For the vertical height it doesn’t matter which sizes you want to combine. (see picture below)
Here are my tipps for printing! Please use these values, as I have adapted my models to these and only so I can guarantee that everything works perfectly!!!
Tipps and values:
- Filament: PLA recommended (PETG also works)
- Quality (Layer Height): 0,2mm
- Wall Loops: 3
- Infill: 20-30% (the Handle for the organizer holder must be printed in 100% Infill)
- Infill pattern: Doesn’t matter (I used Rectilinear)
- Supports: No! (Do not use supports for all of my Parts!)
- Wall generator: For all Inserts Arachne!!! For all other parts Classic!!!
Print the parts as they are already oriented
Please make sure that the parts come not loose while printing them. When this happens it could be that the function of my sliding mechanism does not work perfectly!
It’s just a recommendation, if the parts should hold well on your plate, you don’t necessarily have to use a brim.
You can add a brim to the:
- Lid
- Bottom
- Organizer Holder
- Slide Lock Left/Right
I have made an instruction how to assemble my organizer box XL. You can find the instructions in the download folder!
Changes and added models:
- Nothing added for now
| Problems that have occurred | How to solve them |
| Rails don‘t fit in the SlideLockLeft/Right | Scale the rail down on Y and Z scale by 0.4mm or try out wich value you need to adjust! |
| filament won‘t fit through the hinges | drill out the hinges if you can (be very careful that you don’t take to much away!) because the filament must sit a little tight in the hole, otherwise the hinge will not work correct and the filament can fall out of the hinge! |
Credits:
3DPrintyi
Download 3D models
| File | File size |
|---|---|
 Organizer+Box+XL
|
114 MB |