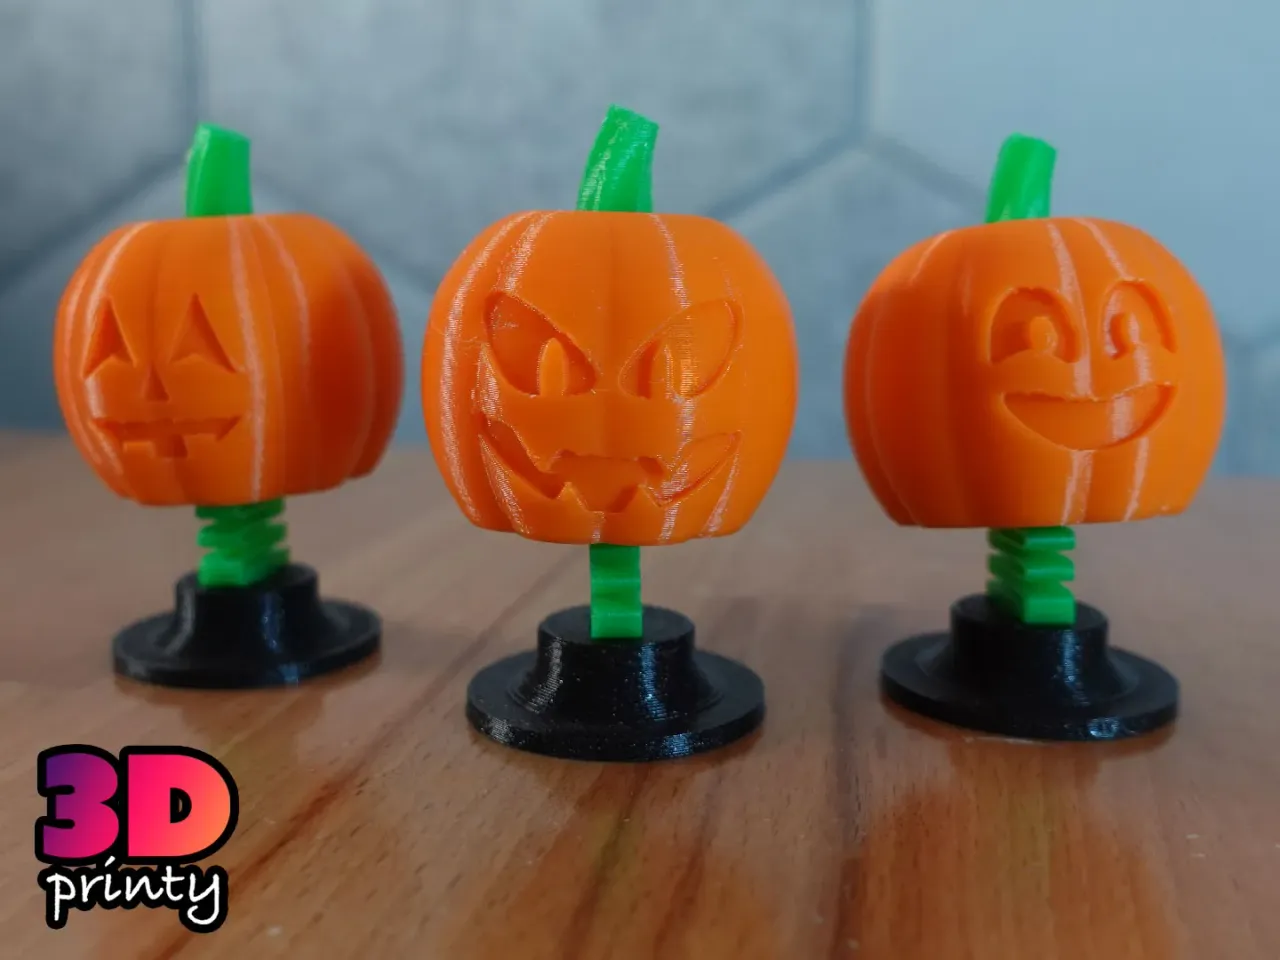
Jack-o’-lantern bobblehead for your printer. Just add G-Code and enjoy the bobble!
Printing
Pumpkin heads may require supports (around the exterior only).
For best results, print the pumpkin heads at 0.15mm layer heights or finer.
Base and spring can be printed without supports.
Ideal line width for the spring is 0.4mm. This will result in a perfect 2 perimeter spring.
Options
Pumpkins
Classic
Happy
Scary
Bases
3x3mm magnets (requires 3 magnets because 3x3s aren’t very strong)
6x3mm magnet
8x3mm magnet
10x3mm magnet
Adaptors
Prusa MK3 Bed Adaptor – Attaches below your printer bed to keep your bobblehead far away from the printing action. Just unscrew the front bolt, slide on the adaptor, and restore the bolt.
Assembly
Insert a magnet into the base.
Optional: Add glue.
Insert the spring into the bobble head.
Optional: Use assembly tool to keep the spring straight. Glue if needed.
Attach the base.
Optional: Add glue.
Use
Choose a spot on your printer that won’t result in the bobblehead blocking the path of moving parts. Possible placement options include above the extruder, on the print bed, or on an adaptor.
Monitor the bobblehead for a while to make sure it’s REALLY secure.
Do not use for printers moving at extremely fast “15 minute benchy” speeds.
Credits:
3D Printy

