
The lampshade is based on the “FIRE!” model by Ricardo Salomao
You need to print 4 parts:
mount.stl = wall mounted lamp part and arm
holder.stl = bulb holder and lampshade retainer
base-XX.stl = lampshade base and ring
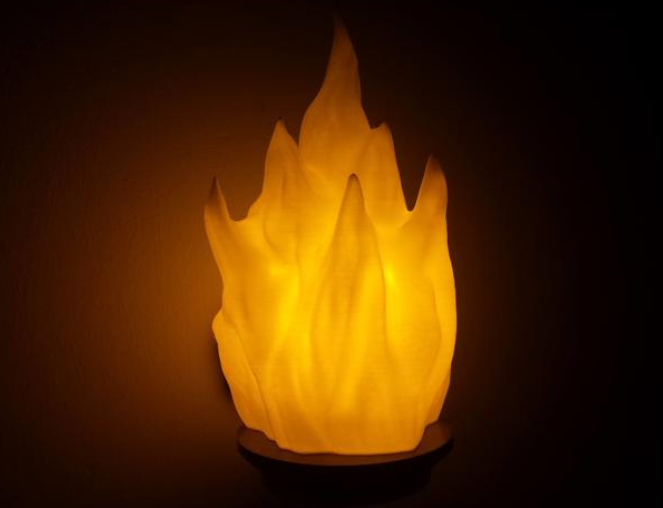
flame-XX.stl = flame in the lampshade
Print without using supports.
The lamp is available in three different sizes, which are defined by the flame height in the lampshade – 18 cm, 21 cm or 24 cm. The basic dimension is 21 cm. Depending on your preferences and dimensions of your 3D printer, choose the appropriate parts for printing: base-XX.stl and flame-XX.stl, where XX is 18, 21 or 24. The parts: mount.stl and holder.stl are the same.
Base-XX.stl and flame-XX.stl parts can be glued after printing. Connecting pins and holes can help align these parts with each other. Gluing is not needed if the lamp is not exposed to movement or wind.
Instead of printing the base-XX.stl and flame-XX.stl parts separately, you can print them together using base+flame-XX.stl. Then:
. you don’t need to use glue to connect
. you either print in one color, or you have to change the color when printing,
. a larger 3D printer is required
No need to glue mount.stl and holder.stl or holder.stl and base-XX.stl. These parts are press-fitted.
My Cura setting (nozzle size 0.4):
layer_height = 0.2
retraction_combing = off
support_enable = False
fill_perimeter_gaps = nowhere (for flame-XX.stl)
gradual_infill_steps = 1 (for base-XX.stl)
infill_pattern = zigzag
infill_sparse_density = 8
speed_print = 40
speed_travel = 60
top_bottom_thickness = 0.8
wall_thickness = 0.8
Credits:
DeltaPlus
Download 3D models
| File | File size |
|---|---|
 Flames - wall lamp
|
16 MB |