
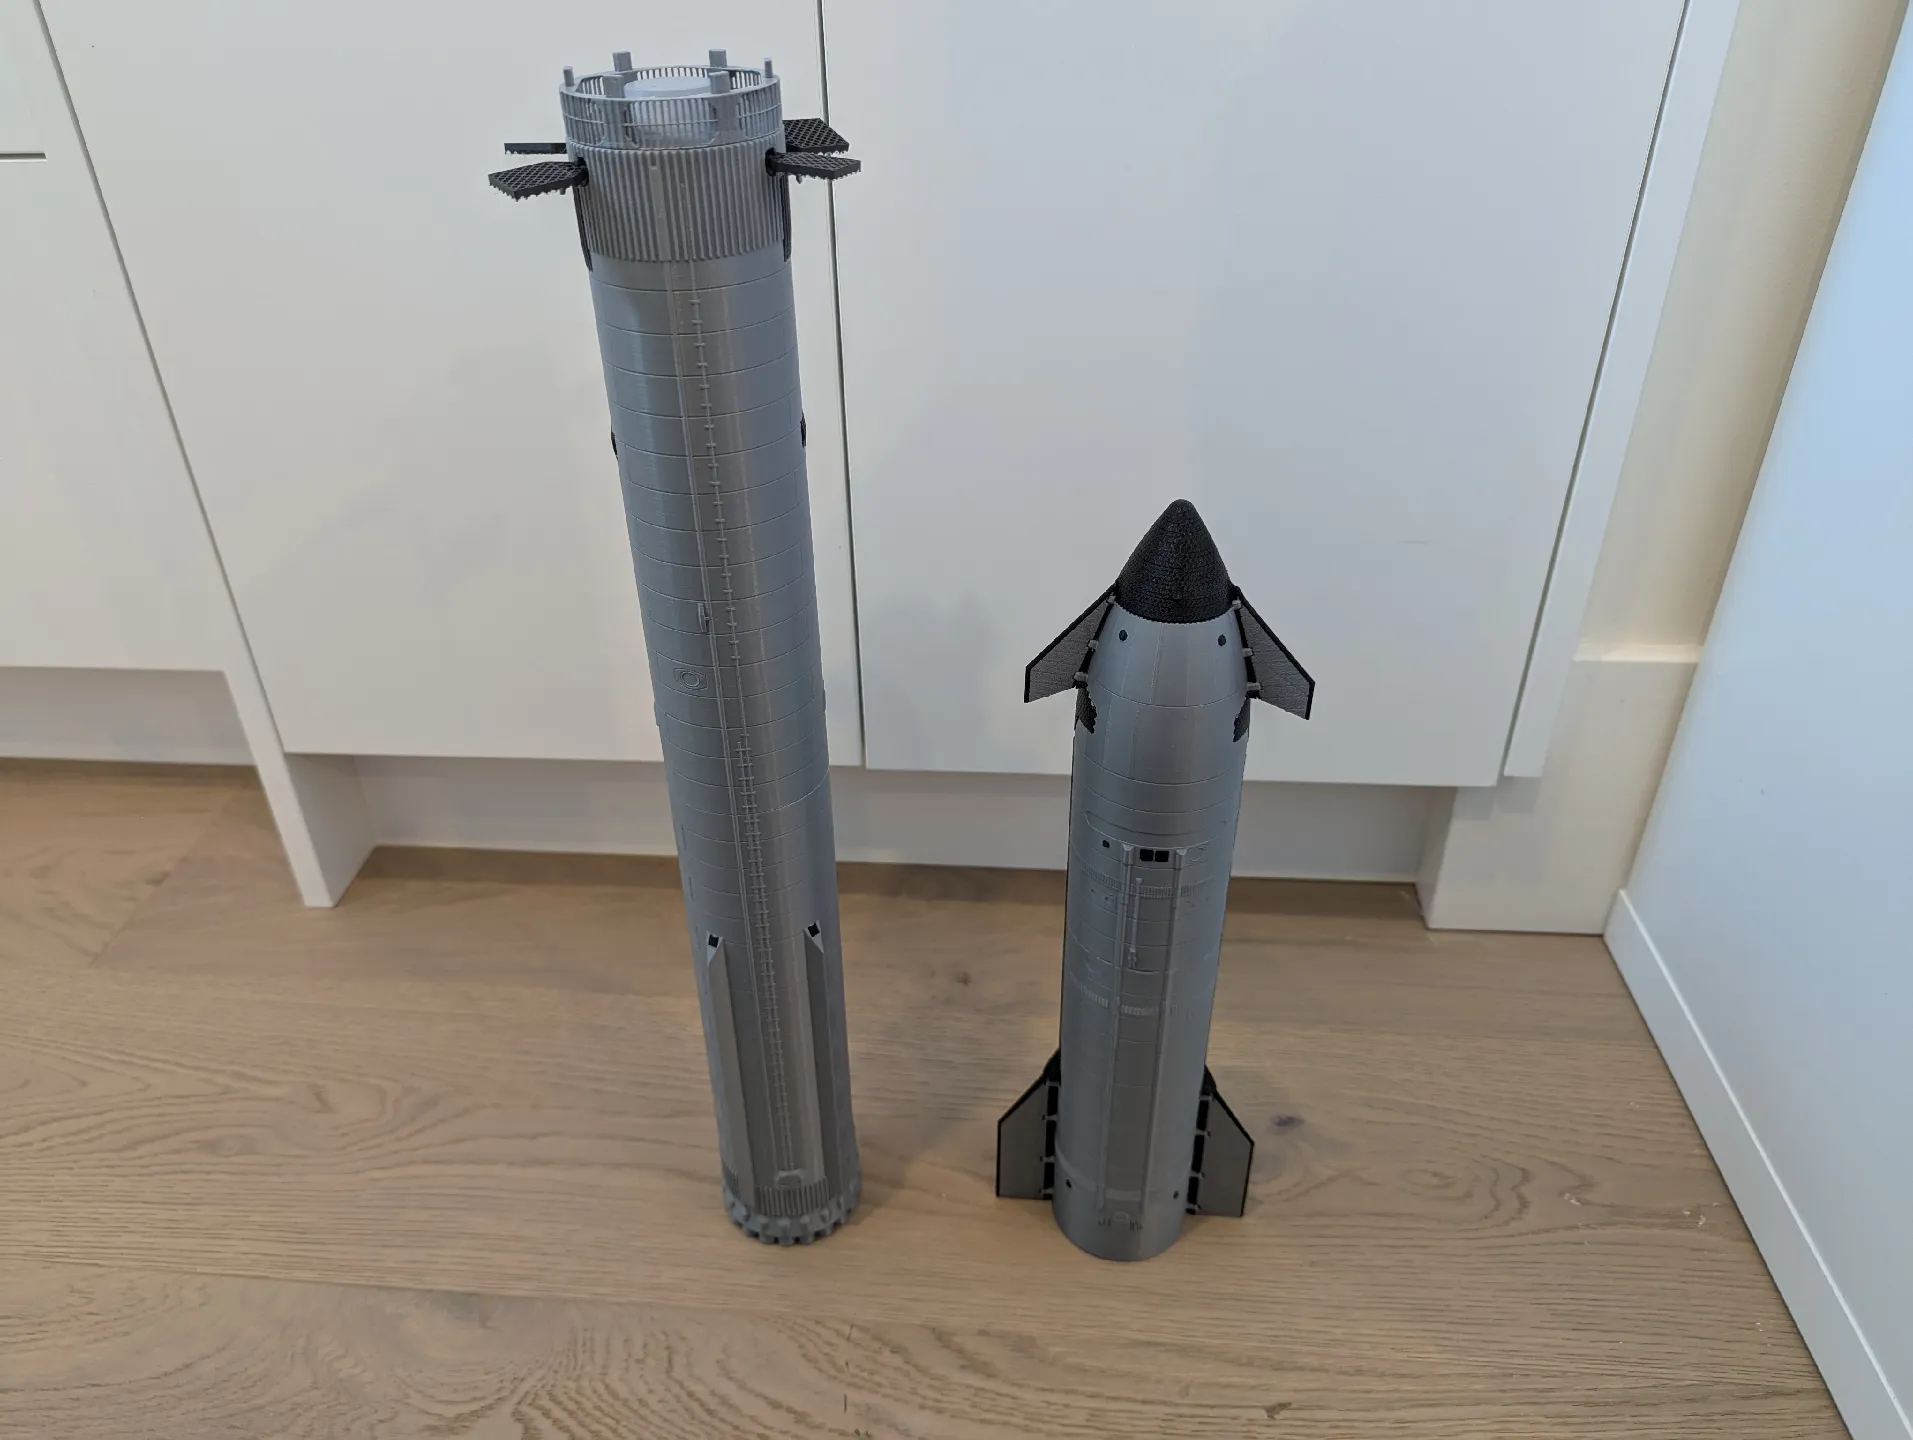
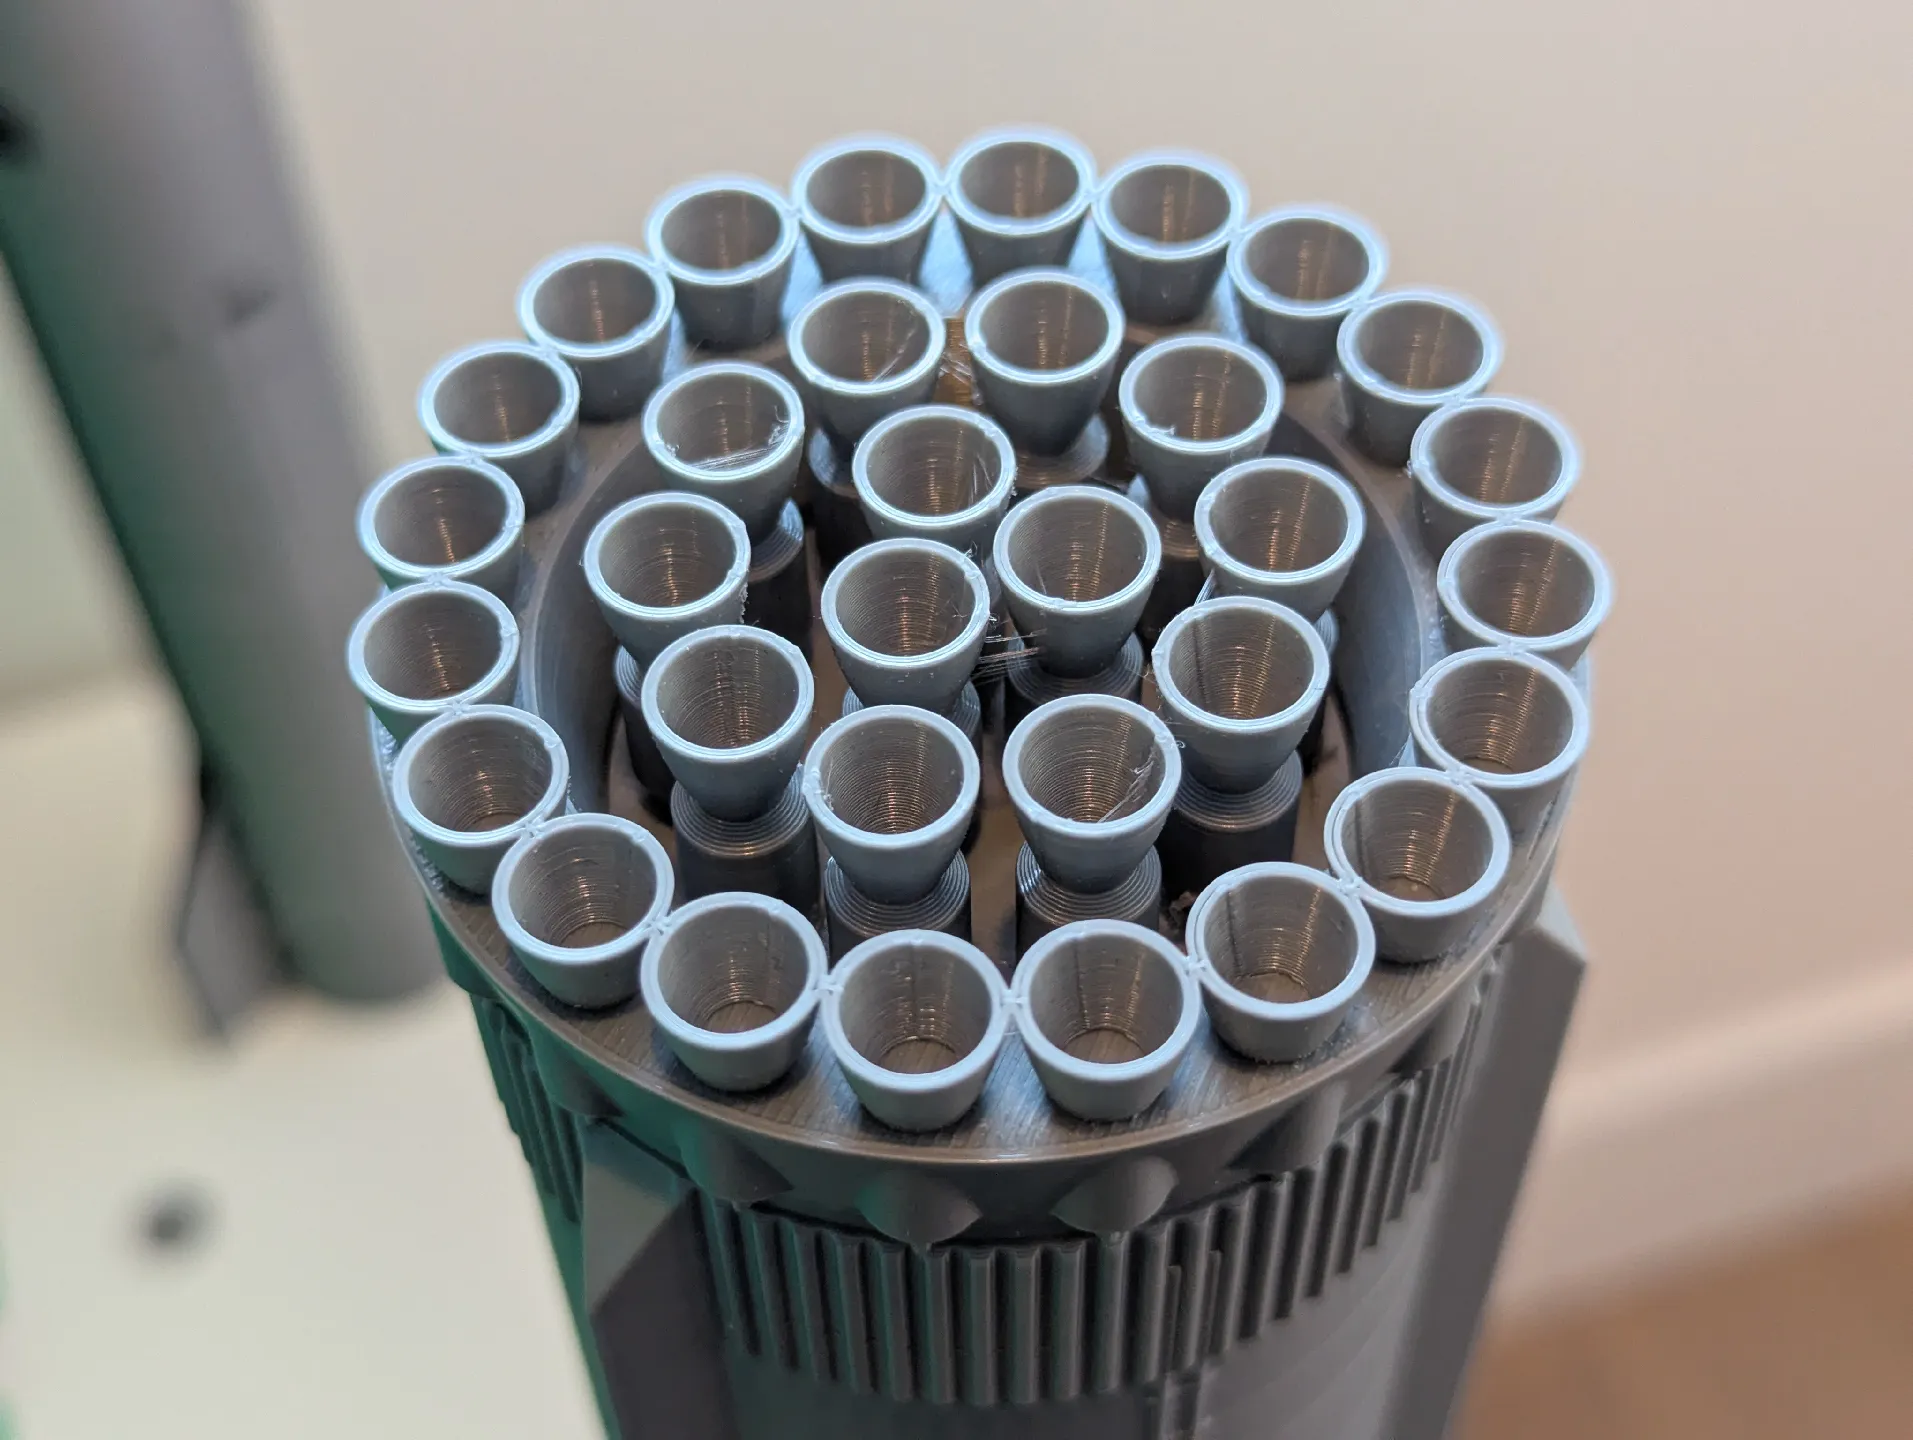
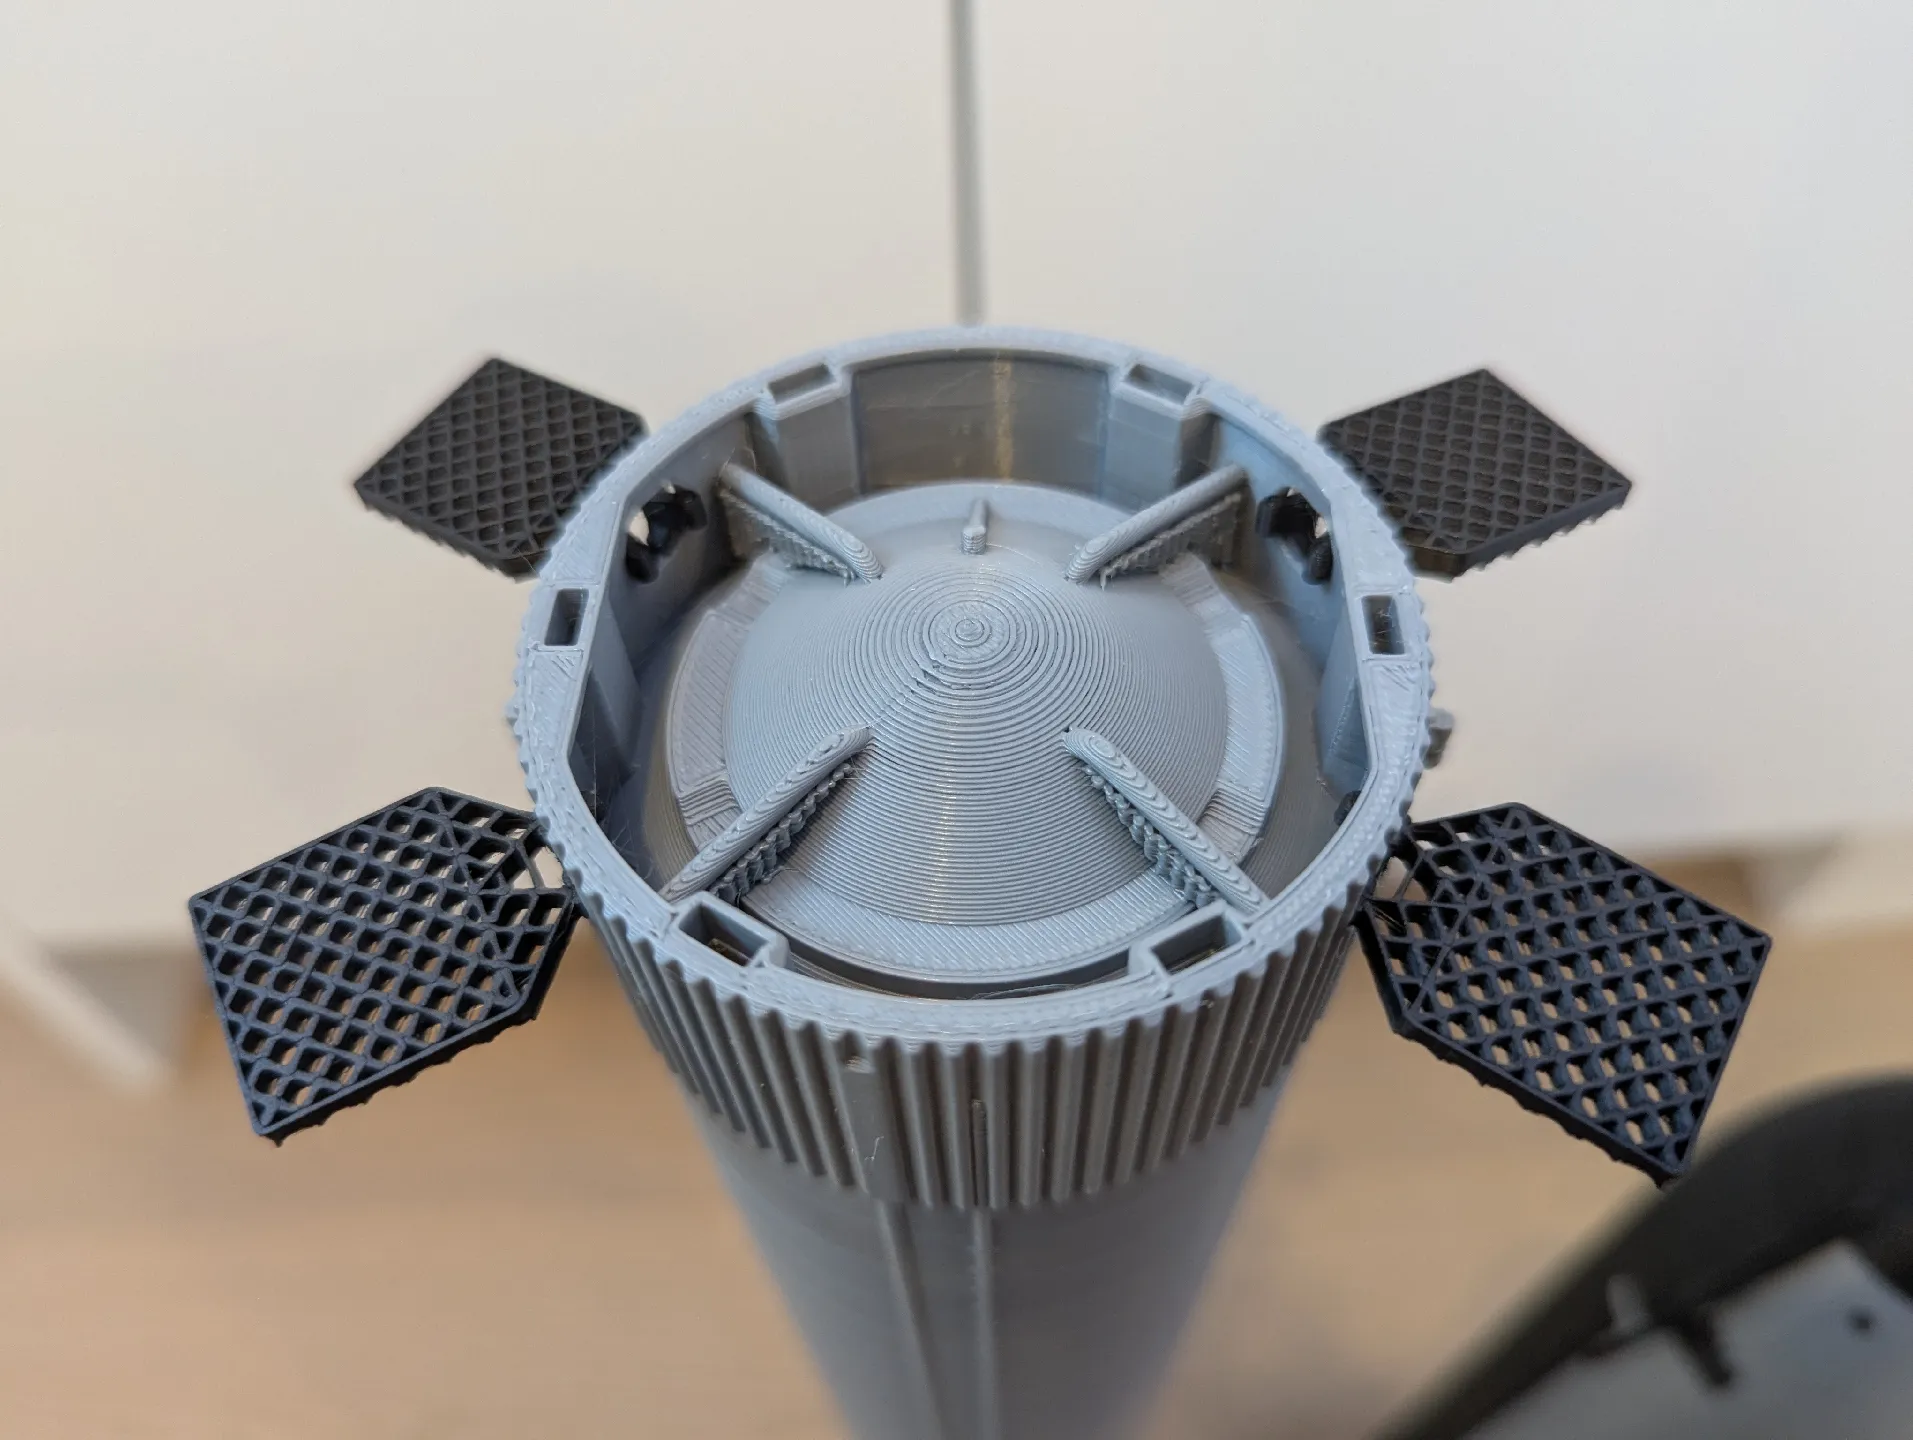
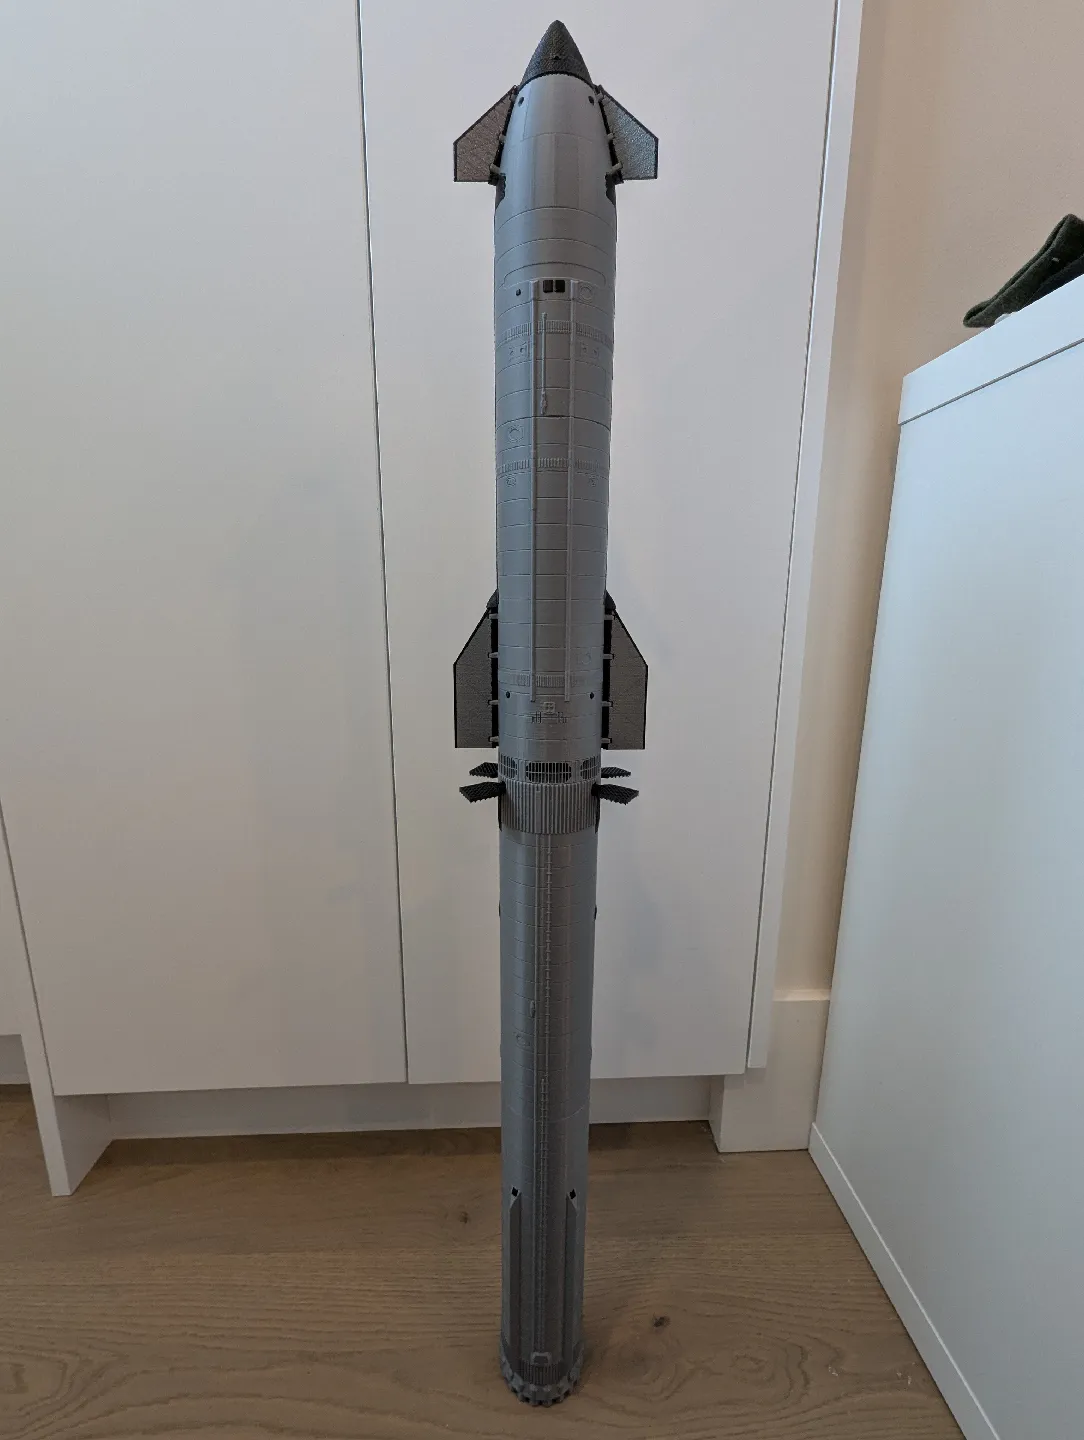
This is a 1:144 scale model of SpaceX’s Super Heavy Booster, the first stage of the Starship rocket! It measures at 62.5mm in diameter and the booster + Hot Stage Ring is ~ 490mm tall!
NOTE: SHIP NOT INCLUDED (YET)!!
All parts took a total of around 16.5 hours to print at (mostly) default speeds on my Bambu Lab P1S! Silver filament is eSun PLA Plus.
Materials List:
3D Printer with at least 249mm of Z-height. (if anyone wants, I can split it into more than two main parts for you!)
Superglue or similar
18x 10x5x2mm magnets (optional, untested, see below)
Some notes:
Currently uses six pins to connect to the HSR and a ship (WIP). Will use 10x5x2mm rectangular magnets in the future, but mine haven’t arrived yet so I cannot test if they fit. (see very bottom)
The Block 2 Starship won’t be released until summer, as there are some modifications I need to make, such as tolerances with the heat shield and the forward flap position. Stay tuned!
If you have any questions, let me know in the comments!
Printing Instructions
Quantity, color, and orientation of parts are in the Files tab by the filename. All parts are printed in silver unless otherwise specified.
Some additional notes:
Booster bottom section: May need supports around the starlink holes on the chines
Booster top section: Use manual supports to add them under the catch pins. You may also need some under the pipes at the top, but those may be hard to remove.
Grid Fins: Use Arachne slicing engine / “Print thin walls” / a smaller nozzle to be able to print the 0.4mm wide lines. Print slow, and potentially cooler as well to reduce stringing.
A outer-only brim is recommended for the Top/Bottom sections and the Hot Stage Ring.
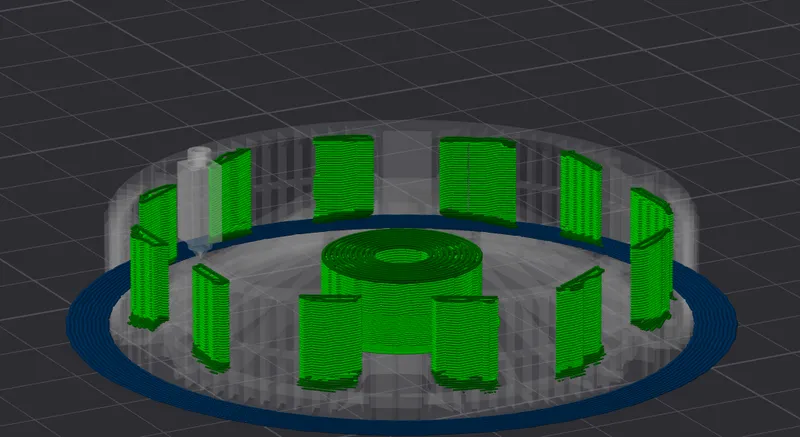
Paint on seams (green lines) to the top/bottom sections along these vertical indentations to hide them from view.
May want to print these parts with a slow(er) outer wall speed of ~60mm/s if on a fast printer, to ensure small details around the bumper print properly
Add supports here to the Hot Stage Ring
Orientation for small bumpers and dark stringers.
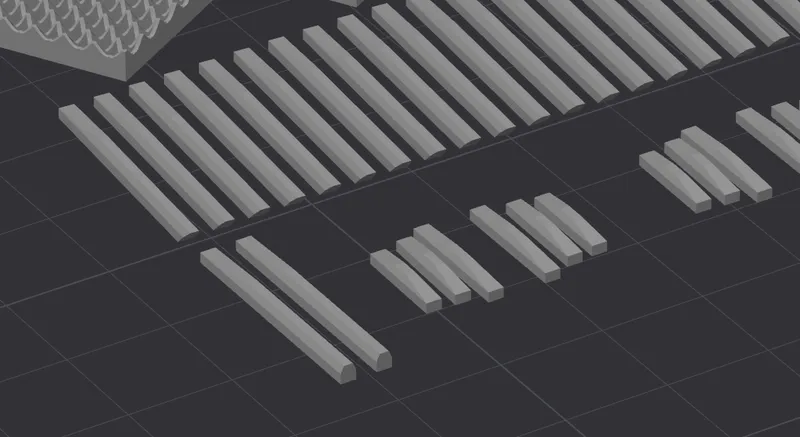
Two files, “black_parts.stl”, and “Hot_Stage_Ring.3mf” are provided:
The black parts include all the bumpers/stringers/gridfins/starlinks oriented in the correct way.
The 3mf file is made in OrcaSlicer, might have to adjust settings for your machine, but has painted supports in the correct locations.
Assembly Instructions
Step 1:
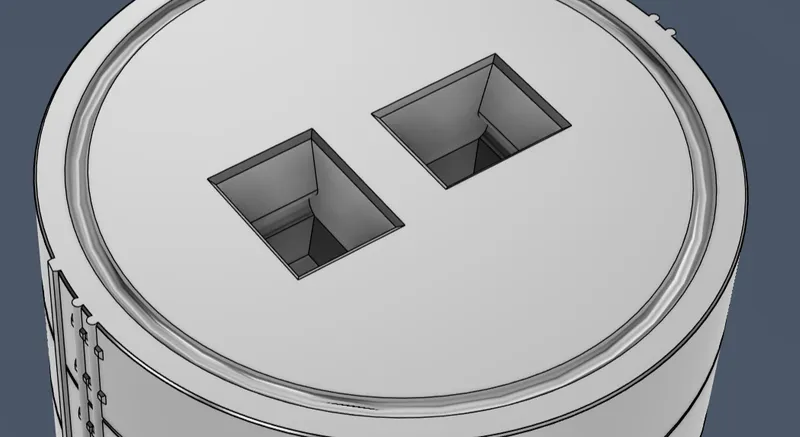
Insert the two connectors into their slots. May require some force.
Then, apply a thin layer of superglue around the surface, inside the “moat” (to keep it from spilling). Snap the two halves together.
Step 2:
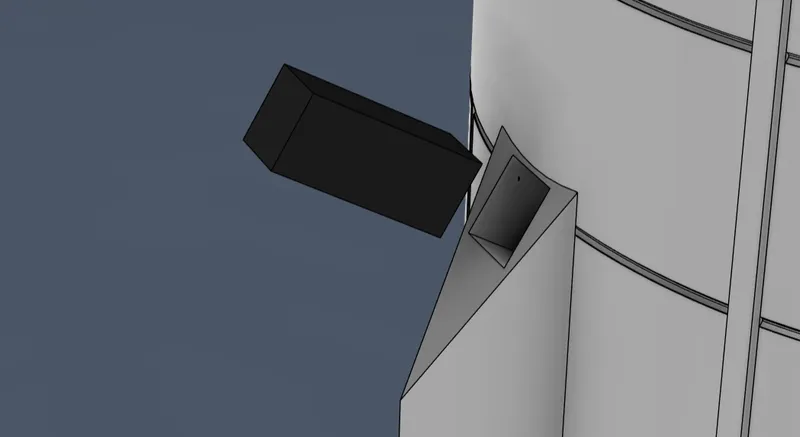
Glue in place the Starlink boxes.
Some masking tape helps to keep them in while the glue dries.
Step 3:
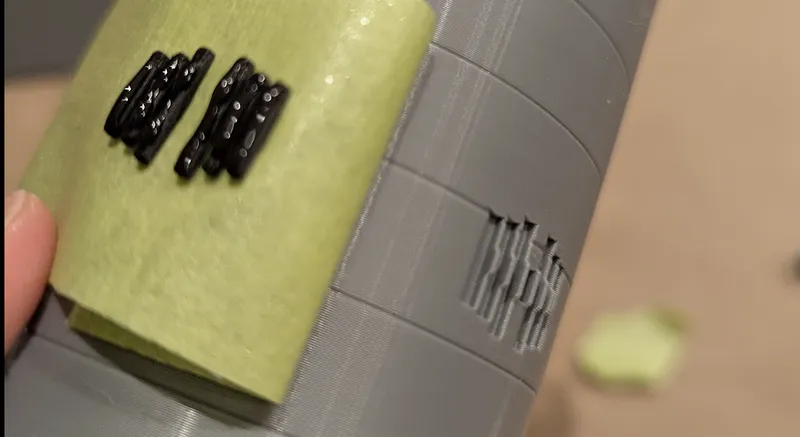
Glue the bumpers in place. Sloped side out.
Put them in without glue, apply masking tape, then peel back. Then you can apply the glue before carefully taping them back down.
Step 4:
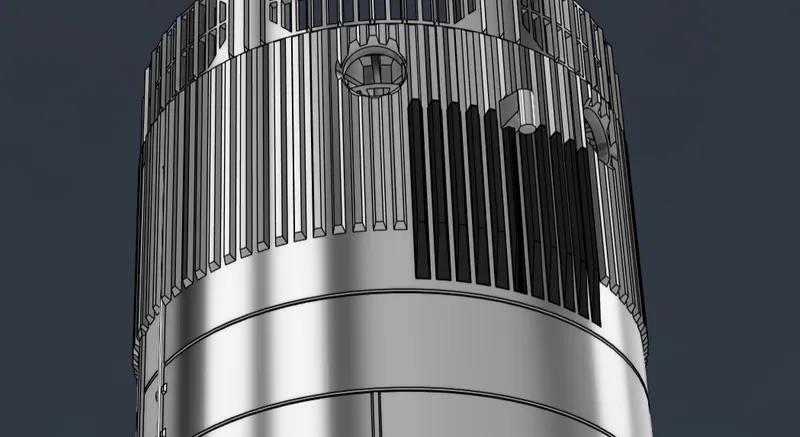
Do the same for the dark stringers. Sloped side out, large slope down.
The center one is shorter and goes underneath the catch pin in the middle. May require trimming depending on support interface quality.
Step 5:
Snap in the grid fins (be careful!).
Then, insert the 6 pins and the Hot Stage Ring!
Pins can be glued to the Hot Stage for easier removal from the booster.
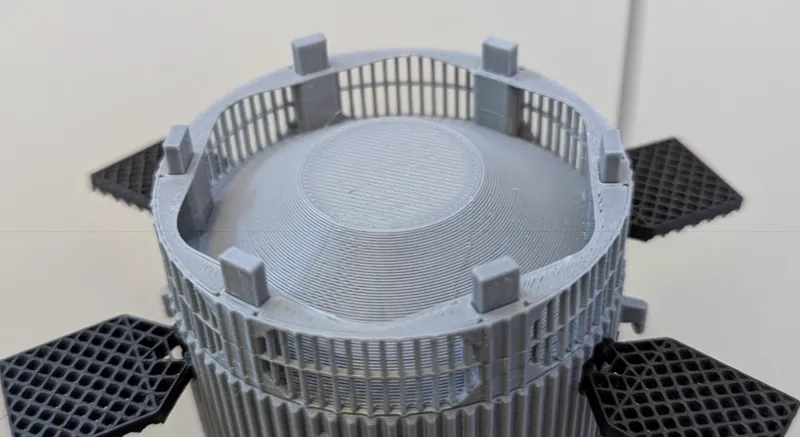
Wait for the glue to dry, and you’re finished!
P.S.
UNTESTED magnets:
6 are inserted into the top of the booster all the way down, and they leave a gap on the top.
Then, 12 (2 in each slot) are inserted into the Hot Stage Ring (print the magnet version!!). They stick out like the pins do in the above image on the top and bottom. Make sure to insert a magnet spacer between the two magnets in each pair, and make sure they’re centered and that it fits into the booster with the booster’s magnets installed.
Credits:
anventia
Download 3D models
| File | File size |
|---|---|
 spacex-starship-super-heavy-booster-block-1-1144-scale-model_files
|
9 MB |
|
spacex-starship-super-heavy-booster-block-2-1144-scale-model_files
|
9 MB |