
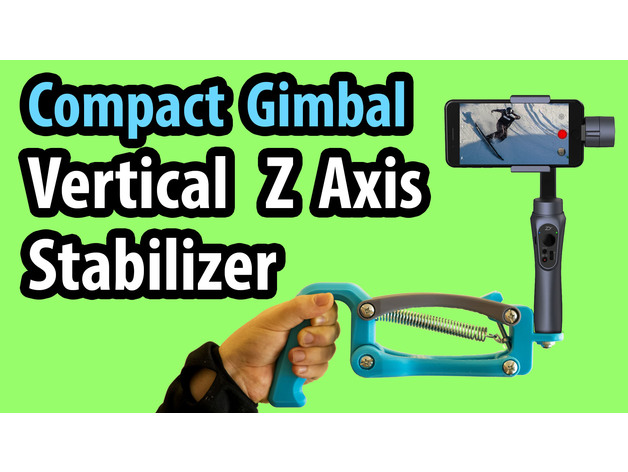
Here’s a design for all you amateur and professional videographers out there!
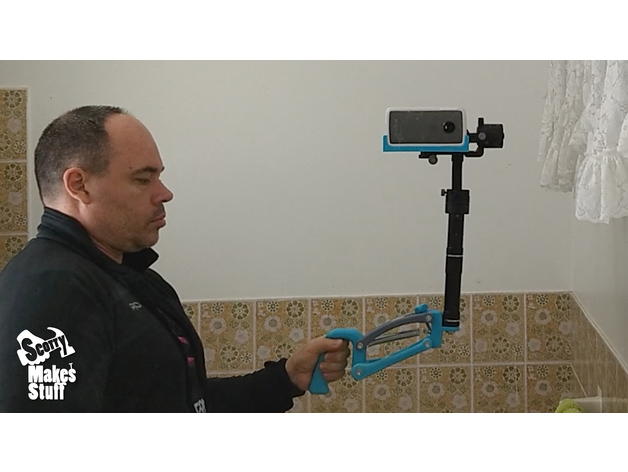
Whereas the video gimbal stabilizer has been one of the most significant game changers for independent filmmakers the compact phone and action cam gimbal has done the same for vloggers the world over. It allows close to production quality footage using just one hand and without the need for additional camera operators and expensive equipment. In the competitive world of vlogging the compact gimbal (such as the Zhiyun Smooth Q, DJI Osmo & Feiyu G4 Pro) helps get more great looking content online more easily!
But they still lack one vital ingredient, they don’t stabilize for up and down motion and rely on the vloggers skill to minimise this motion with their arm.
This up and down vertical motion or Z axis motion isn’t always possible to reduce by hand especially with fast action or walking backwards.
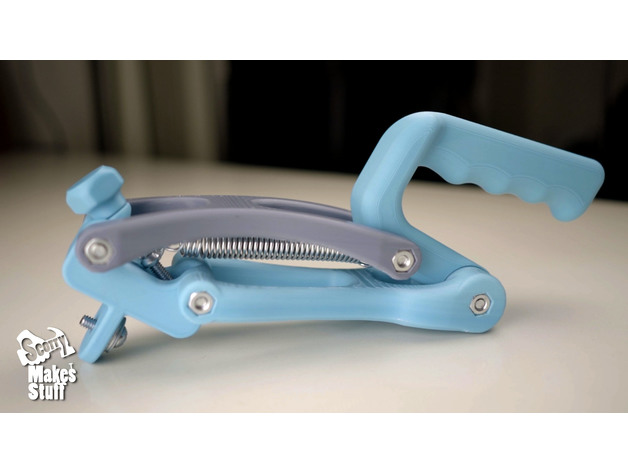
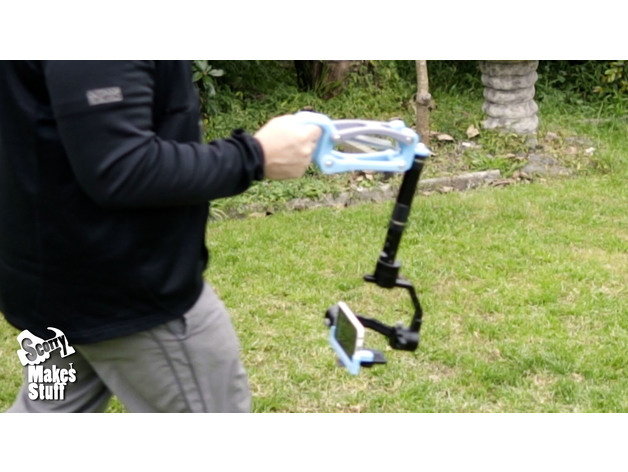
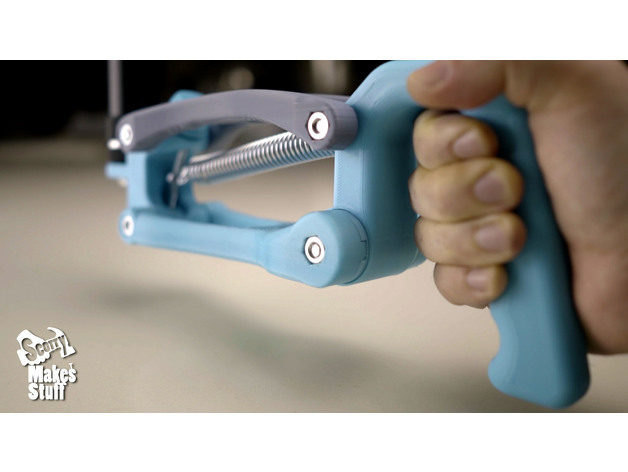
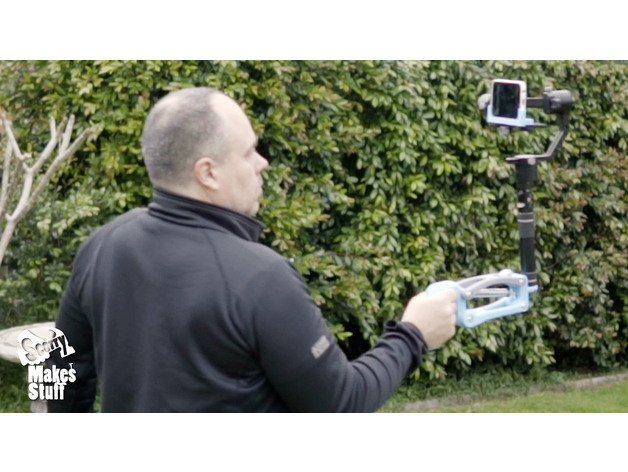
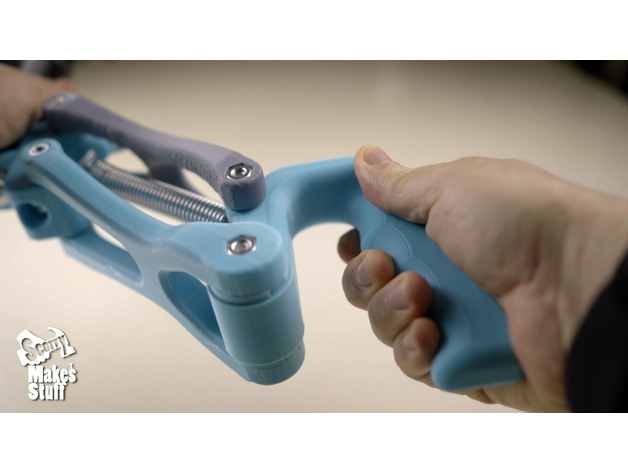
That’s when I decided to build a single handed Vertical Z axis stabilizer for Phone & Action cam gimbals. After a number of design iterations I’m really happy with my Compact Single Handed Z Axis Gimbal Stabilizer. It takes vlogging Gimbal footage to that next level.
Check out the showcase video here:-
The assembly is almost the same as the larger gimbal stanilizer video I made here:-
################## UPDATE: ###################
1) After some further testing I’ve added a second and more versatile spring for this stabilizer to the post printing section. There’s links and a full explanation about which of the two suggested springs will be best for you.
2) There’s also an additional support added that’s for gimbal handles larger than 40mm. It’s called ZAPG_HolderFlat60mm.stl
3) I’ve also given some more advice in the post printing section about setting up the fluid dampening that isn’t covered in the DIY video.
The stabiliser will hold a payload (gimbal & phone) of between 250 gram to 1.2 kg.
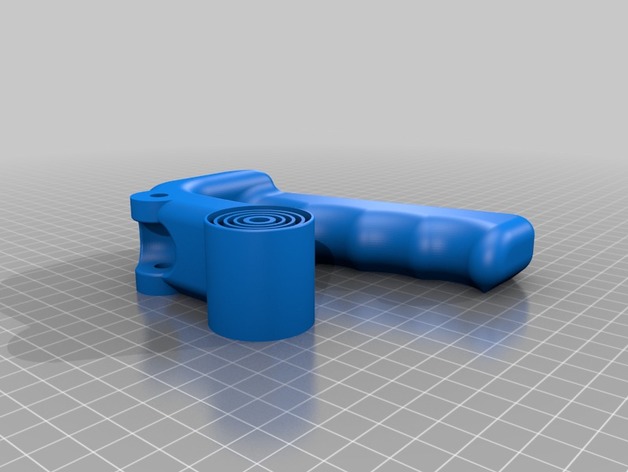
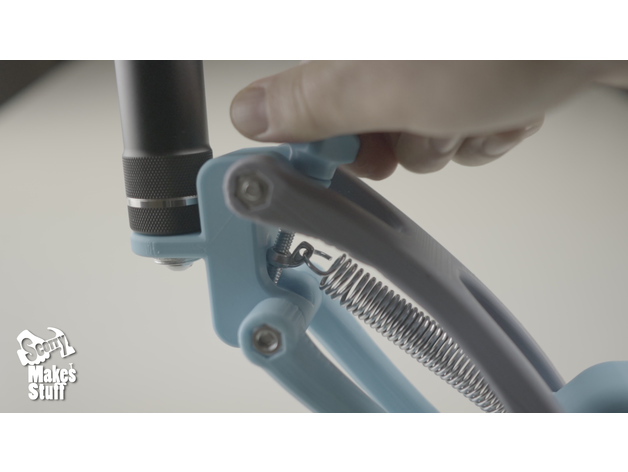
This stabilizer is designed for gimbals with a 1/4 -20 thread on the base (which is most of them) but this won’t work on the DJI Osmo as it’s missing it. If anyone has a Osmo and wants to remix a holder for it then I’m sure it’ll be appreciated!
The full list of parts and links is found in the Post Printing section below.
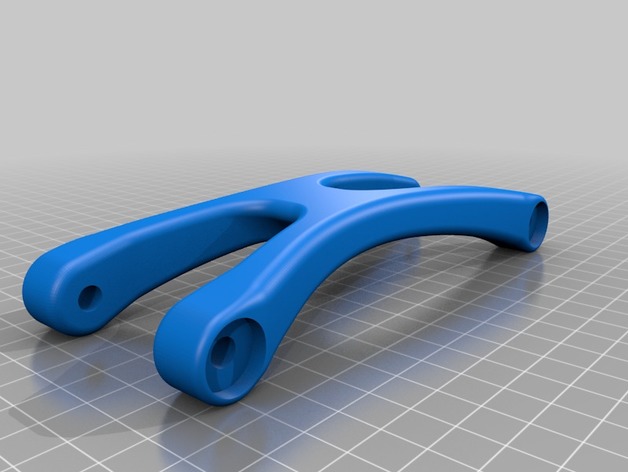
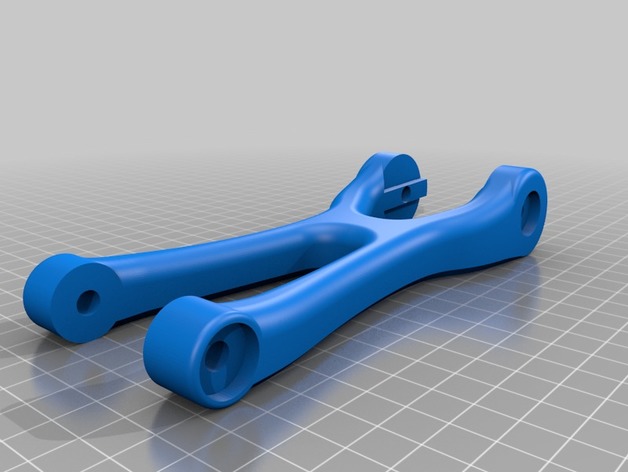
There’s two gimbal holder parts. The ZAPG_HolderFlat.stl is for gimbal handles up to 40mm diameter. The other ZAPG_HolderFlat60mm.stl will hold up to a 60mm diameter handle.
Print Settings
Printer Brand:
Prusa
Printer:
Prusa Mk2
Resolution:
0.2
Infill:
15
Notes:
Most pieces were printed in PLA with 3 perimeters and with supports. Since the holder takes the most stress I’d suggest 4 perimeters and 25% fill. The rest should be around 3 perimeters with 10 – 14% fill.
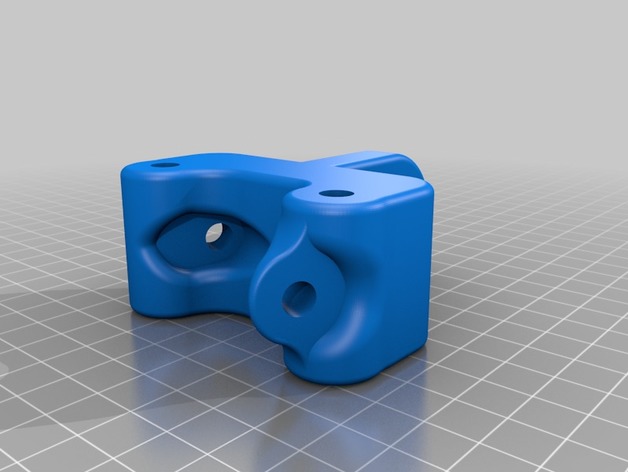
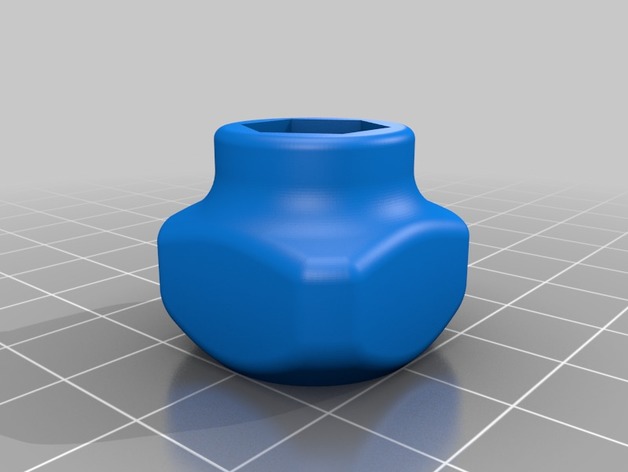
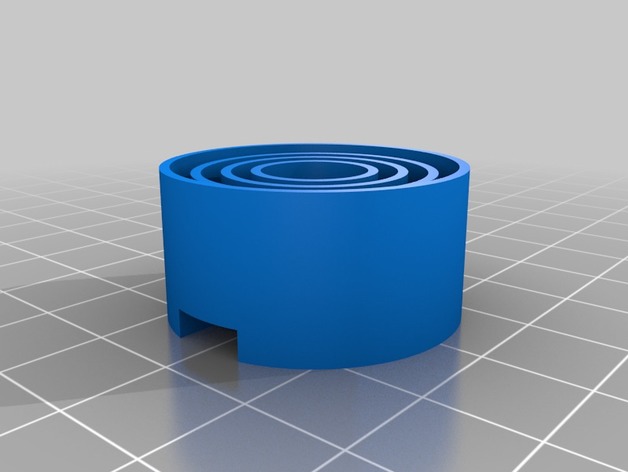
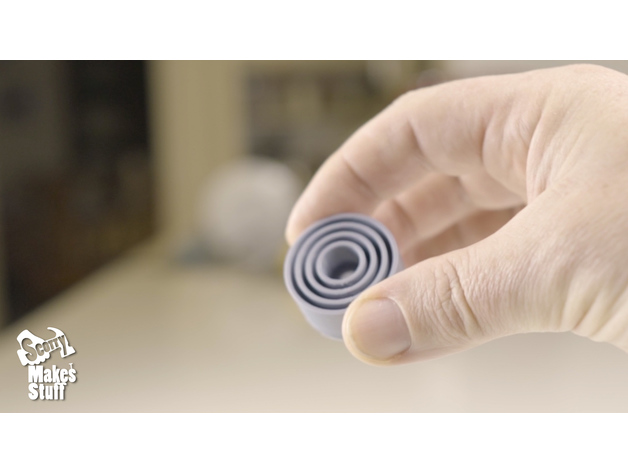
The Fluid Dampening insert will need a total of 2 printed and the knobs need 1.
Post-Printing
List of non-printing parts
5 x 1/4 in by 60mm (2.36 in) fully threaded mushroom head bolts
1 x 1/4 in by 19mm (3/4 in) fully threaded mushroom or round head bolts for upright gimbal screw
5 x 1/4 in nuts – I suggest you use nylock nuts or loctite for 4 of the 5 nuts as these can work loose.
1 x 1/4 in wingnuts – drill a 2 – 3mm hole in the lobe and hacksaw off the other lobe
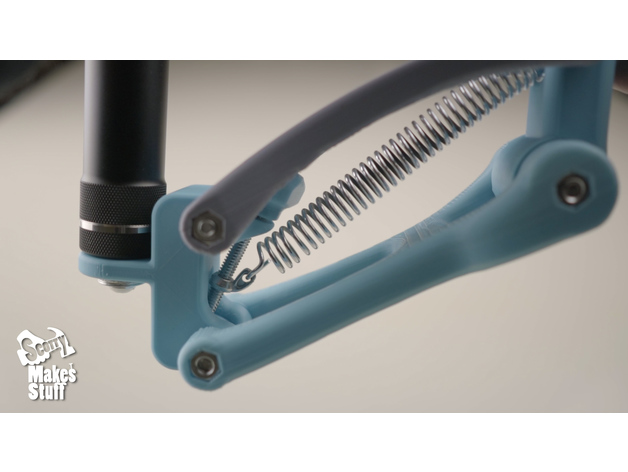
1 x extension spring (the first spring will likely suit most users)
For payloads from 250grams to 650grams use:-
http://www.centuryspring.com/extension-spring-642.html
For payloads from 450grams to 1kg use:-
http://www.centuryspring.com/extension-spring-651.html
Tube of thick grease – (see DIY video)
two part epoxy glue (Araldite)
################## Note: #####################
The following applies more so with lighter payloads but it’s good advice for everyone setting up their fluid dampening:-
I’d suggest trialling using only 1 of the fluid dampening modules filled with grease at first and leaving the other module in dry. There’s a certain amount of resistance with the fluid dampening to stop the bounce and under a lighter payloads you might find it too much dampening meaning that light movements won’t get stabilized enough. If the bounce reduction is to your liking with half the dampening then stick with that.
Credits:
ScottyMakesStuff
Download 3D models
| File | File size |
|---|---|
 Compact_Gimbal_Vertical_Z_Axis_Stabilizer
|
6 MB |
Hi Scotty,
Cool design. I was thinking of trying it out, but first, need to check if I can get all the hardware from wher I live. I’m sure it’s available but not always easy to find… as I live in China and speak very limited chinese. Anyway, the links for the springs from Century Spring do not work anymore. Any chance you could pass on the needed specs of the springs for the stabilizer to work. Thanks in advance.
Mathieu