
Use case
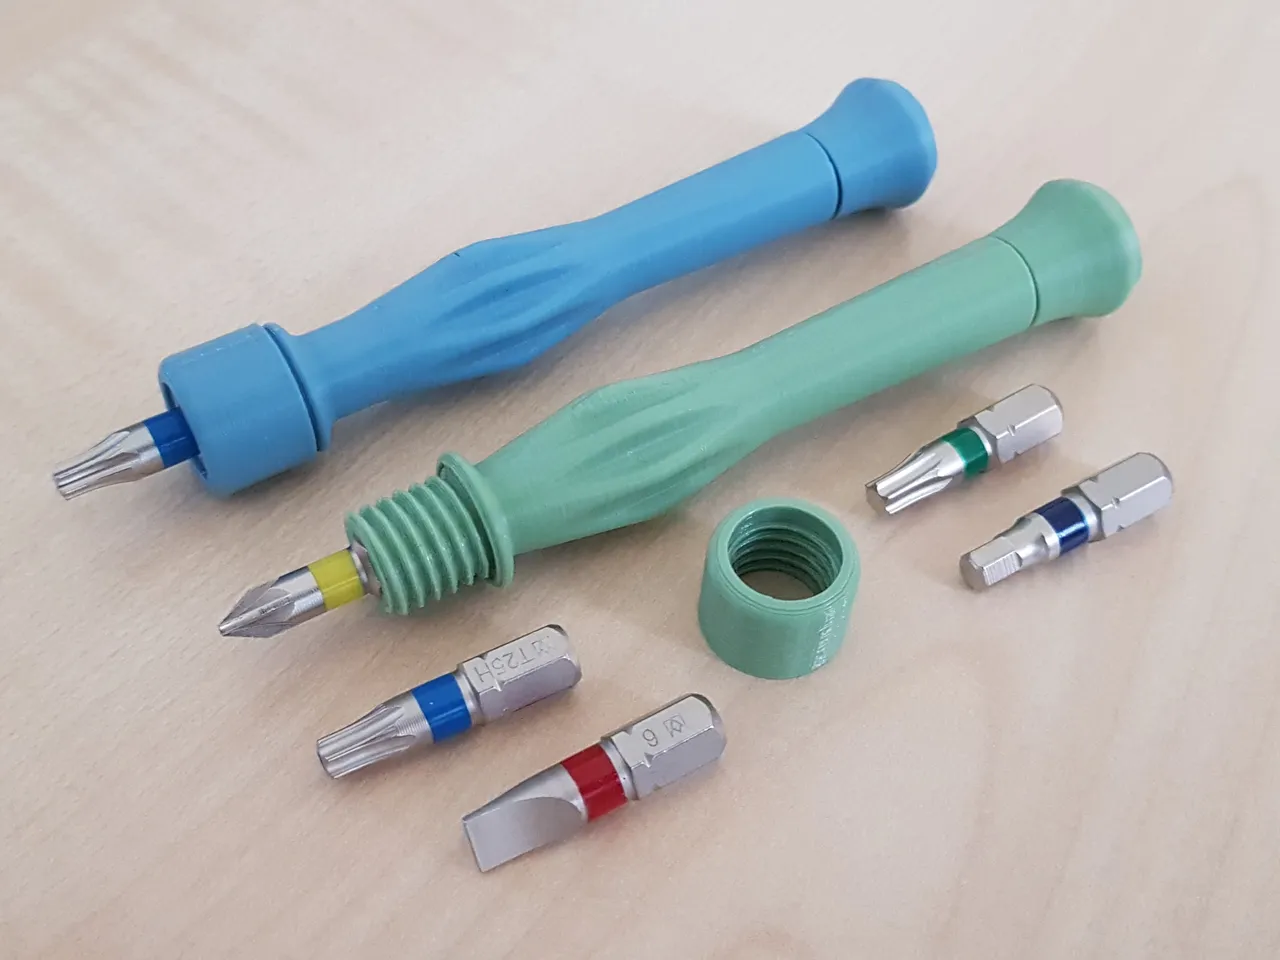
This screw driver (bit holder) is made for fine to medium duty work. It is made to fit well into the palm of your hand, while still giving you a good grip for your fingers to apply some reasonable torque.
Thanks to the clamping lock mechanism, the bits can be easily exchanged, while they are well protected against falling out during work and also allow quite a bit of torque to be applied. When printed in PETG, a moderate hand-tight lock nut should be good enough to hold the bit well. If you tighten it too much, it might be hard to unlock. Based on several comments I got, I have now published a lock nut with more grip, but I’d like to stress that the grip should be used for unlocking, not for harder locking. Improved lock nut for ergonomic screw driver
To allow for quick turning of longer strews, this design also features a free-wheel at the end, that rests comfortably in the palm of your hand.
Optional variant for small hands
There are two variants of the handle, one for medium size hands and one for small hands. The version for small hands has the grip a bit closer towards the end of the handle, so it is easy to reach even with short fingers. The normal version should be good for most of you.
Printing
I recommend printing the handle and the lock nut in the uploaded orientation. No supports are needed. For the handle, I recommend to use a brim, which has helped me to never have a failed print on this part.
In order to make the part strong, I recommend 4 perimeters and 40% infill.
I have mainly tested this design with PETG, which clearly gives superior results due to its flexibility. I have done one test-print in PLA on a Ender3Pro, which went well also. But the lock-nut needs a bit of wear-in and also needs to be tightened harder than on the PETG prints, otherwise the bit will not be held strongly.
Your printer should not be over-extruding, otherwise the bits in the handle will become a press-fit and also the thread will not work well. If your printer is well calibrated, the thread should work quite well from the start, but of course it will run much nicer after a bit of wear-in.
Breaking free the print-in-place wheel and assembly
You will need a bit of force for the first turn of the free-wheel, but usually I manage to do that without any tools. If your printer is extruding a bit too much, you may need some pliers to rotated the wheel initially, after that it will spin nicely with a bit of wear-in.
Credits:
HD_Creator
Download 3D models
| File | File size |
|---|---|
 ergonomic-lockable-bit-screw-driver-with-print-in-place-freewheel-model_files
|
24 MB |