
UPDATE: 5/16/2017
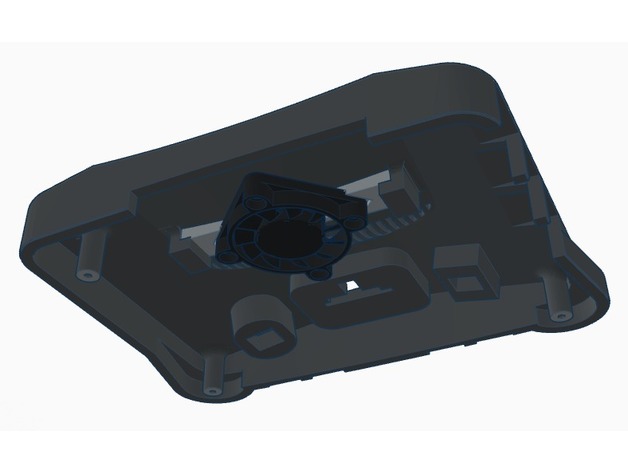
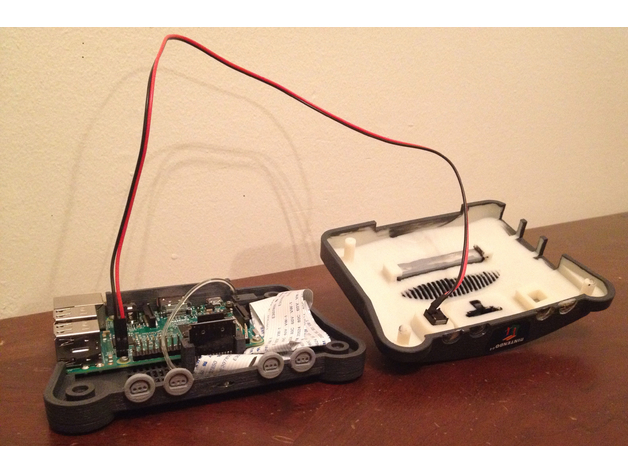
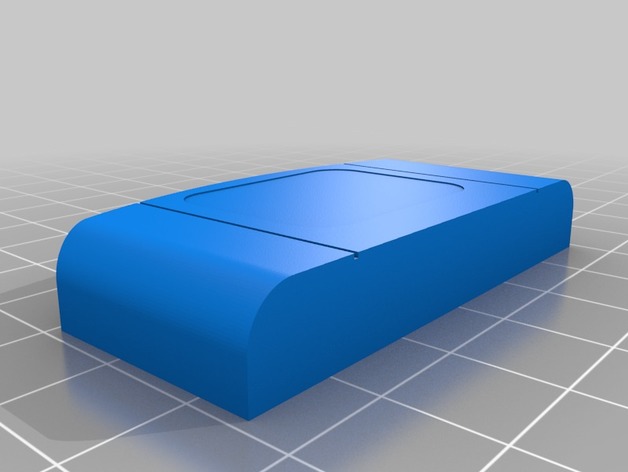
Stemming from KyleARectors idea to use the game cartridge to house a cooling fan, I have added a new game cartridge to the build files that is designed for a 30mm x 30mm x ≤10mm fan to mount onto the bottom. I designed it to fit the Raspberry Pi fan sold by Adafruit https://www.adafruit.com/product/3368
but any fan of the same size will fit. The mounting holes are sized for M2.5 screws.
UPDATE: 4/3/2017
I didn’t realize that the link to the microSD extension was actually the wrong extension cable.
My apologies to everyone who bought the wrong cable because of my mistake. The link listed below is now the correct one.
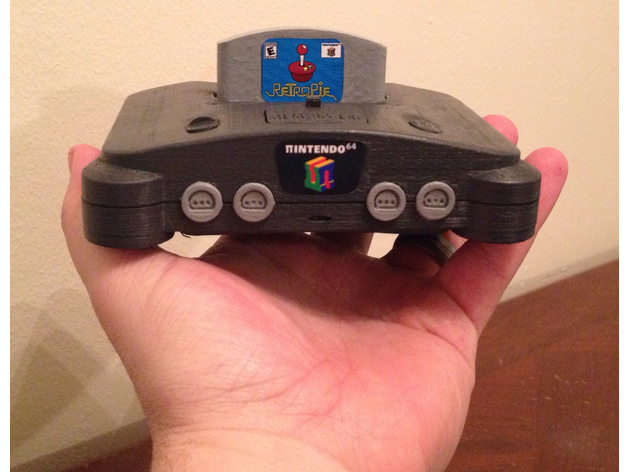
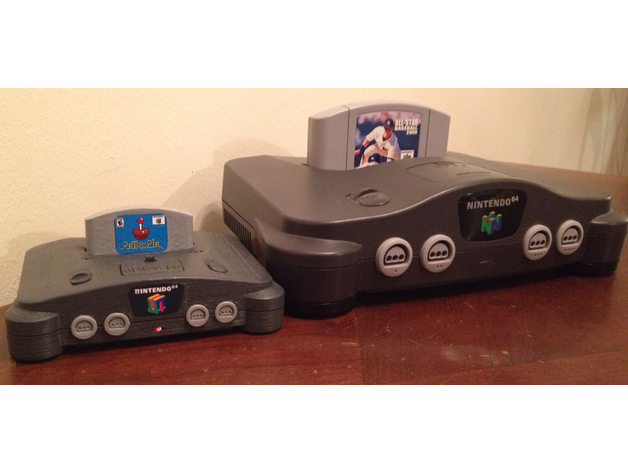
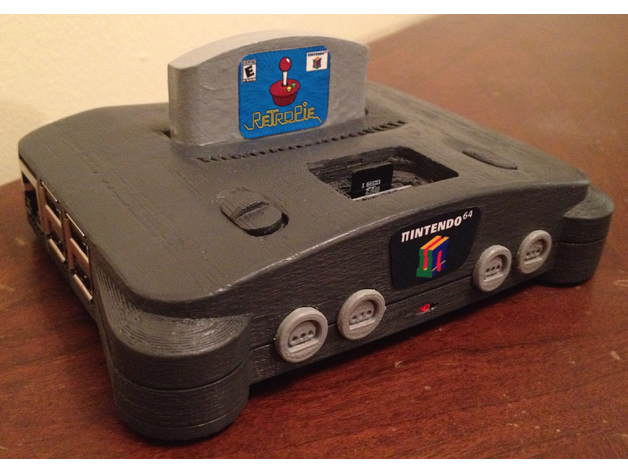
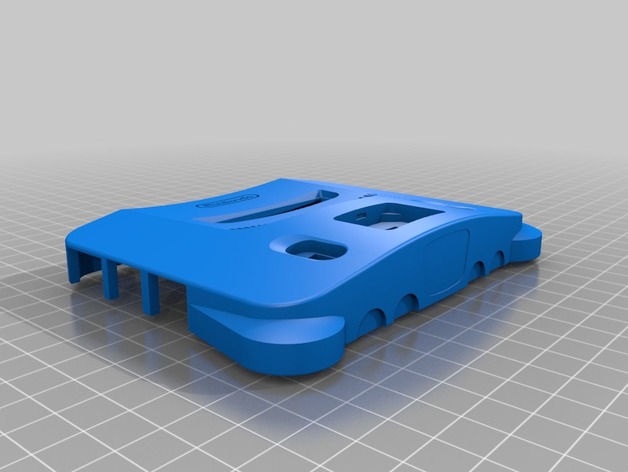
Inspired by all of the brilliant RetroPie cases out there, I decided to create a new one based on my favorite video game console from my childhood. I give you the π64!
First off I must give credit where it is due.
• Bruno Amaral created an excellent model from which I started. You can find it here: https://grabcad.com/library/nintendo-64-console-1
Thanks to my friend Andrew Holt for printing the parts for me on his FlashForge Dreamer.
• Thanks to my friend Jared Larsen for doing the soldering.
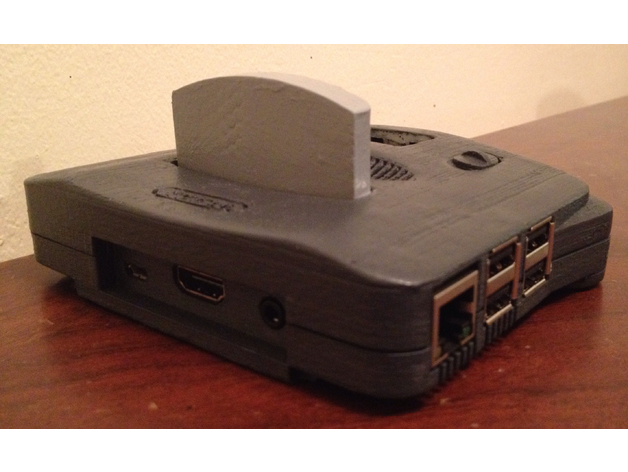
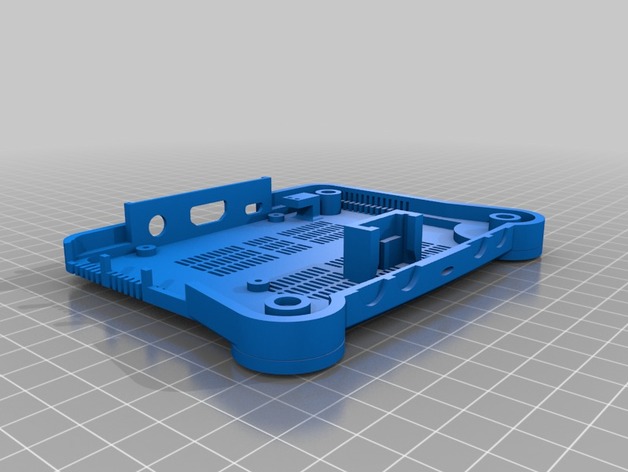
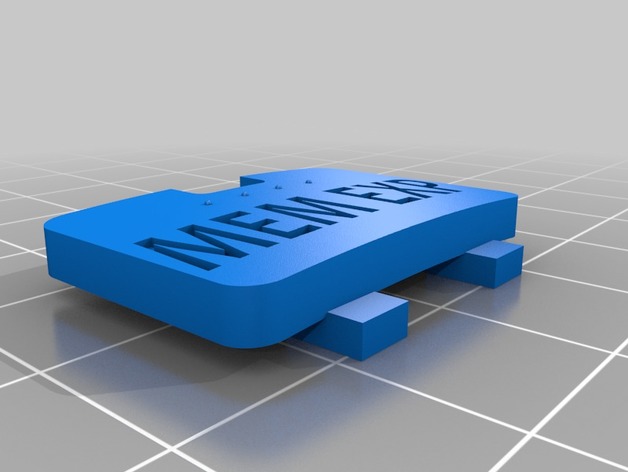
I wanted this to look and function as close to the original as possible. The case is built to house a Raspberry Pi 3 model B. Since the original N64 console has a door on top to access the expansion memory I made this the access for the microSD slot with the use of an extension cable. It has a functioning reset button and the power switch has a slot to accommodate a switch although I decided not to put one in my case. To use a reset switch a small amount of soldering does need to be performed on the PI. The original N64 console has a red power LED on the front. Rather than wiring in an LED I experimented with a fiber optic line that pipes the light from the power or processor or both LEDs to the front of the console. The light pipe idea works surprisingly well. I am quite satisfied with the results over all.
If you’re not into games you can always use your Raspberry Pi as a Kodi media player or anything else you like.
Required parts:
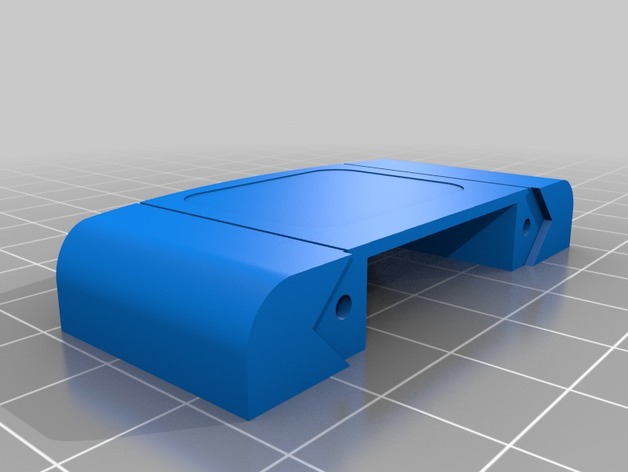
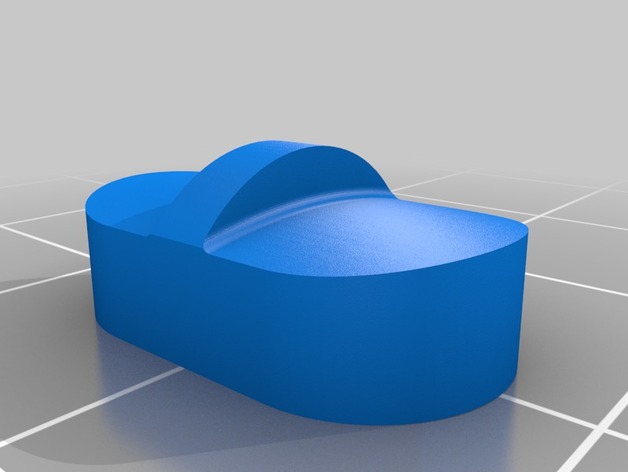
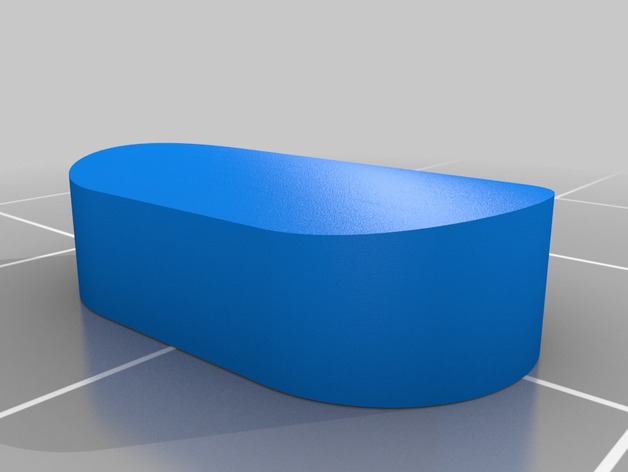
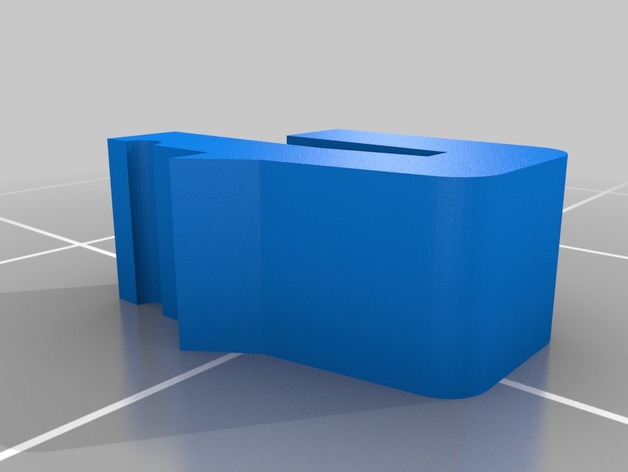
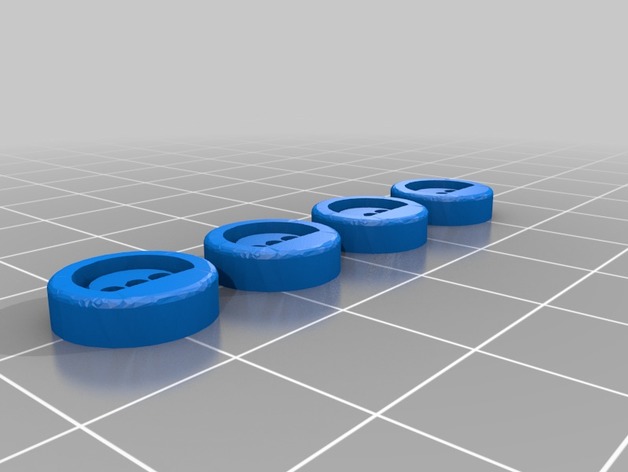
• 3D printed parts shown above (If you want to print the case in the proper colors I recommend the following filaments or you can print them in white and paint them like I did. All model units are in millimeters.)
For the console: Dark Grey filament from 3DPrima, http://www.3dprima.com/en/filaments-for-3d-printers/pla-175mm/primaselect-pla-175mm-750-g-dark-grey.html
For the game cartridge and controller ports: Earl Grey filament from Faberdashery, http://www.faberdashery.co.uk/products-page/print-materials/earl-grey/
Raspberry Pi 3 model B with power cord and video cable
• 8GB microSD card with software installed, https://www.raspberrypi.org/downloads/noobs/
7, M2.5 screws 6mm long (#3 1/4in long screws will also work)
• Super glue
Optional parts:
For relocating microSD port:
• MicroSD extension cable, HERE (remove the casing from the port end)
For installing a reset switch:
• A standard PC reset switch http://www.ebay.com/itm/ATX-PC-Computer-Motherboard-Power-Cable-Switch-On-Off-Reset-Computer-Replacement-/360774703348?hash=item53ffd918f4:g:TWkAAOSwnDZT~faO
• A 2 pin male header soldered into the holes labeled “run” on the Pi board, http://www.mouser.com/ProductDetail/Harwin/M20-9990246/?qs=Jph8NoUxIfWjw4WmyRvzag%3D%3D&gclid=CPLXg-zOhtICFRKRfgodGTsFUg
(you can swipe one from any old computer motherboard)
For piping the LEDs to the front of the case:
• A short length of 1.8mm clear plastic cord, http://www.michaels.com/stretch-magic-bead-jewelry-cord-1.8mm-x-3m/10315671.html#q=bead+cord&pmpt=qualifying&sz=24&start=25
For installing a power switch:
• I’m afraid you’re on your own, but I did leave a cutout for a switch.
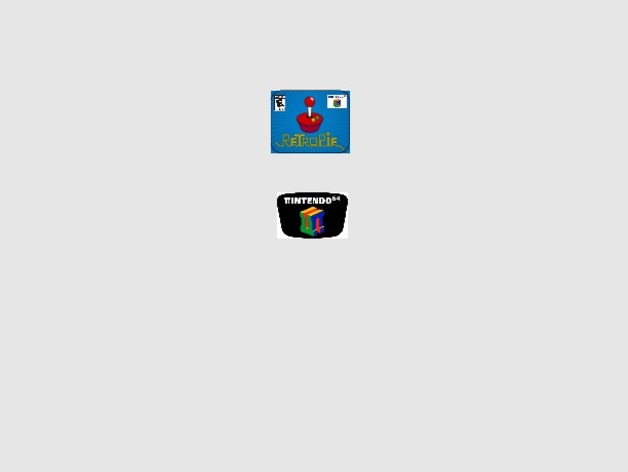
For the console and game labels:
• Print the included PDF at 100% scale. Labels look best when printed on photo paper.
• Thanks to “bobotrax” for creating the alternate game label.
Enjoy building your own!
Credits:
elhuff
Download 3D models
| File | File size |
|---|---|
 mini N64 RetroPie case
|
4 MB |
so creative man i like these
really needs filler and some sanding to patch out the gaps in the printing before painting in my opinion