
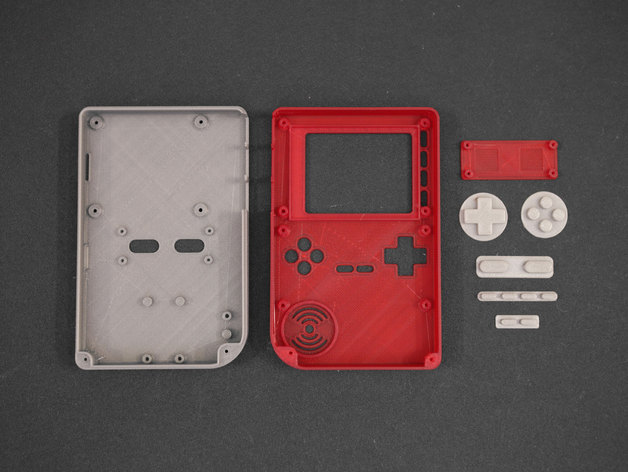
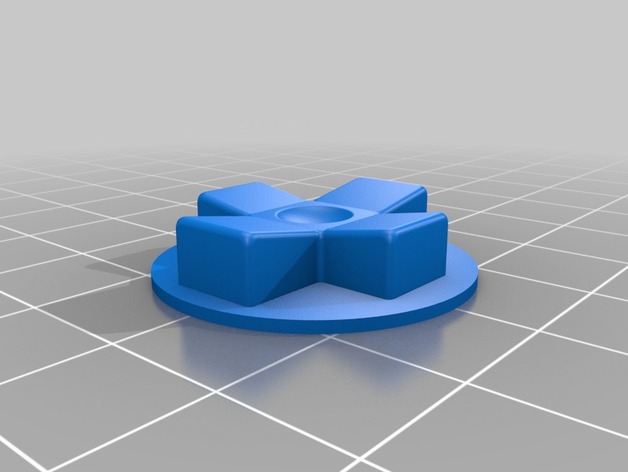
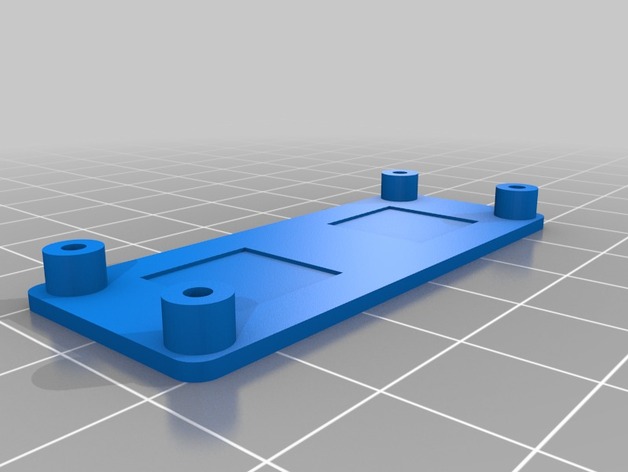
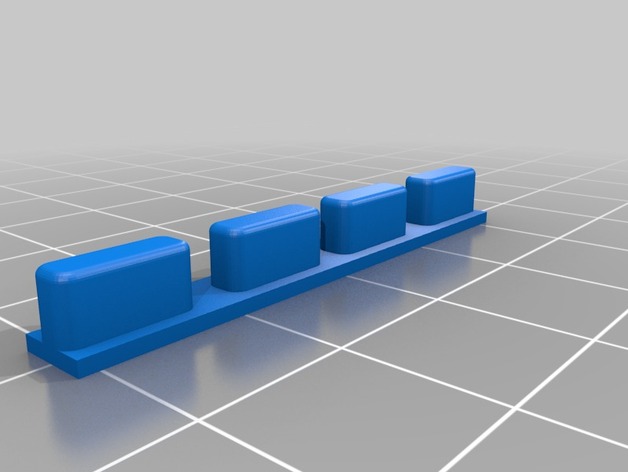
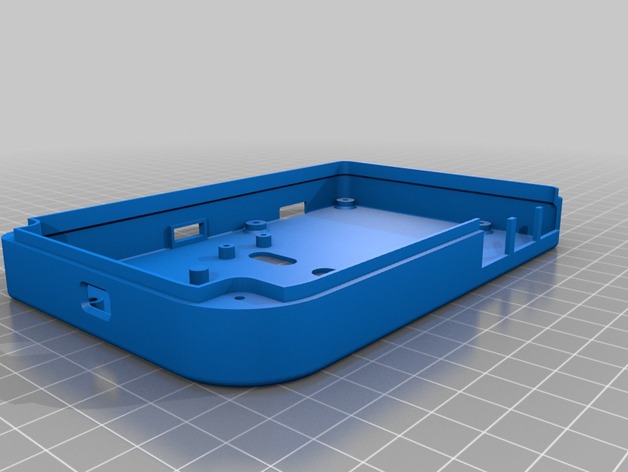
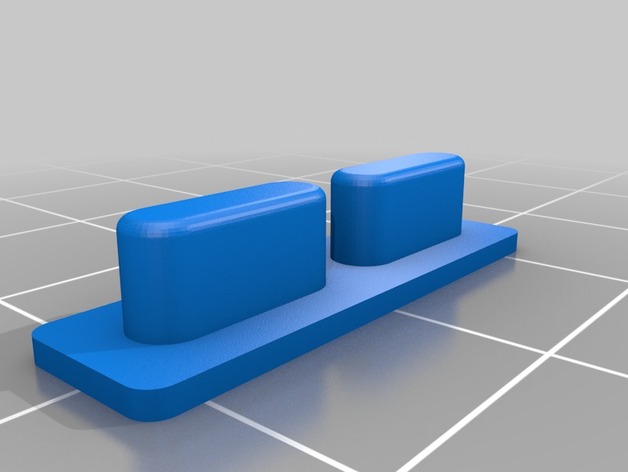
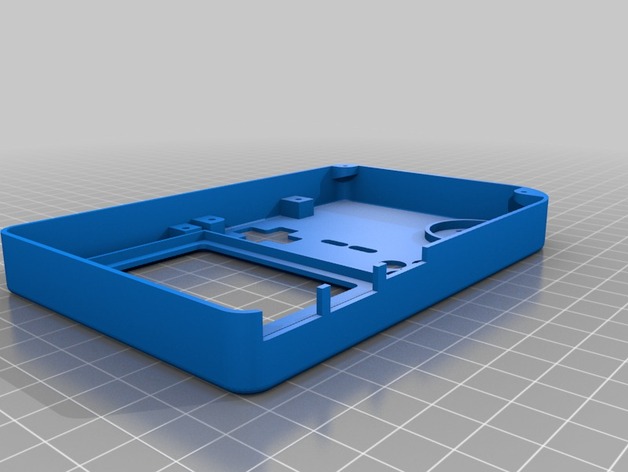
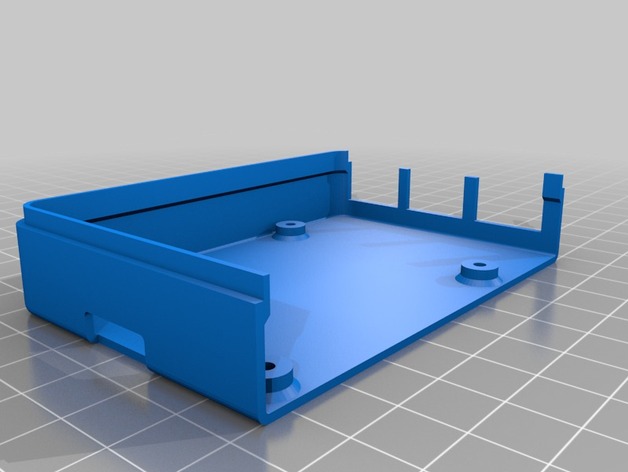
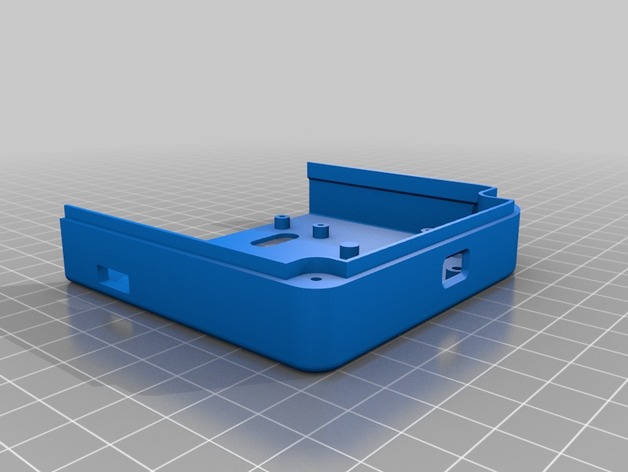
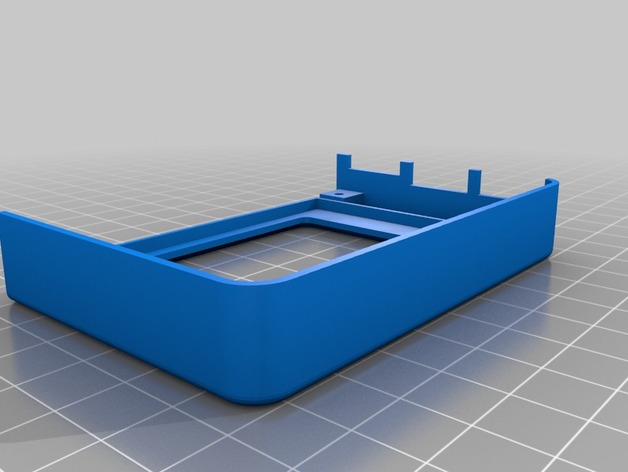
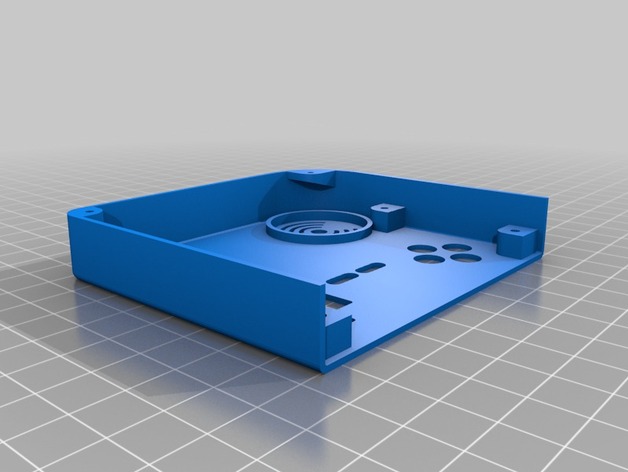
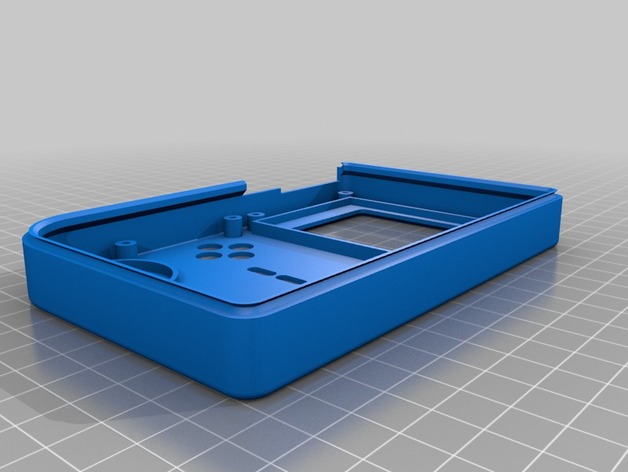
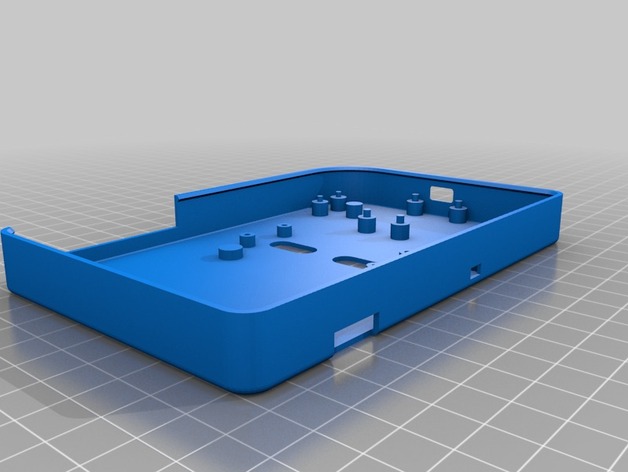
UPDATE 1.1 The case has been updated! Added new switch holder. New lip snap fits halves together, so no need for news! Removed screws holes for amp, Pi 2 and powerboost, just snap fit onto nubs! Added washers to prevent screws from puncturing case.
Full Parts List & Tutorial:
https://learn.adafruit.com/pigrrl-2/overview
PiGRRL Gamepad PCB on Oshpark
https://oshpark.com/shared_projects/i2TaIEic
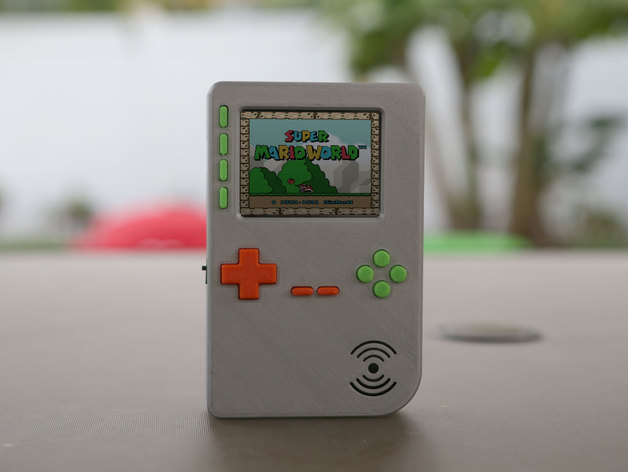
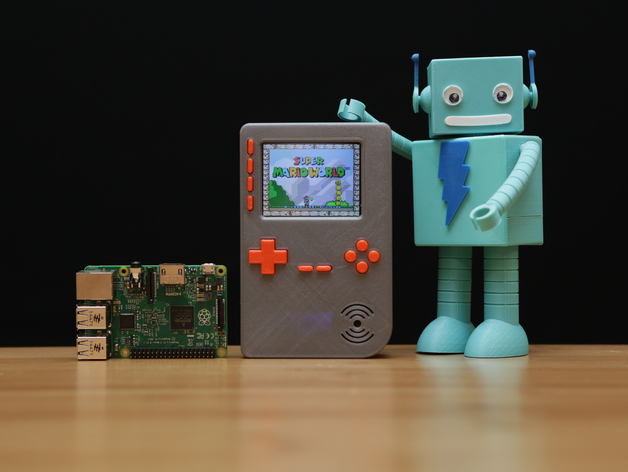
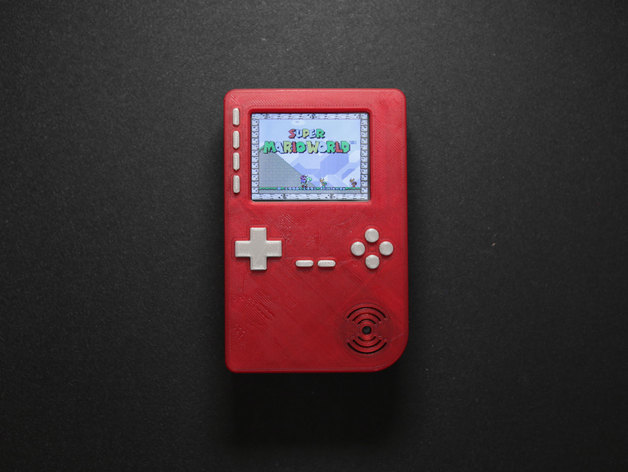
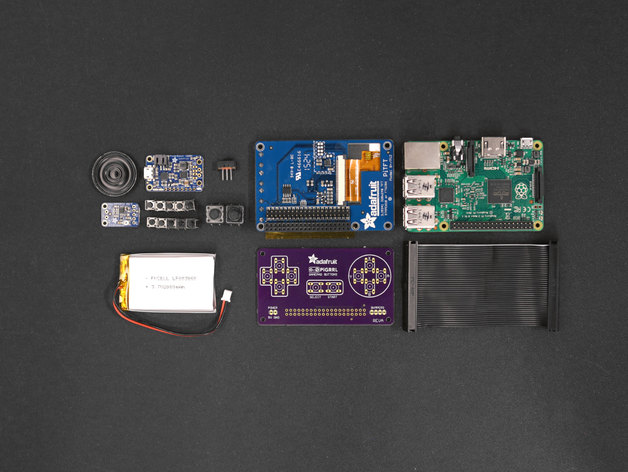
Raspberry Pi Retro Game Console
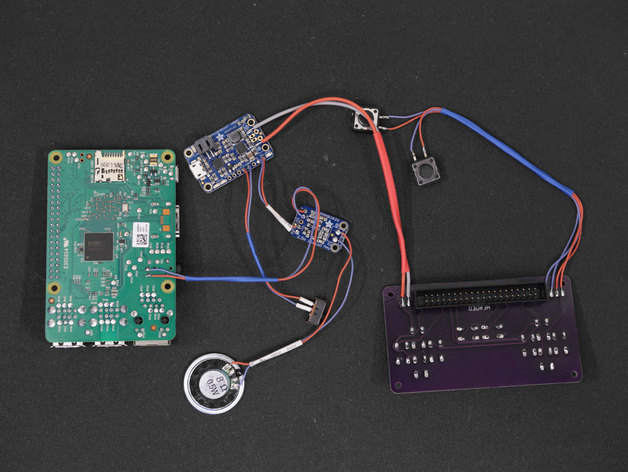
This project takes the original concept of the PiGRRL and makes it more powerful, using a Raspberry Pi 2 (or Model B+). It’s about the same size but features more buttons (D-Pad, A,B,X,Y, L, R, pause and start.) and four extra buttons on the PiTFT. It’s sporting a small audio amplifier and speaker, so you can enjoy the crispy sounds of 8-bit goodness.
Easier to build!
With this update, we really wanted to make it easier to build. We’ve dramatically cut the build time in half by making a custom gamepad PCB. Just solder in the buttons and an IDC box header to the gamepad PCB – No more tedious button wiring!
Project Expectations
This project is geared towards beginners, but is still a big project to take on. This guide will walk you through all the necessary steps to wire, assemble and build your very first Raspberry Pi game console. It does require a good amount of soldering, wire tinning and good ol’ elbow grease, but don’t be discouraged! If your dedicated to take on this project, it’ll only take a weekend to make.
Credits:
adafruit
Download 3D models
| File | File size |
|---|---|
 PiGRRL_2_-_Raspberry_Pi_Game_Console
|
3 MB |