

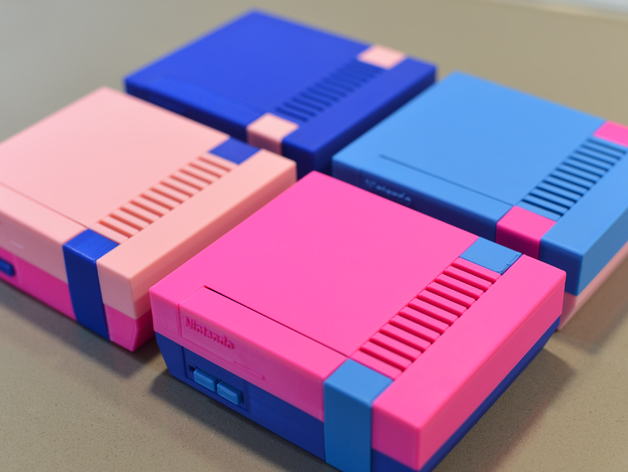
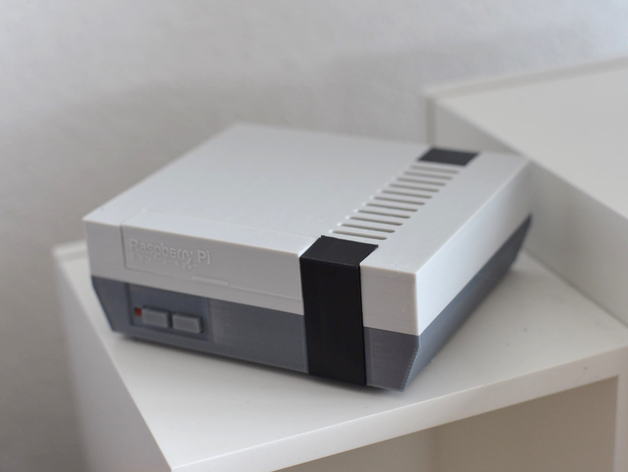

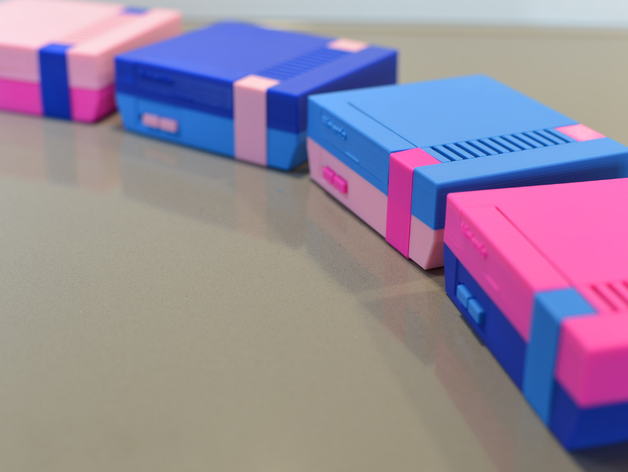
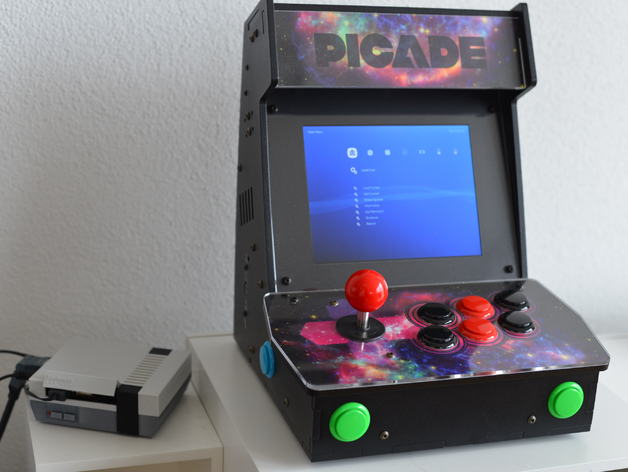


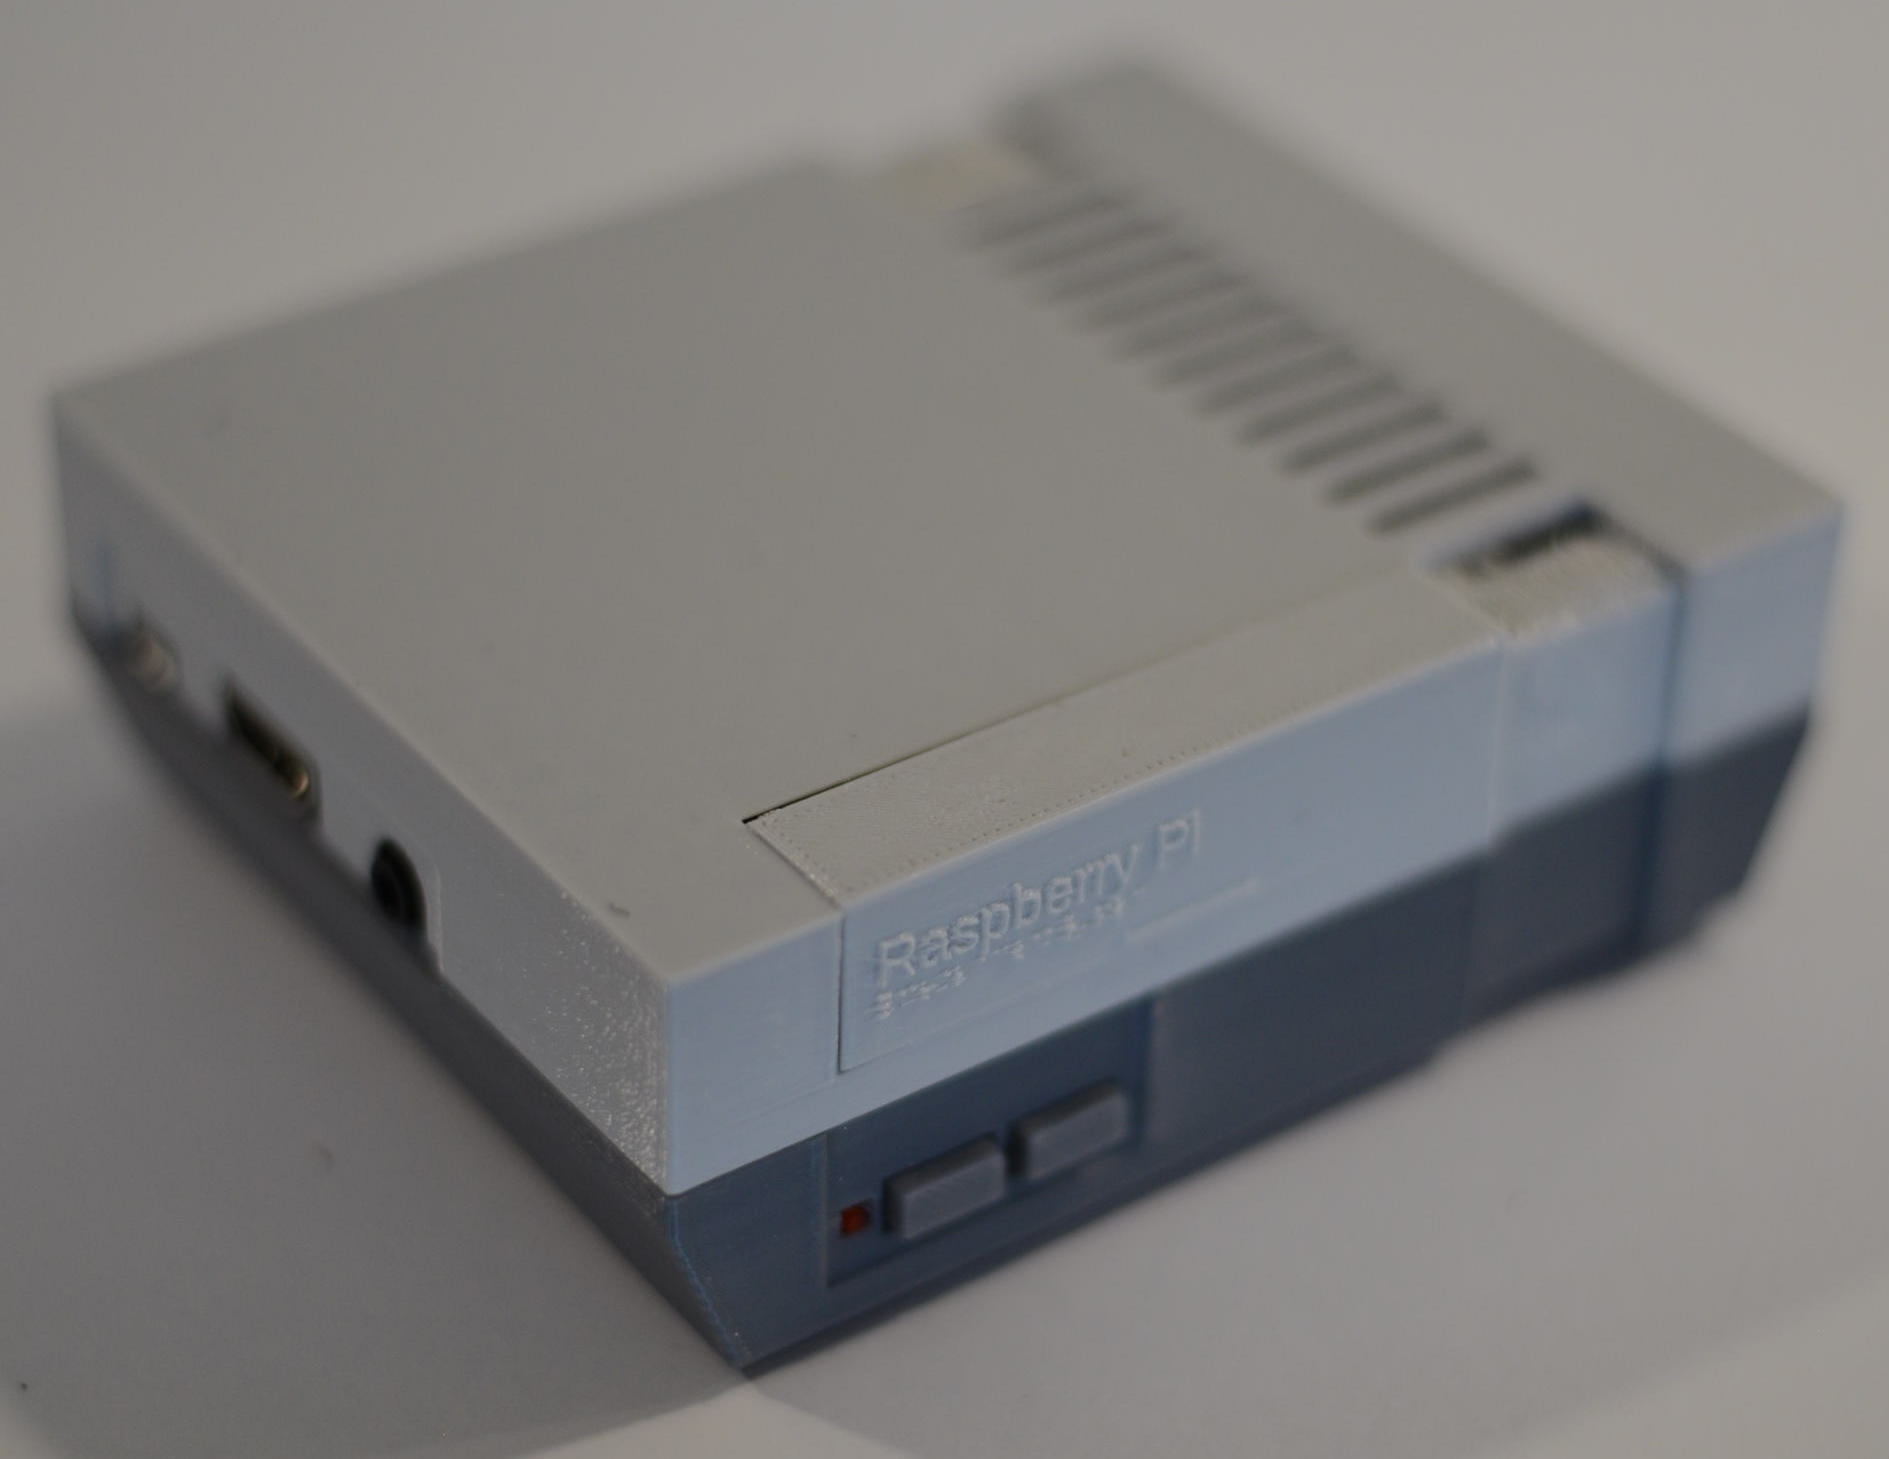
This Raspberry Pi 3 NES case…
Is visually as close as possible to a real NES
Fits a Raspberry Pi 3
Has plenty of space in the case for additional parts
Is made in OpenSCAD and customizable
Is easily assembled and disassembled without screws (exception: the Pi itself is screwed to the bottom section of the case)
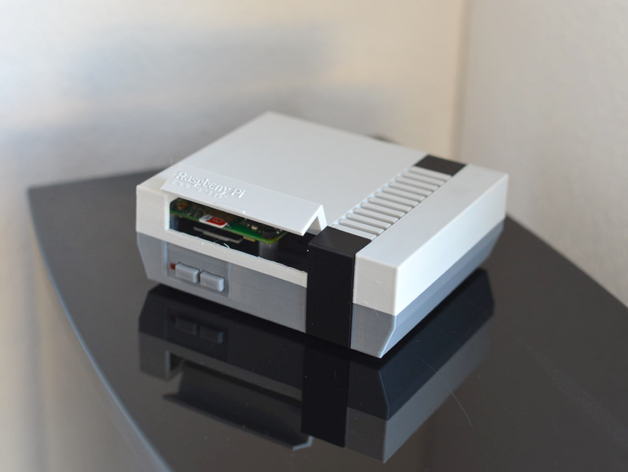
Provides simple access to all ports
Can be printed and assembled very easily (arguably, this one is a slight miss 🙂
Please watch this video showing tips for printing, and how to assemble the pieces:
https://www.youtube.com/watch?v=PS3_iR2NpAU
pps
152
Comments
82
Made
2872
Collections
7
Remixes
Contents
Summary
Print Settings
Post-Printing
Tip Designer
Report Thing
Tags
lakka NES nes_classic nintendo Raspberry_Pi Raspberry_pi_3 raspberry_pi_case retro Retrogaming retropie Retro_Gaming Retro_Pie
Design Tools
OpenSCAD
License
Creative Commons – Public Domain Dedication
Mini NES Pi 3 Case (Customizable) by LKM is licensed under the Creative Commons – Public Domain Dedication license.
Use This Project
Remix This
Give a Shout Out
If you print this Thing and display it in public proudly give attribution by printing and displaying this tag.
Print Thing Tag
Makes
View More
Thing Statistics
113489Views 21561Downloads
Found in Video Games
Summary
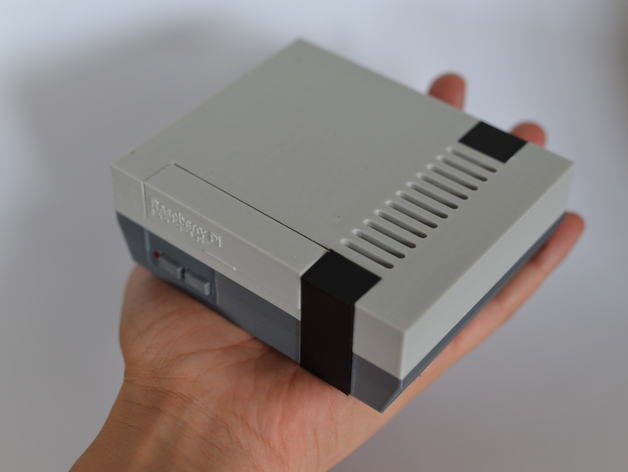
This Raspberry Pi 3 NES case…
Is visually as close as possible to a real NES
Fits a Raspberry Pi 3
Has plenty of space in the case for additional parts
Is made in OpenSCAD and customizable
Is easily assembled and disassembled without screws (exception: the Pi itself is screwed to the bottom section of the case)
Provides simple access to all ports
Can be printed and assembled very easily (arguably, this one is a slight miss 🙂
Please watch this video showing tips for printing, and how to assemble the pieces:
https://www.youtube.com/watch?v=PS3_iR2NpAU
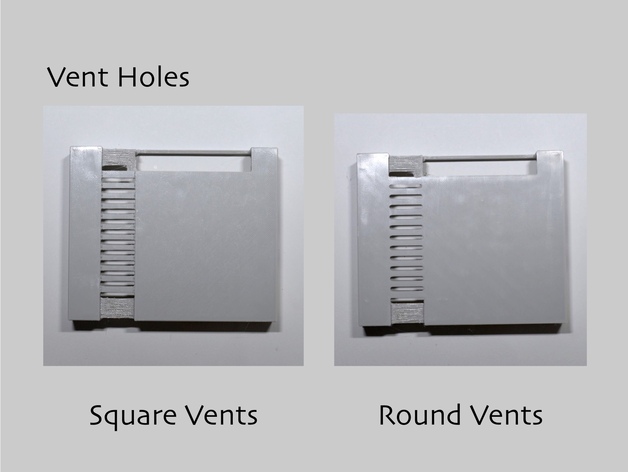
Picking a Version: Vents
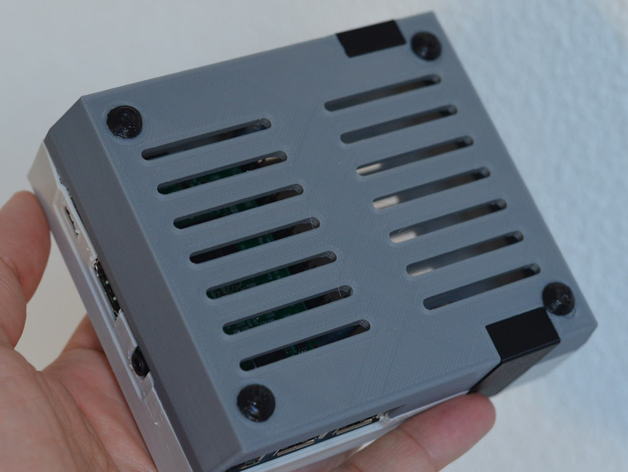
There are two versions of the vents on the top part.
Square vents are closer to how the original NES looked, but a bit harder to print, since the height of the first layer needs to be perfect for the model’s details to be visible
Rounded vents are easier to print, and look a bit more modern
See the “round vs square” image to see the difference.
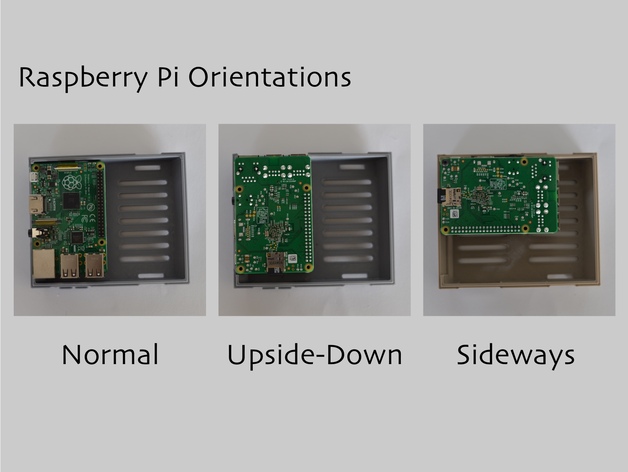
Picking a Version: Raspberry Pi Orientation
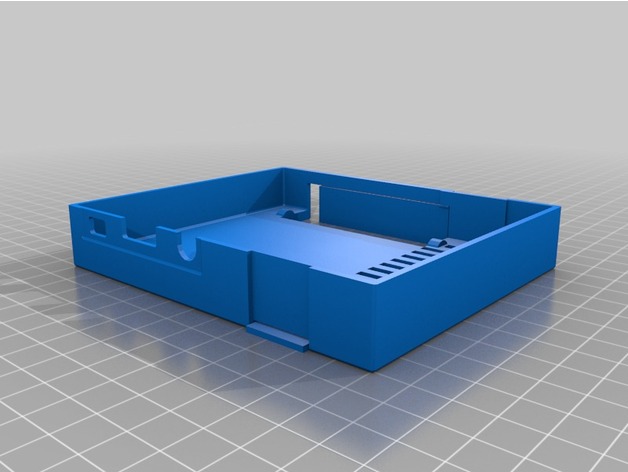
There are three different versions of this case’s top and bottom parts.
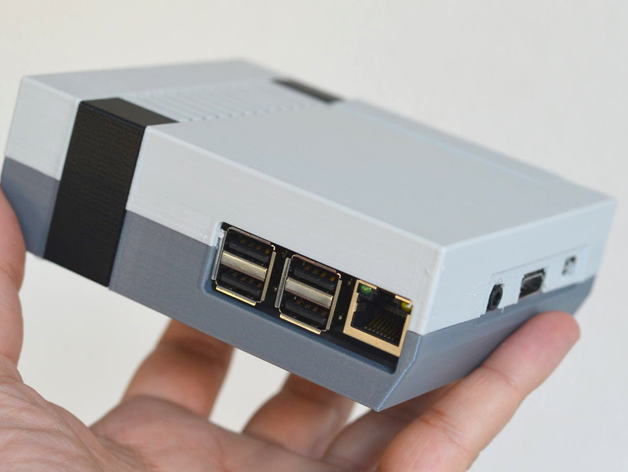
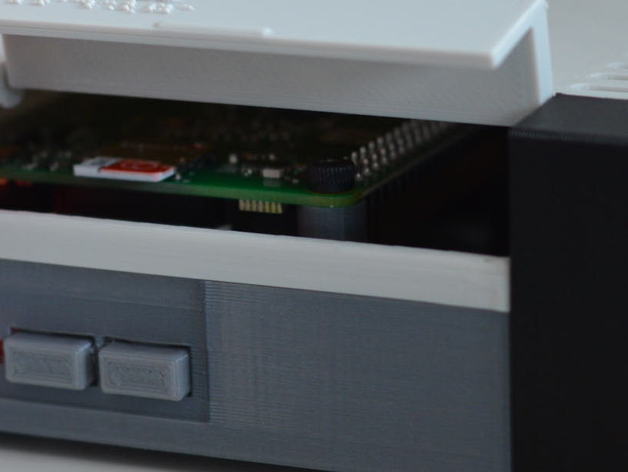
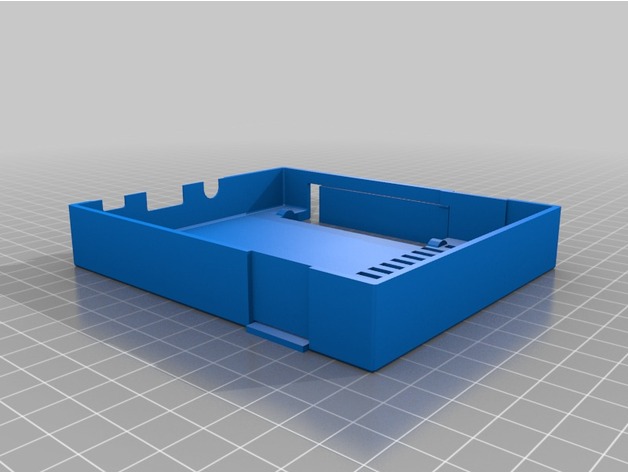
If you need access to all ports, and want to be able to quickly replace the MicroSD card, print the “upside down pi” versions of the top and bottom parts.
If you want a cleaner version of the case without the the ports in the back, print the versions of the top and bottom parts without “upside down pi” in their name; this version doesn’t provide access to the MicroSD card, the ethernet port, and two of the USB ports, but the back looks a bit prettier.
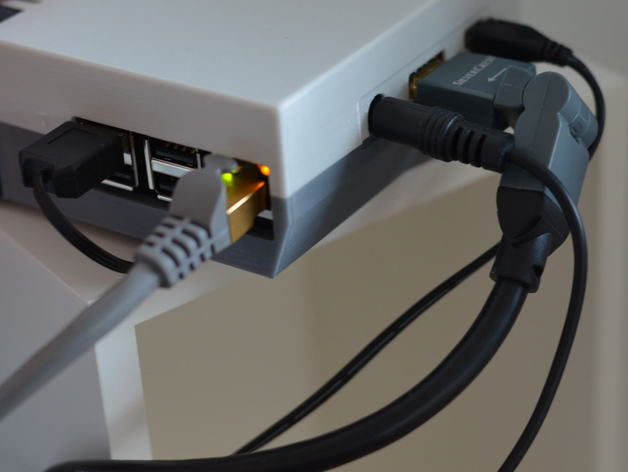
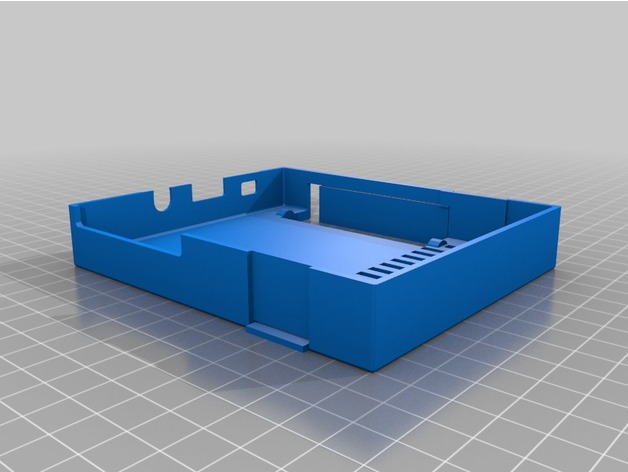
If you want the cleanest possible case, go with the “sideways” versions of the top and bottom parts. These move HDMI, audio, and power to the back, and don’t expose the SD card, Ethernet, or USB ports (although there is room inside the case to plug something into the USB ports).
If you’re unsure, print the “upside down pi” versions of the top and bottom parts.
Screws
The Raspberry Pi uses M2.5 screw holes on its PCB. However, I’ve used M3 screws to screw the Pi in place. The reason for this is that the screws are threaded into printed plastic, so it’s not possible to torque them tightly. By screwing M3 screws into the PCB’s M2.5 screw holes, the screws hold the Pi in place perfectly, even if the screws aren’t torqued into the printed plastic.
Having said that, you might not want to do this, since there is a chance that you might harm your Pi by screwing M3 screws into its M2.5 holes. Therefore, there’s a variable in the OpenSCAD file where you can change the screw diameter the case uses. If you want to use M2.5 screws, open the OpenSCAD file, change the screw_size variable to the value you want, and render the bottom part of the case.
Customizer
Unfortunately, the Thingiverse Customizer seems to be unable to render this OpenSCAD file. Therefore, to customize it, download nespi.scad and open it in OpenSCAD. This will allow you to change the text on the lid, and make some other changes to the model.
Small Build Plate
If your printer has a small build plate, and the model is too wide to fit on it, you can download the OpenSCAD file. There’s a width parameter inside the file that’s not visible in the Customizer. However, after you’ve changed the width, the inserts of the feet may overlap with the black ribbons. You can either not use feet, or just glue the feet on slightly offset, instead of inside the inserts.
Working Buttons and LED
By default, this model doesn’t have working buttons, or a working LED.
Print Settings
Printer Brand:
RepRap
Printer:
Original Prusa i3 MK2
Rafts:
No
Supports:
No
Resolution:
200 Micron
Infill:
15%
Notes:
Print all of the STLs with individual models once, except for the feet (four times) and the buttons (twice).
Print without support; the model has built-in supports that can be removed after printing. If you don’t have a good part cooling fan, the built-in supports may fuse with the printed part; in this case, edit the OpenSCAD file to remove the built-in supports, or increase the margin between the supports and the printed parts.
I printed with 15% infill, 3 bottom layers, 4 top layers, 3 shells.
When printing the top part, make sure that the width of the first layer is such that you don’t end up with slits between the air vents. You can do that by changing the layer width on the first layer, or changing the number of shells.
If you want your final print to look like a real NES, print each part using the color indicated in its name. For the light gray, I used E3D light gray Edge, which was the best fit for the NES’s color I could find. For the dark gray, any average gray PLA should do fine.
The feet should be printed with flexible filament.
Post-Printing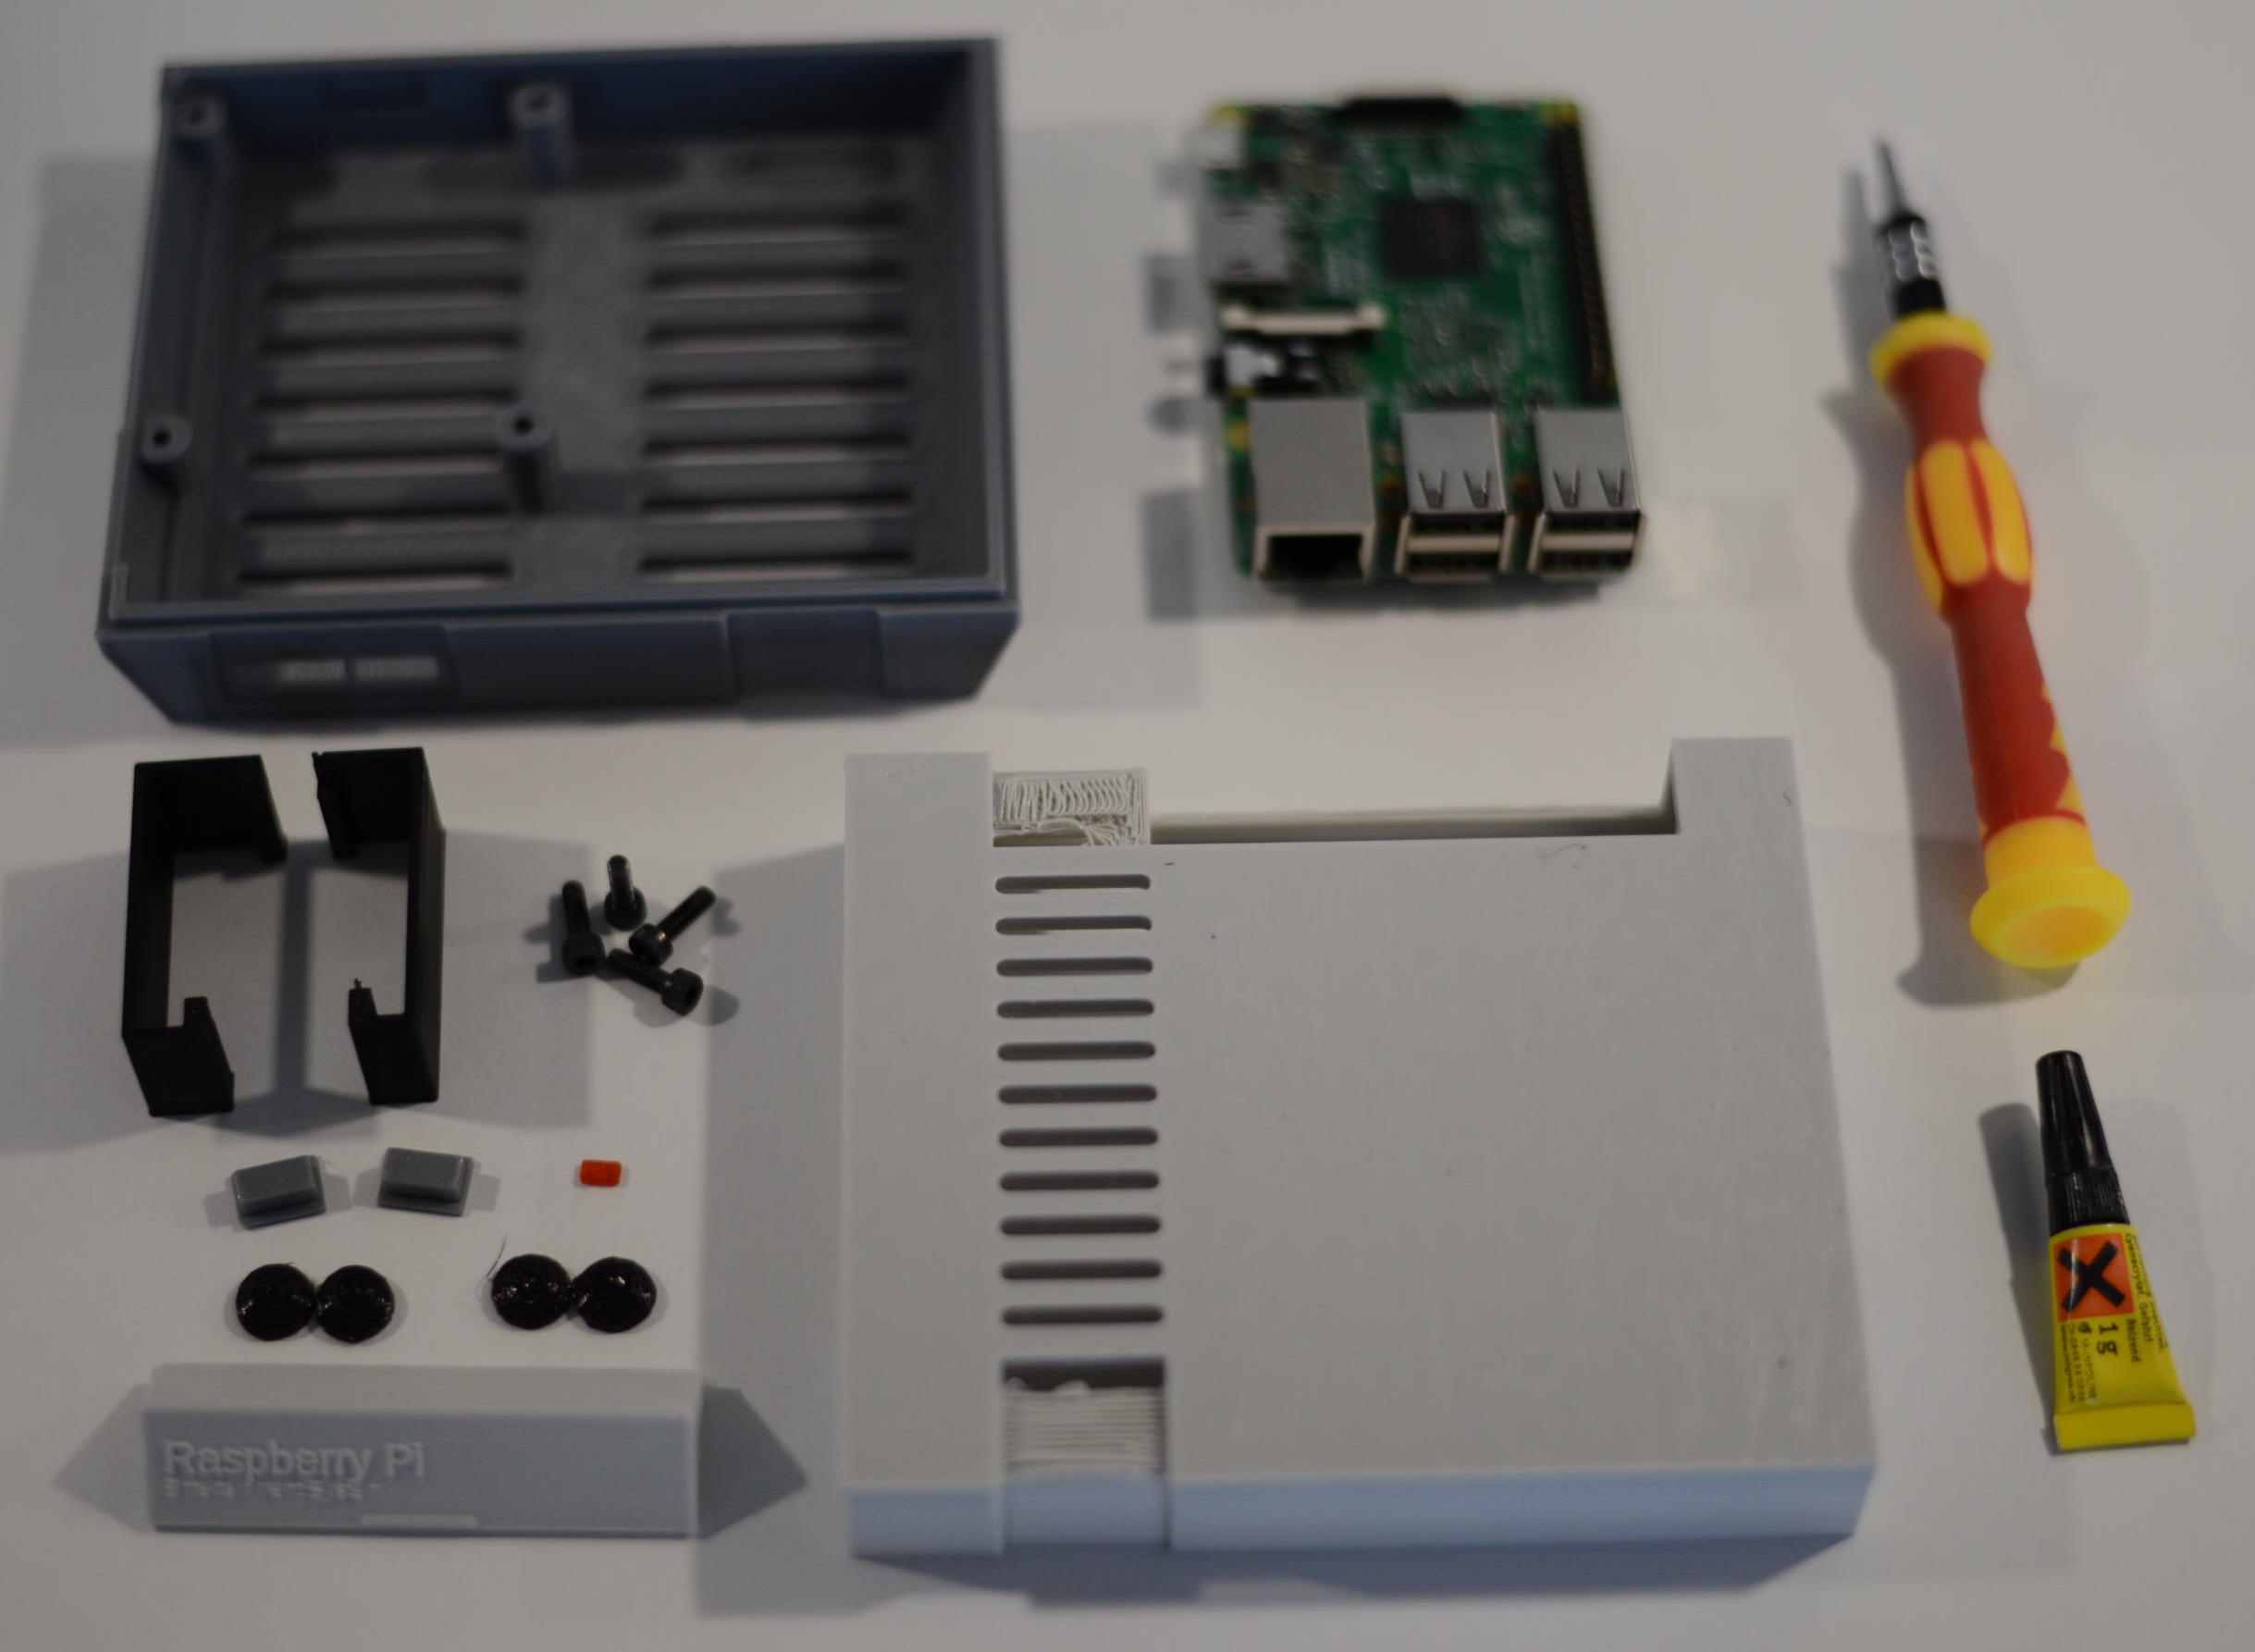
You need all of the printed parts, four M3 screws, a Pi 3, glue, and a screwdriver. Start by carefully breaking away the built-in supports for the top and bottom parts.
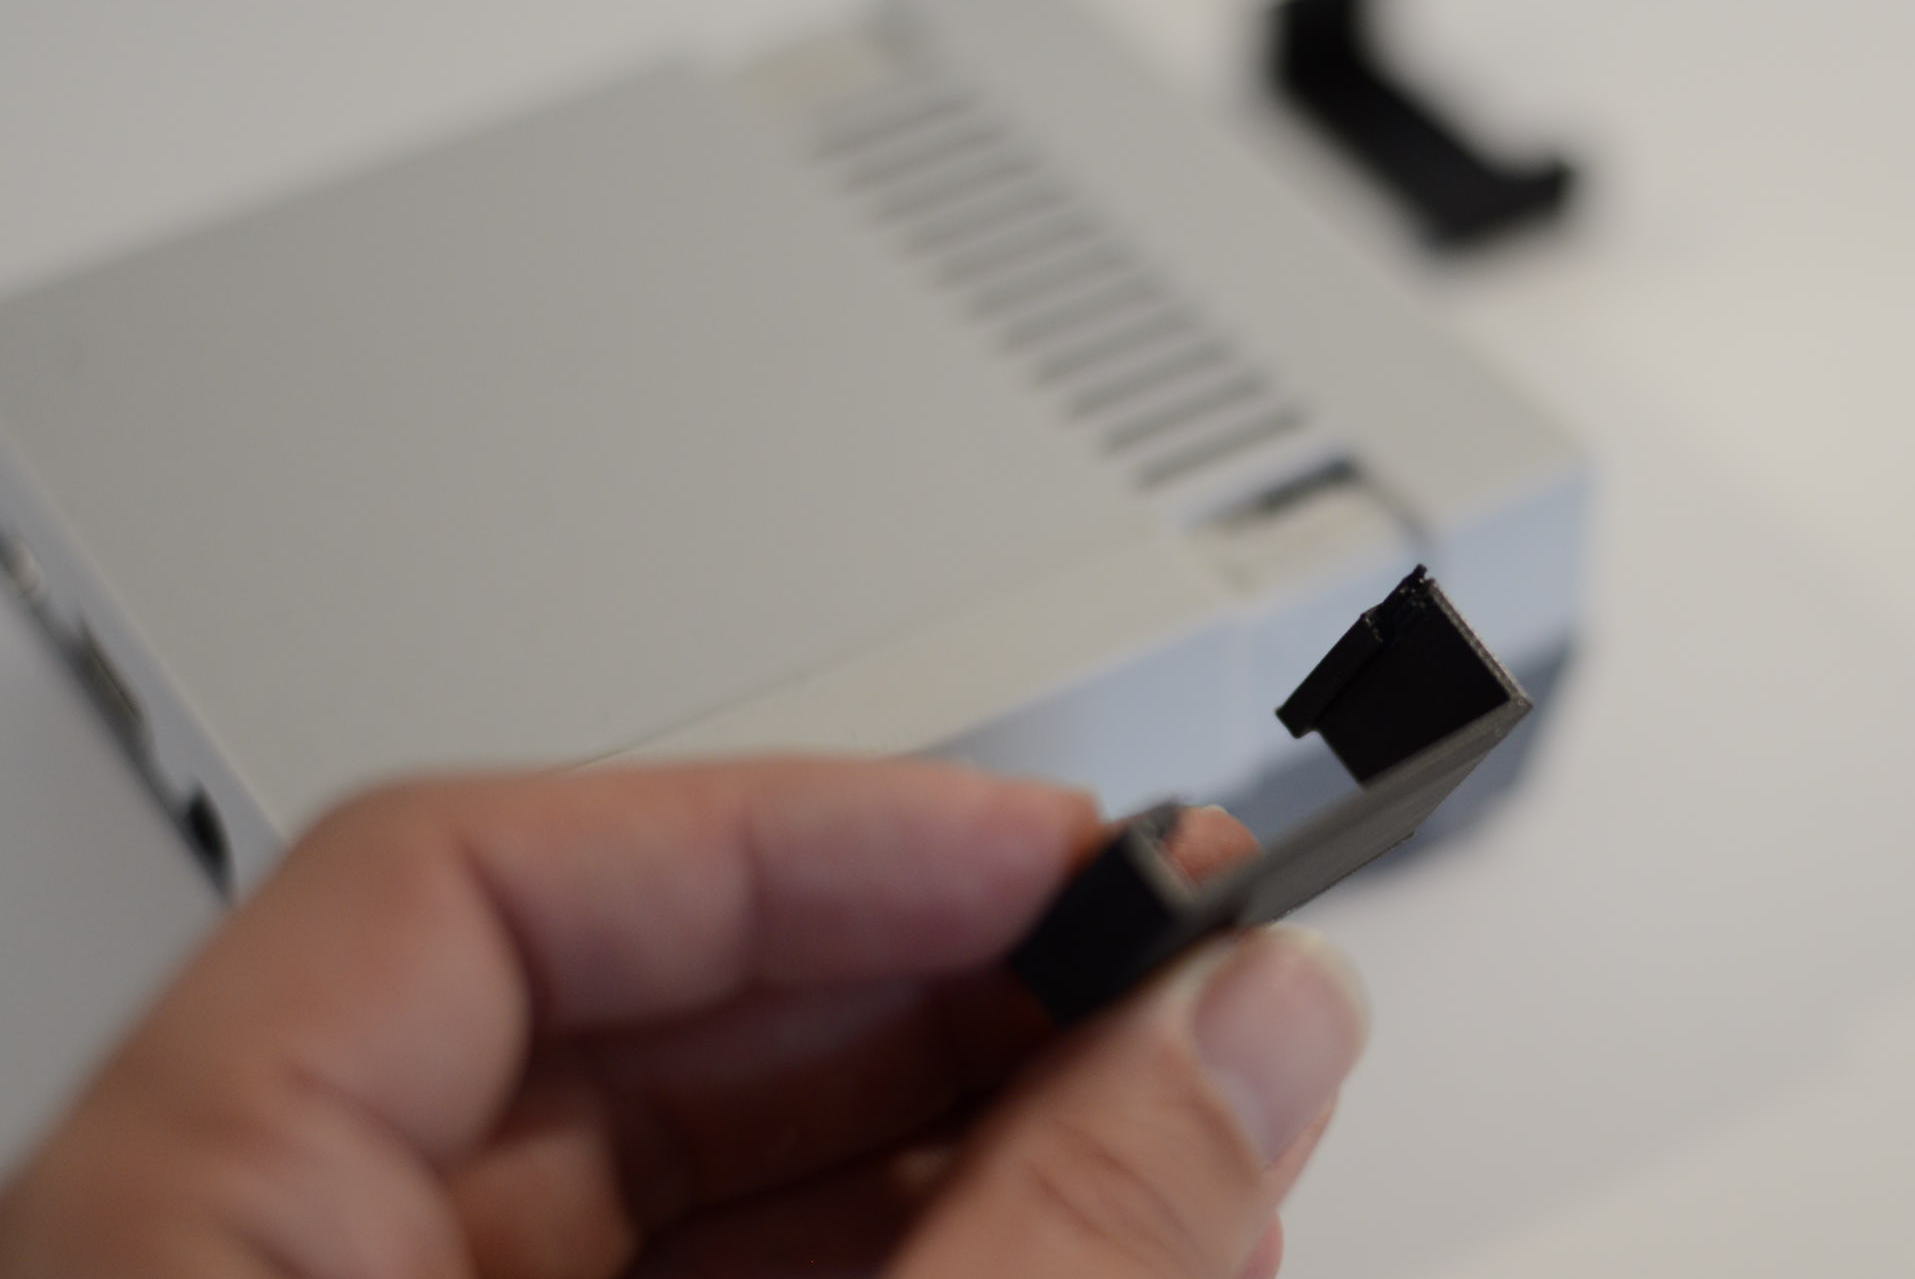
Note that the support pieces on the top part will actually fuse with the printed part; this is intentional, and is required in order to allow the printer to bridge the inset section.

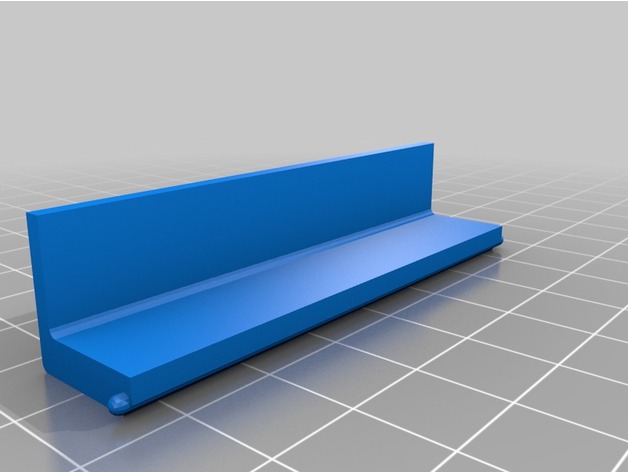
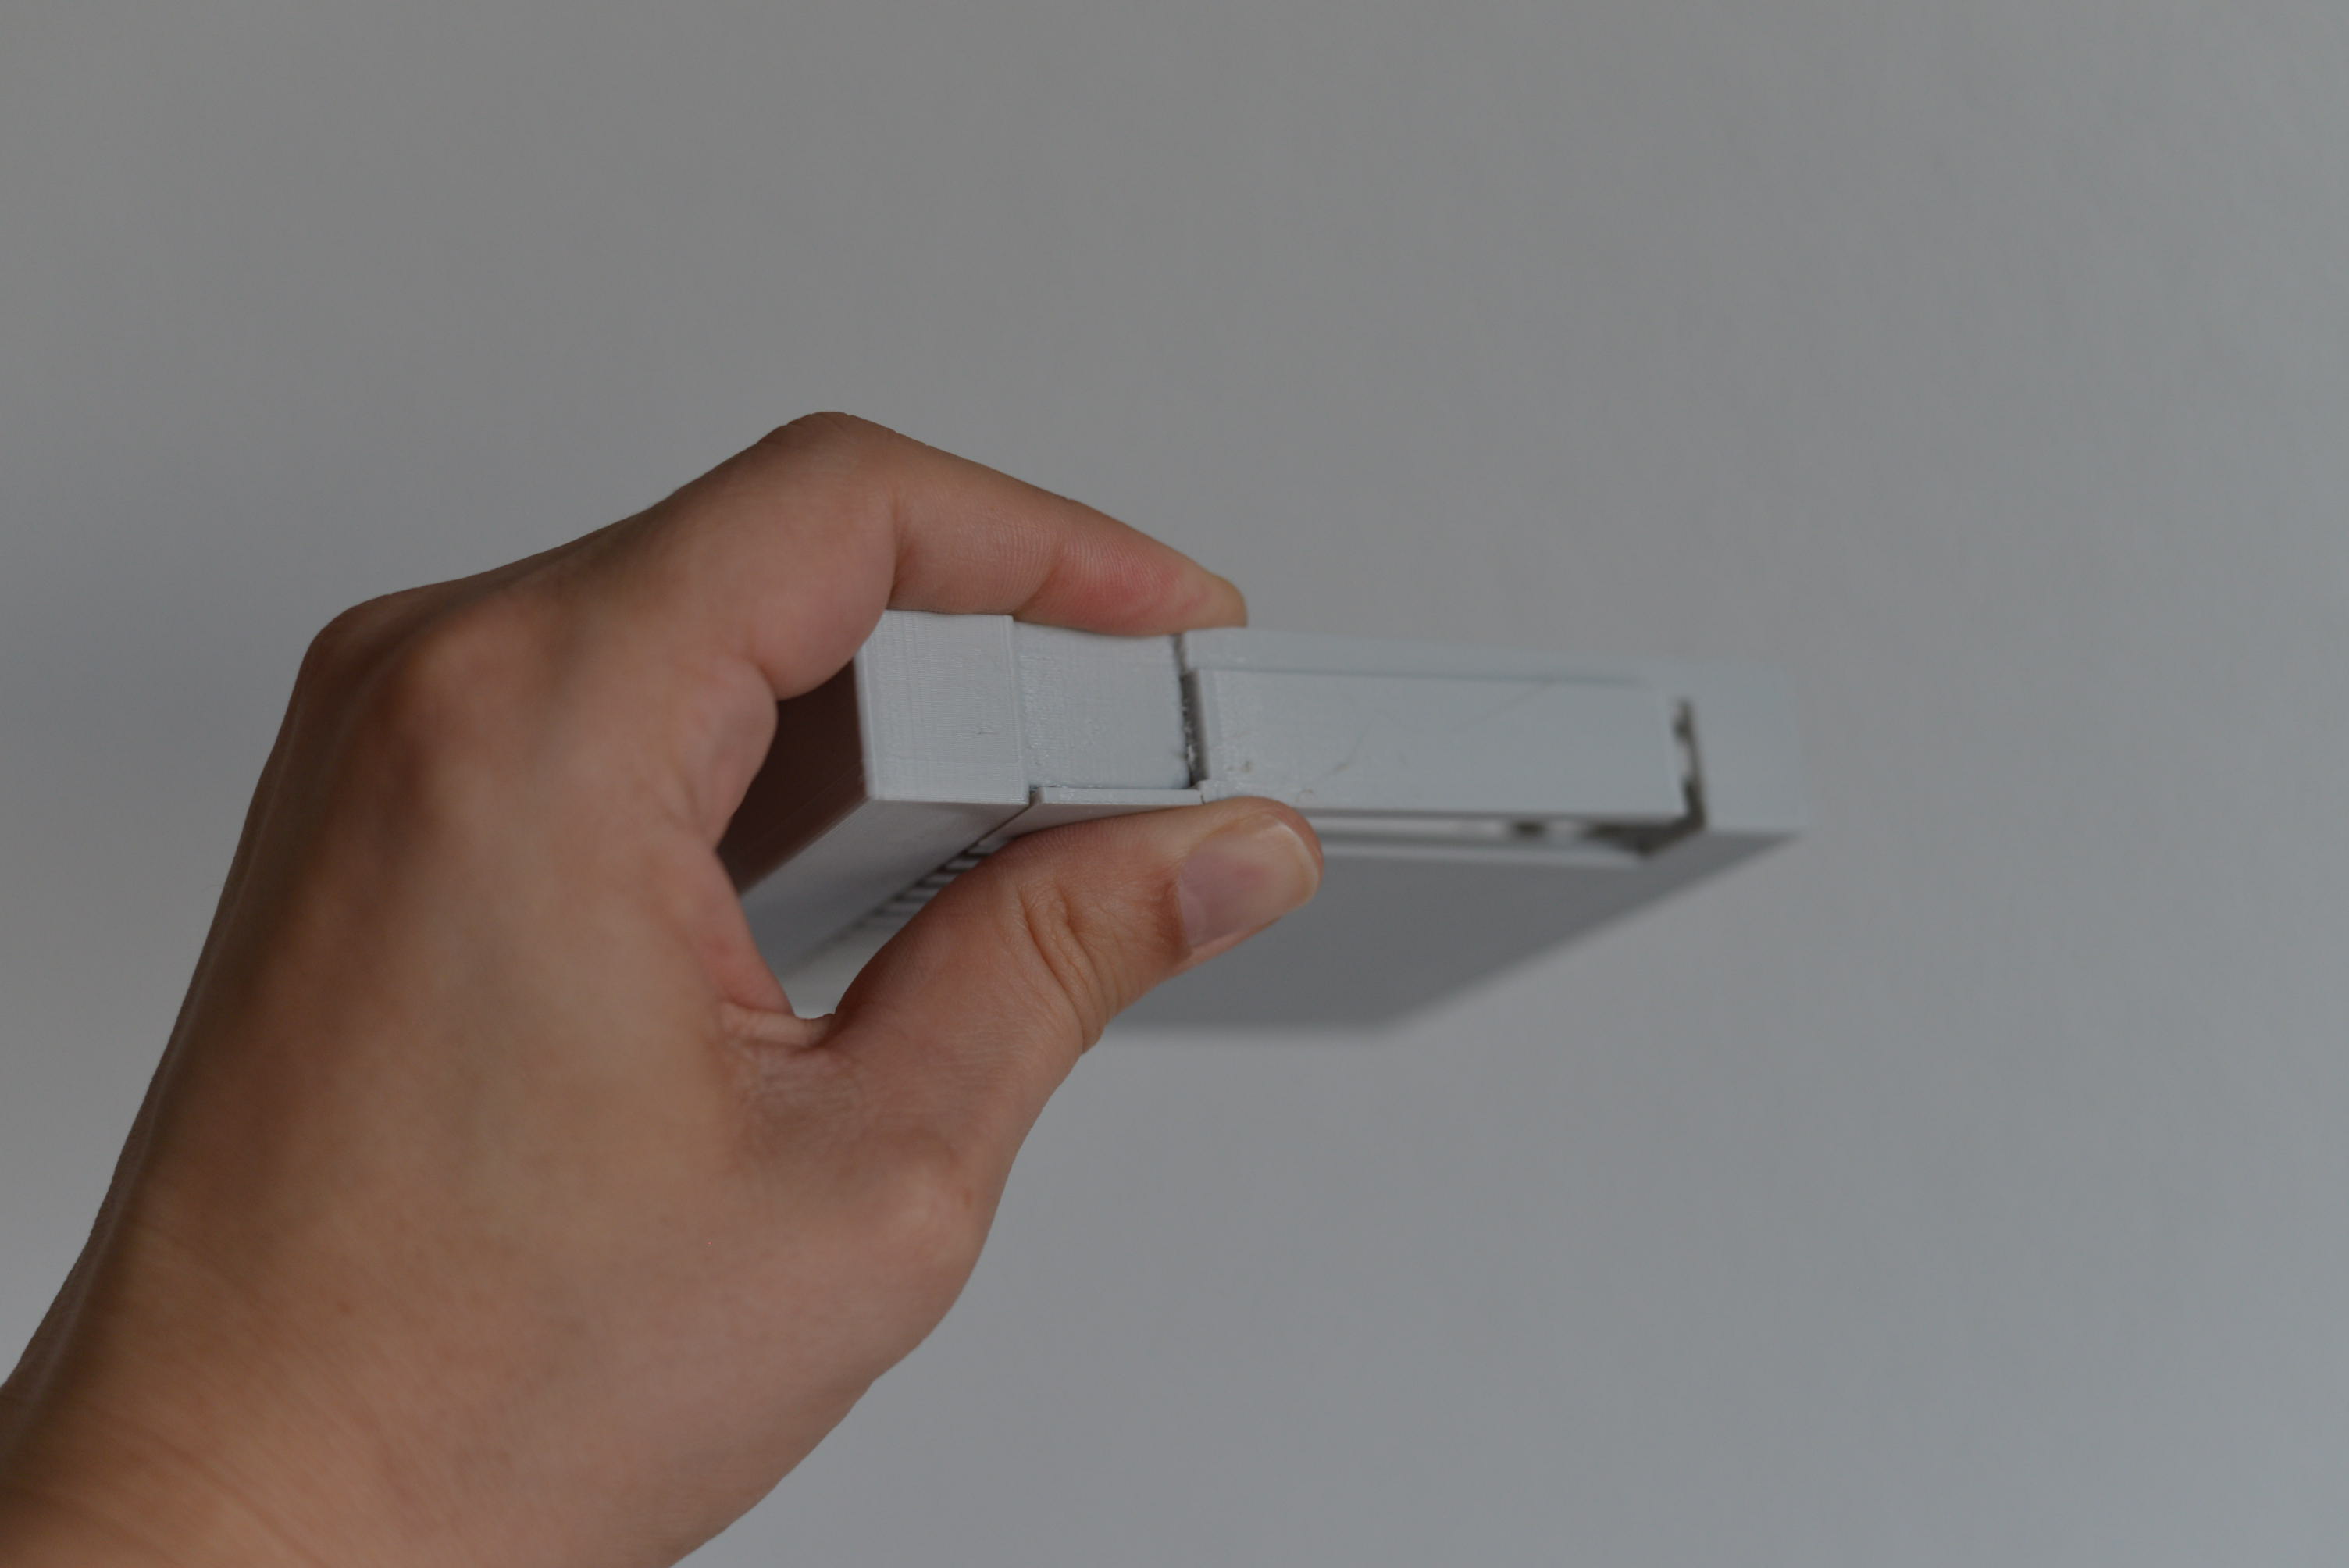
To remove the fused parts, first carefully pull the long part like in the picture, either downward or forward

Next, use a pair of pliers to carefully pull off the smaller part. Be gentle so as not to break the printed part.

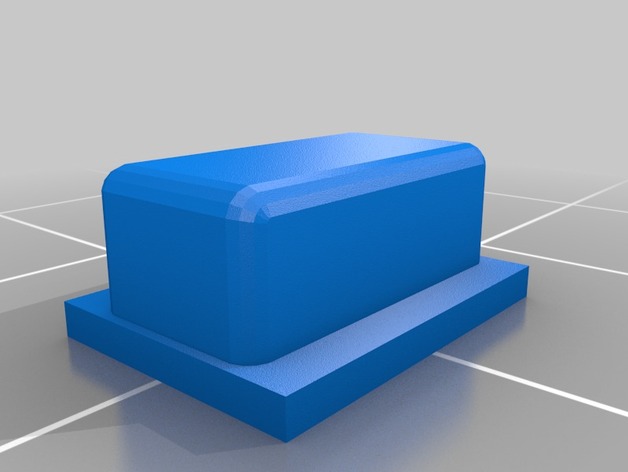
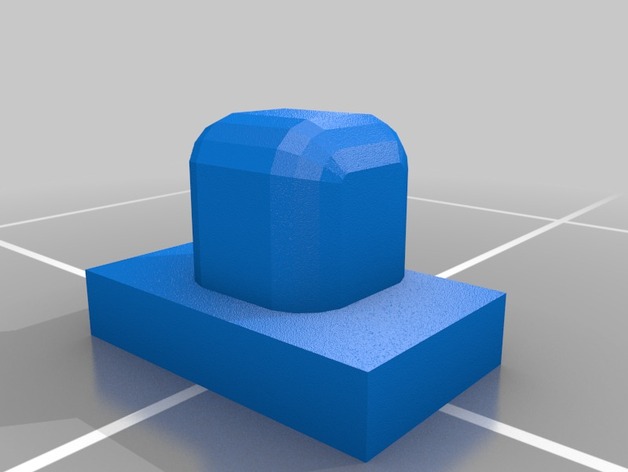
Glue the feet into the bottom part’s feet inserts. Push them in all the way using a screwdriver.
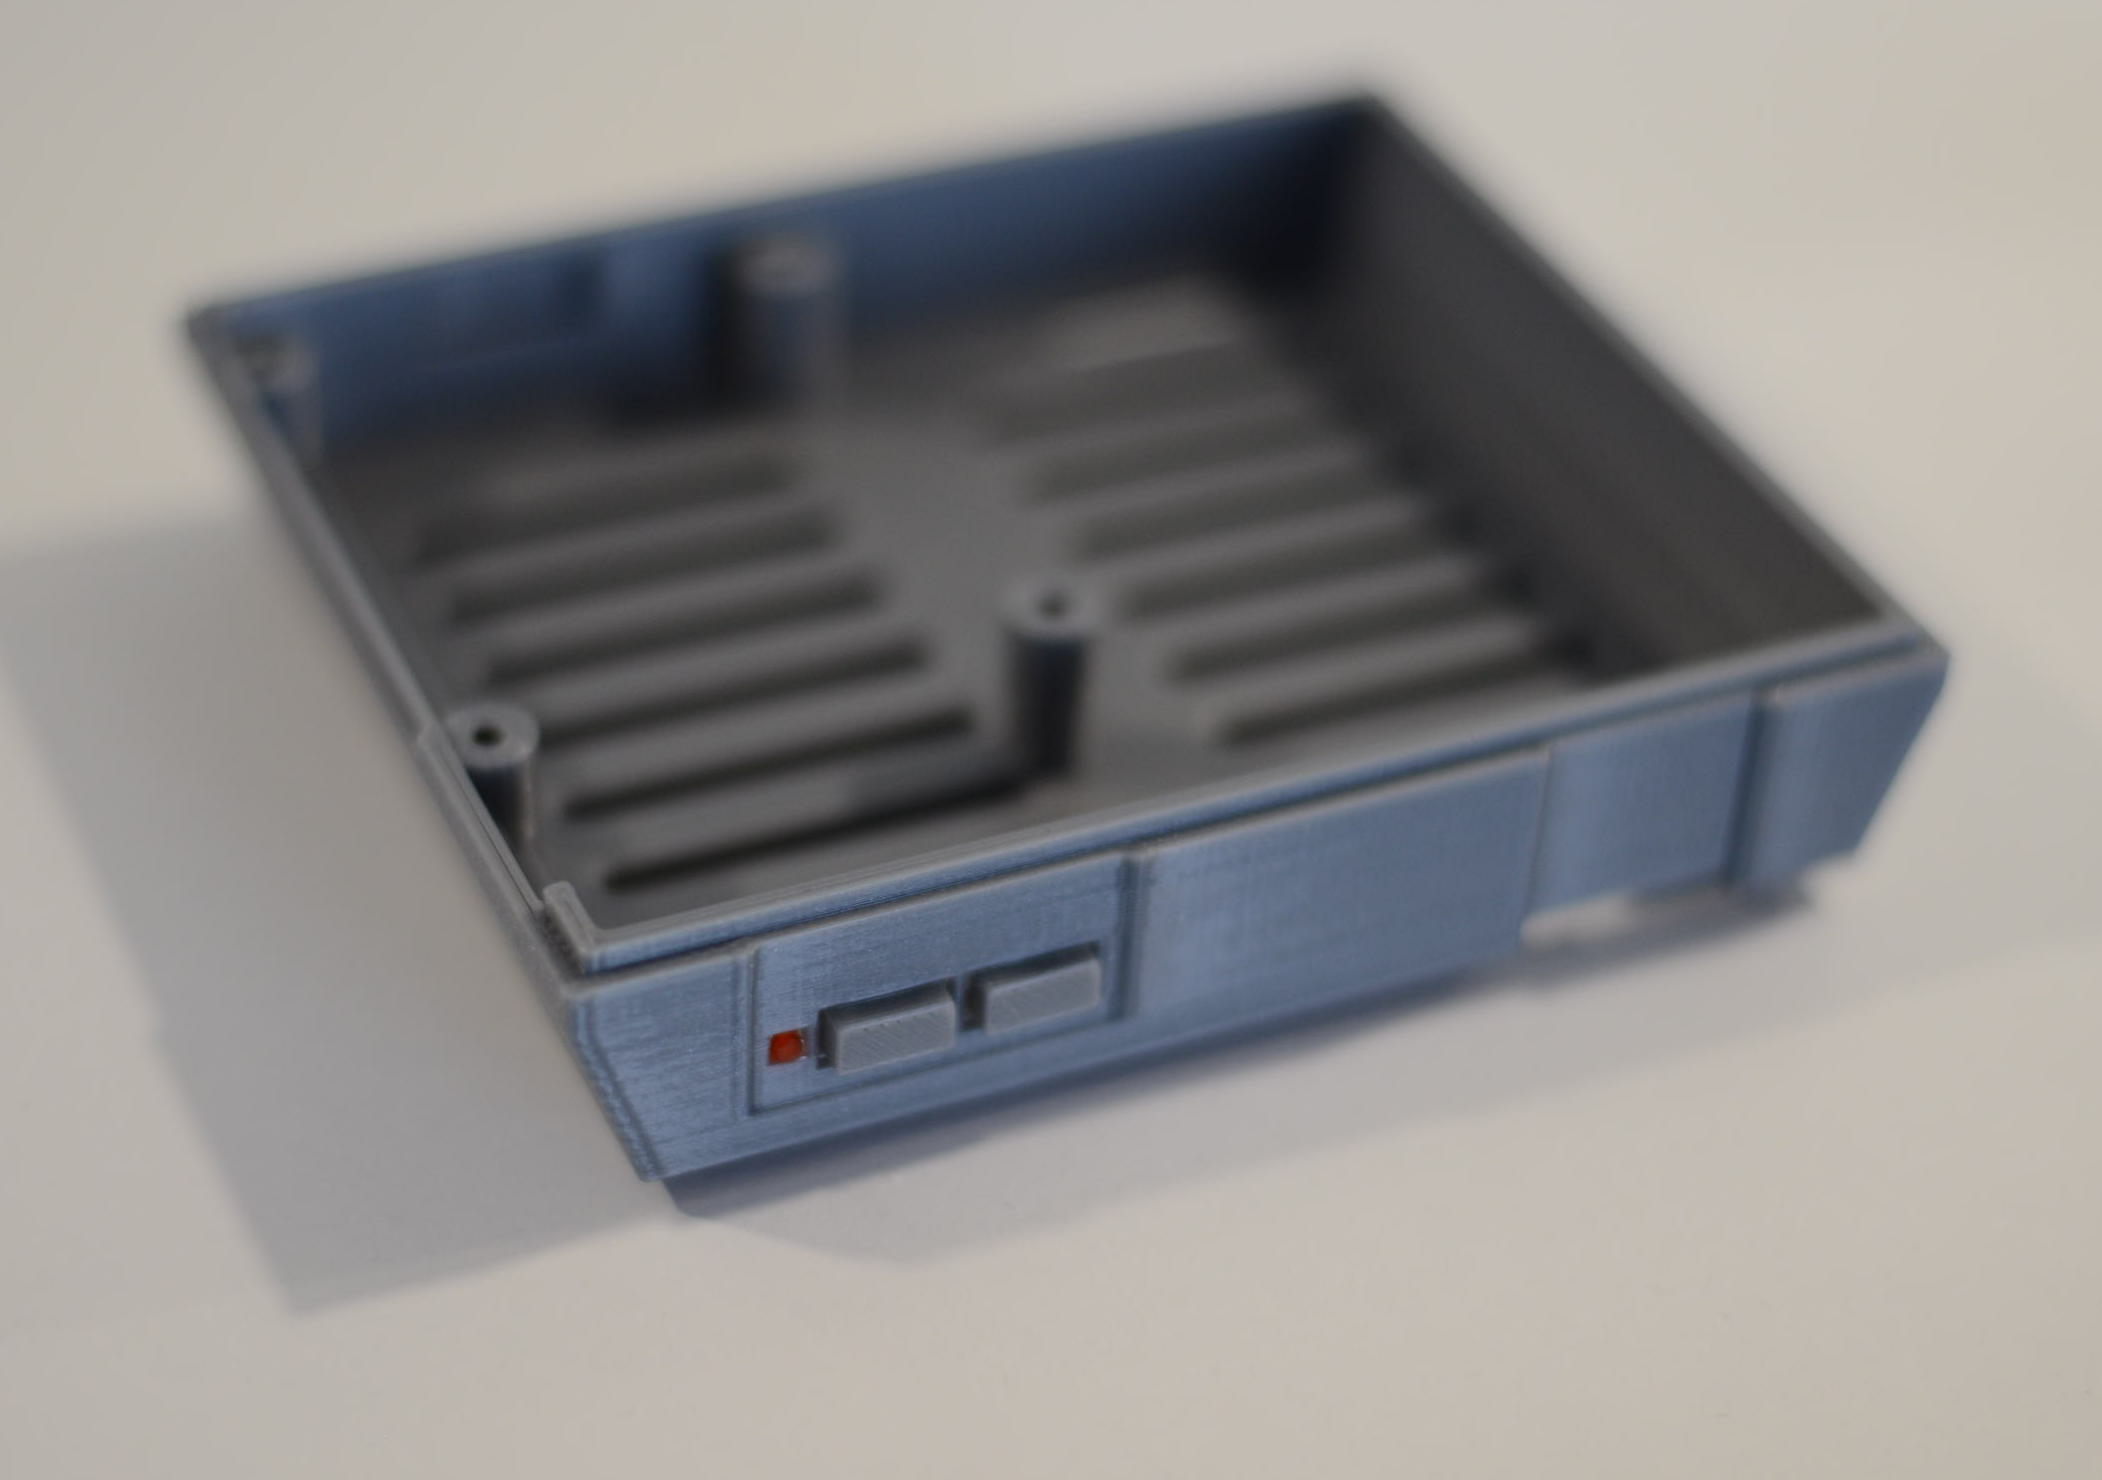
glue the two buttons and the red LED to the bottom part (unless you want to use the buttons for something, in which case, don’t glue them in :-).
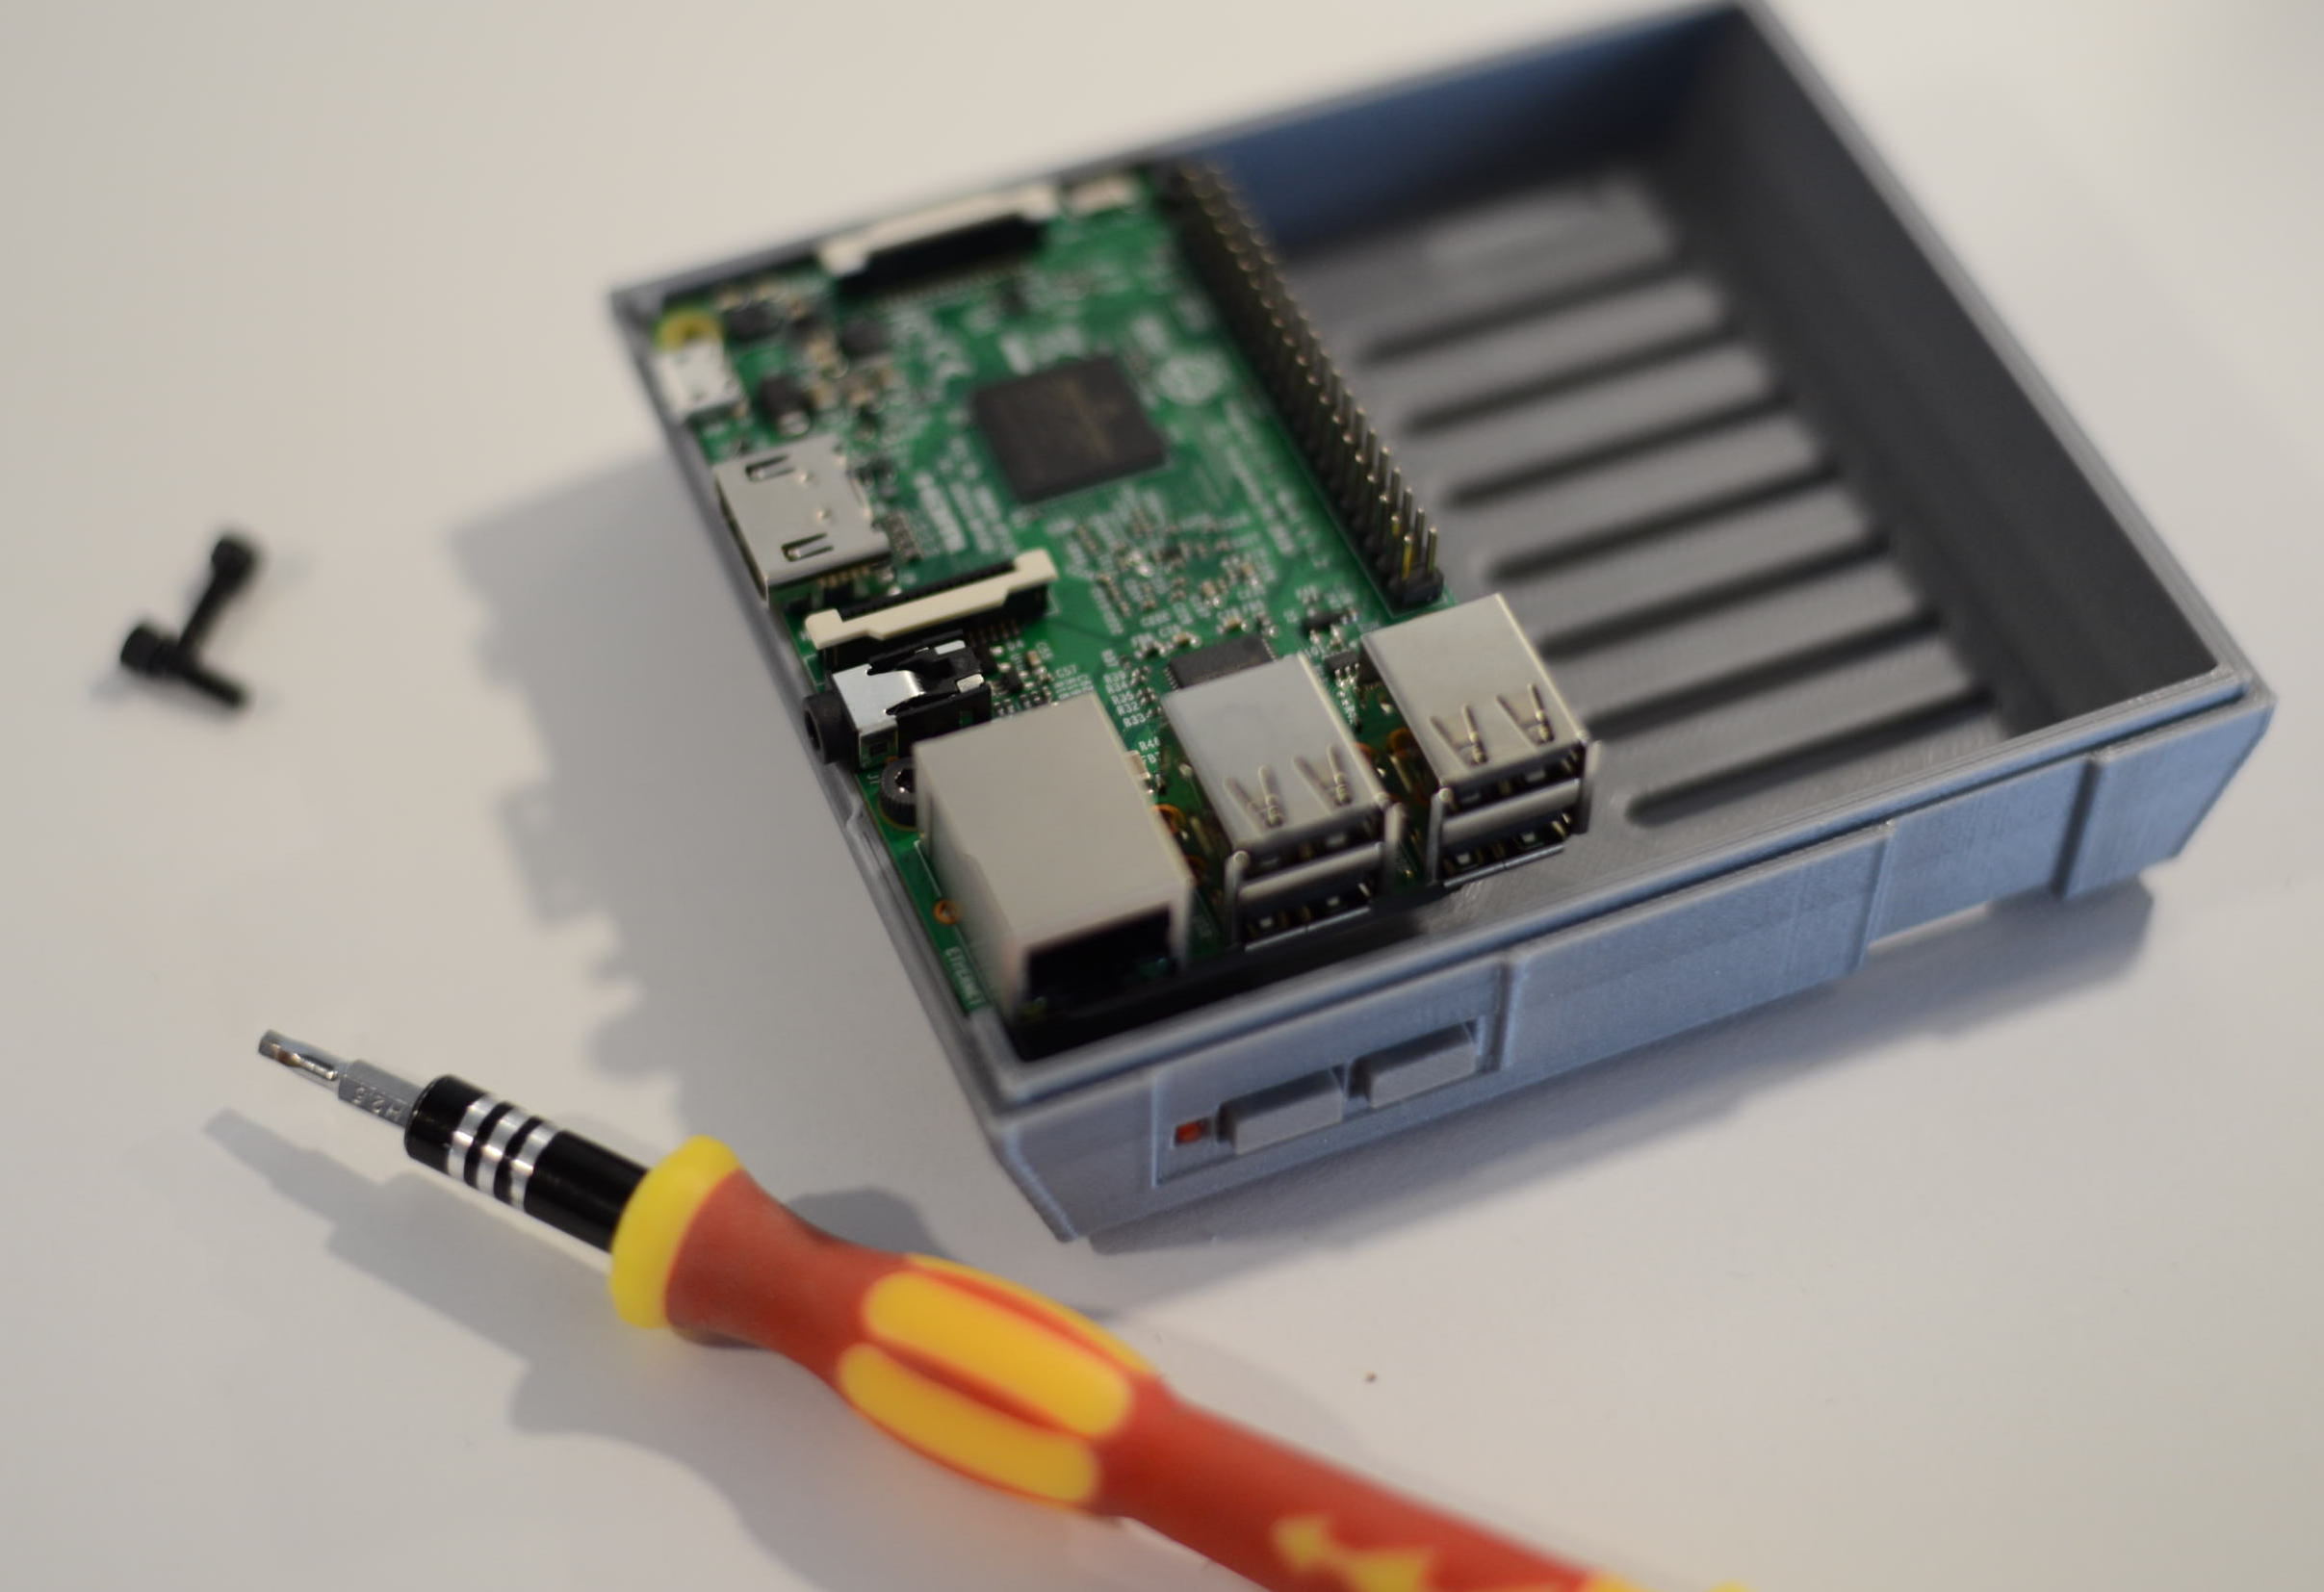
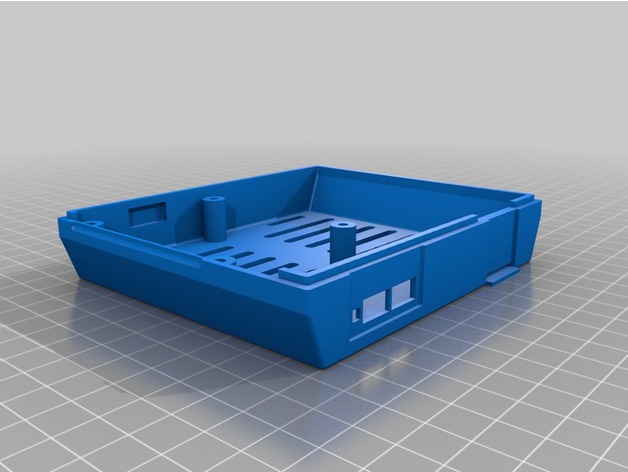
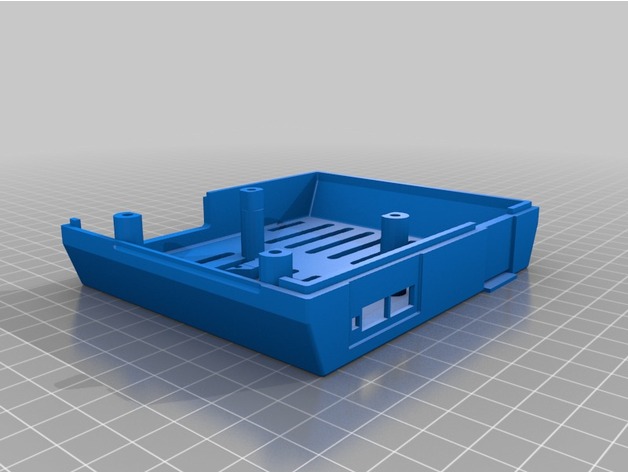
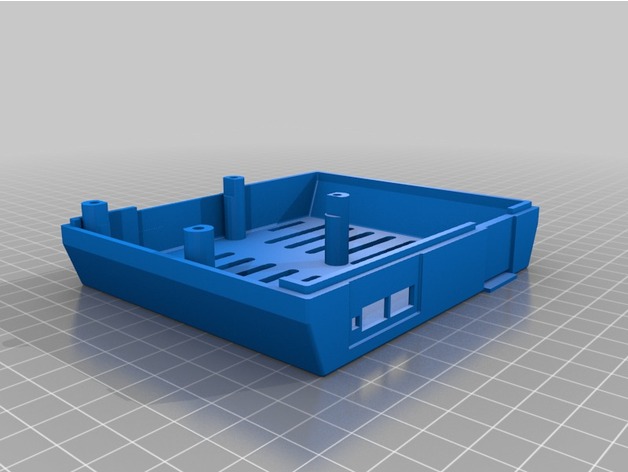
Screw the Pi into the case. Note that this picture shows the non-upside-down version, which is most likely not what you want. For the upside-down version, flip the Pi upside-down so that the USB ports go in the back, and the SD card goes in the front.

Carefully push the top part onto the case. Again, in your case, you’ll probably see the SD card through the slot, not the USB ports.
Slot the lid’s left nub into the hole (we’ll secure it properly in the next steps).
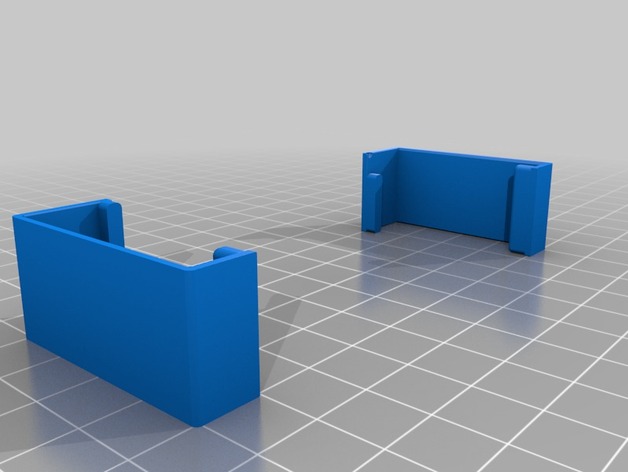
The two black ribbon pieces are not the same; find the one that has part of its insert cut off.

The one with the cut-off insert goes in the front. Slot it in at the bottom first, then at the top. This should secure the lid. Do the same for the ribbon in the back.

The lid should now open freely. To disassemble the case, open the lid, and use a screwdriver to pull out the top part of the front ribbon, then use the screwdriver to push out the bottom part from the inside of the case. As an optional last step, paint the text on the lid red.
Credits:
LKM
Download 3D models
| File | File size |
|---|---|
 Mini_NES_Pi_3_Case_Customizable
|
1 MB |
Very nice Thanks 😉