
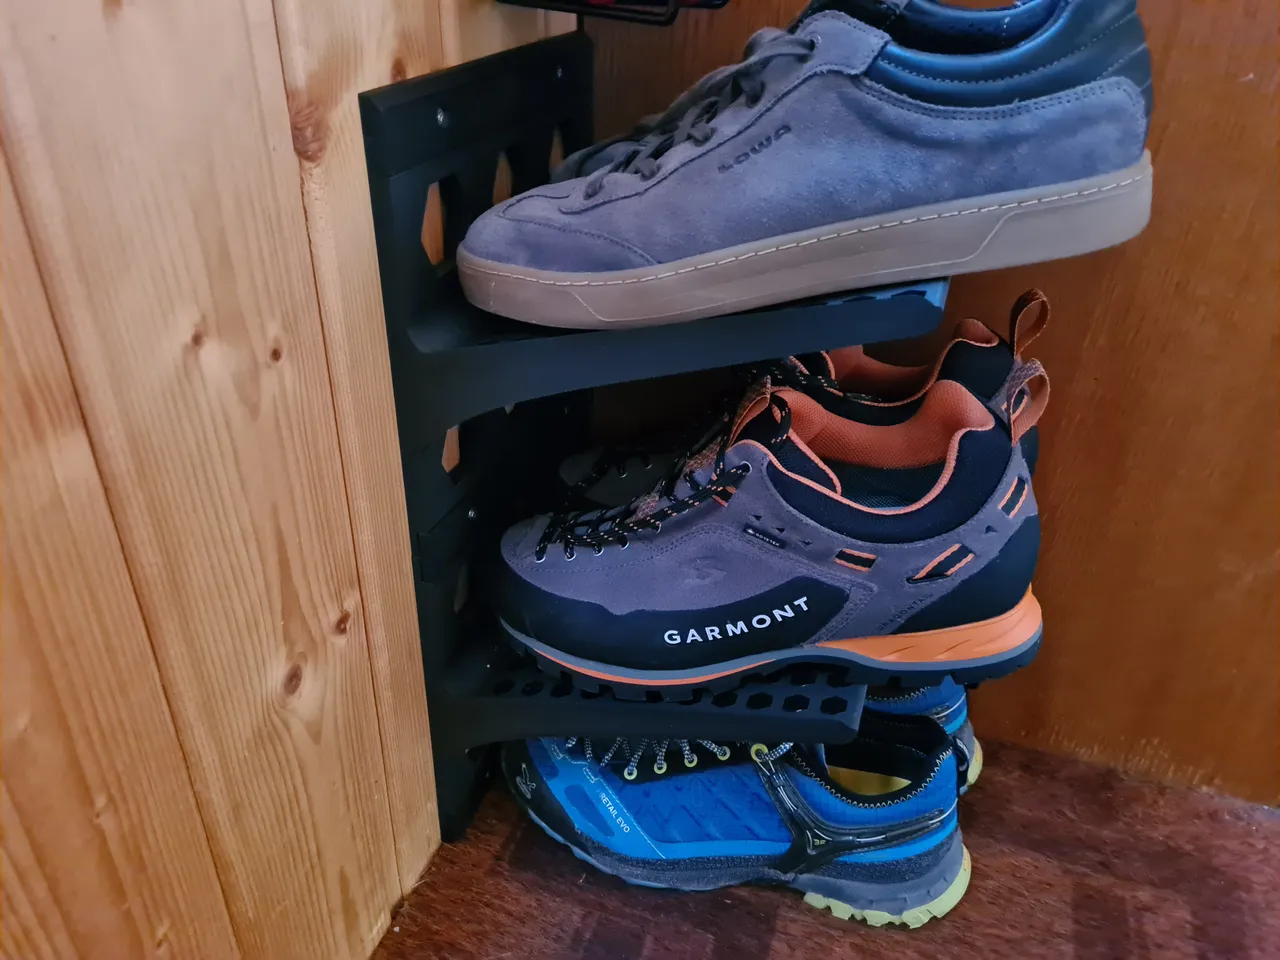
This is my version of a shoe stacker to attach to the wall.
You can attach as many elements as you want on top of each other. Of course you can also attach them next to each other.
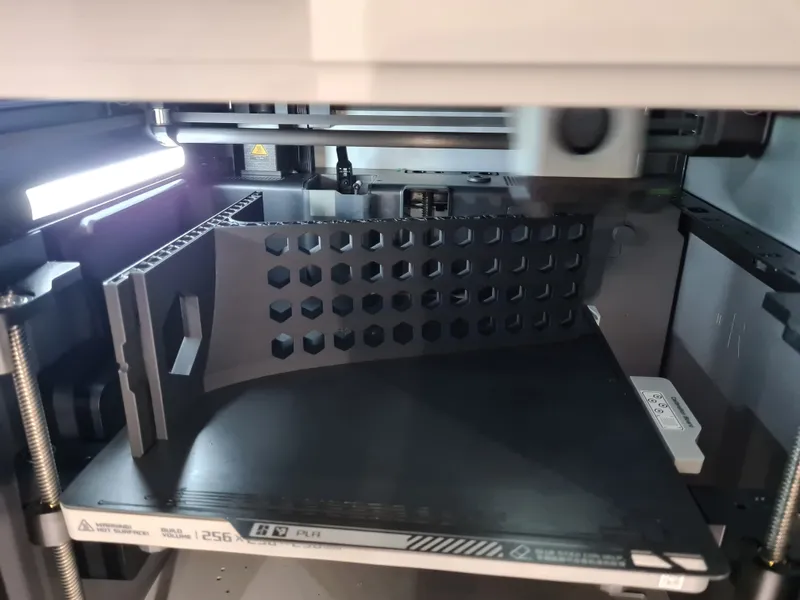
Print position of the mainbody. Its important to print it lying on its side!
The middle rail is used to connect the elements to each other when they are attached to the wall. The second rail is used to attach the elements above and below. Each rail requires 2 screws.
The shoe stacker is very solid and requires some filament and print time.
My version fits adult shoes very well. If you want it a little smaller or larger then scale the model including the rail in your slicer to your desired size. On A Prusa mk3s+ for example you have to scale the models down to 95% to fit the print volume.
The version in the pictures is printed with Extrudr PLA NX2 with 15% infill and 3 wall lines.
Credits:
Flotschi
Download 3D models
| File | File size |
|---|---|
 wall-mounted-shoe-stacker-model_files
|
875 KB |