
NOTE: This is an add-on to the pre-existing “QUICK-CLIP : Base Starter Kit”
Post-Processing Difficulty: Medium – Hard
Tools Needed: Needle Files or Fingernail Files, Side Cutter, Deburring Tool, etc.
Introduction & Instructions:
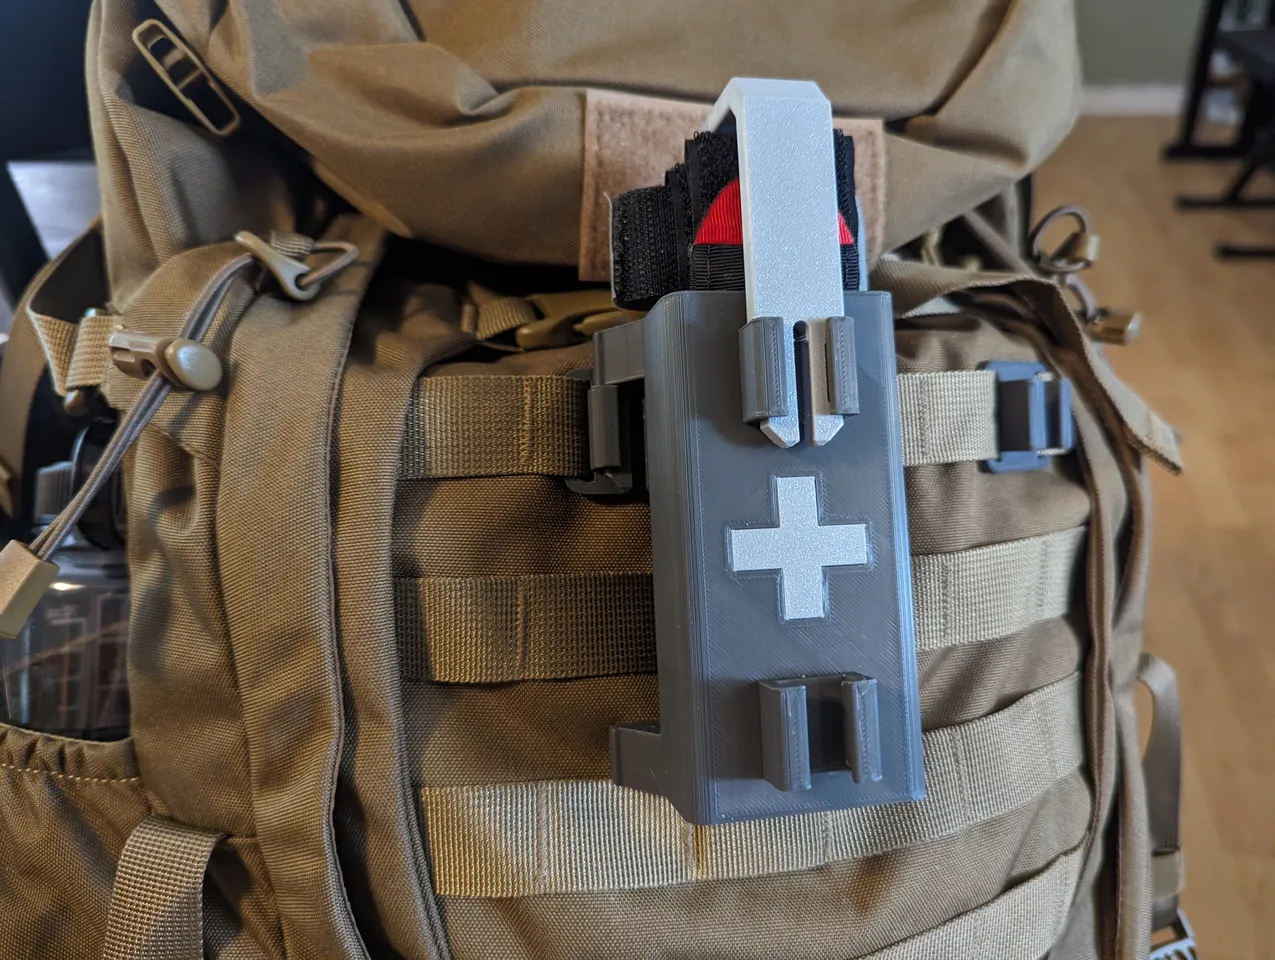
QUICK-CLIP is a versatile mounting system that I designed for backpack and MOLLE webbing. This is a tourniquet holster module that I designed to go with the base starter set (found under my profile). This case is designed to accommodate the storage of a sharpie marker, which is needed to write the application time on the tourniquet when it is used.
This design uses a retaining clip to secure the tourniquet and sharpie in the holster and uses the top integrated buckle on the holster to lock into place. Additionally, there is a secondary integrated buckle at the bottom of the holster to hold other modules that you may want to carry with it (such as the emergency whistle module and lighter module).
This module is attached to and removed from the mounting system in the same way as the other module clips. The holster has two clips on the side that are attached to buckles and can be mounted in two ways:
(Centered on Loop) Two buckles can be mounted over two adjacent MOLLE seams, where one side of each buckle shares a MOLLE loop. The bottom tab on the holster will be held in place by a full MOLLE loop (see photos).
(Centered on Seam) The buckles can be spaced out, each covering a MOLLE seam, but with one seam between the two. The bottom tab on the holster will be held in place by two MOLLE loops and span across a seam (see photos).
There is an optional Medic Cross that you can print that is a friction fit into the holster body. That way, you can print it in first-aid red or white, or another accent color of your choosing (I chose a light gray to match my other components). To fully secure the cross, you can add a few drops of superglue before pressing it into place. If you choose to not use the Medic Cross, the holster will still have a nice medic cross embossing.
The base buckle (dark gray) files are available in the base starter set. The use of locking pins with this module is not recommended or needed, as they will be upside down and may easily fall out.
I printed this with 0.16mm layer lines with PLA with organic/tree supports This design must be printed flat on the print bed. The clip interfaces on the back may need minor post-processing to remove leftover support material and to allow the clip and buckle to interlock smoothly.
NOTE: I would recommend using Prusa Slicer’s ‘Paint Supports’ function to BLOCK supports on the top integrated buckles. They are not needed, and removing them makes the buckles operate much more smoothly. If you don’t have that ability, light sanding or filing may be needed to smooth the buckles.
Post-Processing:
This print will use support structures to print the holster housing. The integrated clips and buckles are oriented to be printed flat, as to provide as much strength as possible. They should require very minor post-processing. The internals of the holster may be difficult to reach – I would recommend a mill file to reach the bottom and smooth the remaining supports.
Credits:
Taylor
Download 3D models
| File | File size |
|---|---|
 quick-clip-cat-tourniquet-holster-model_files
|
373 KB |